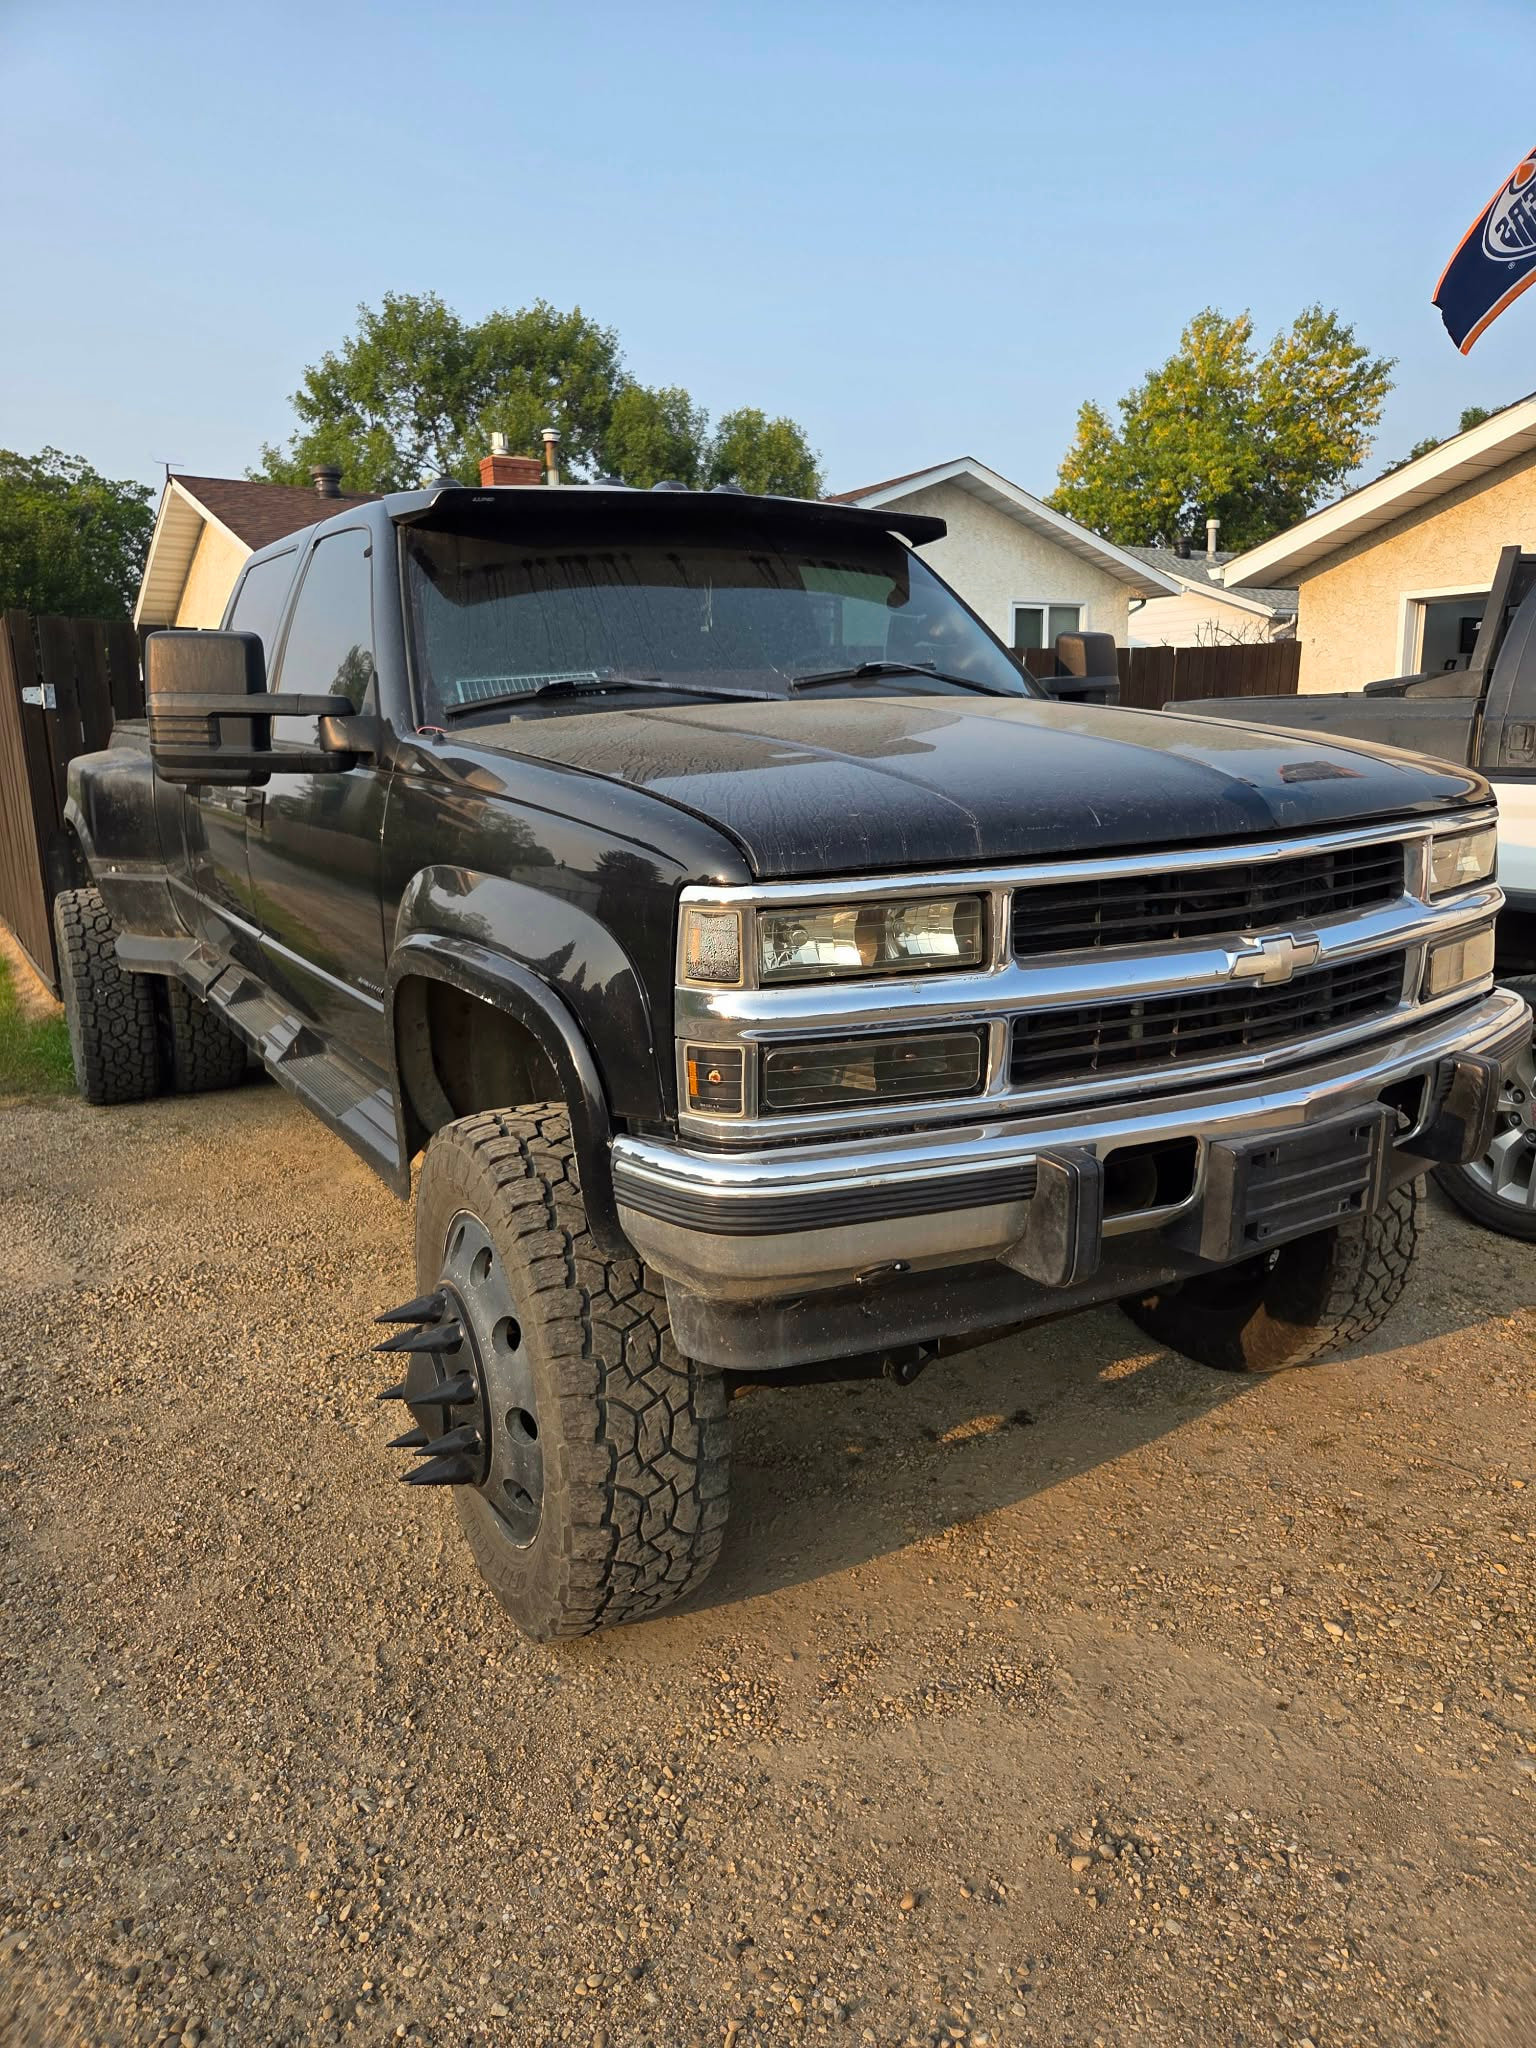
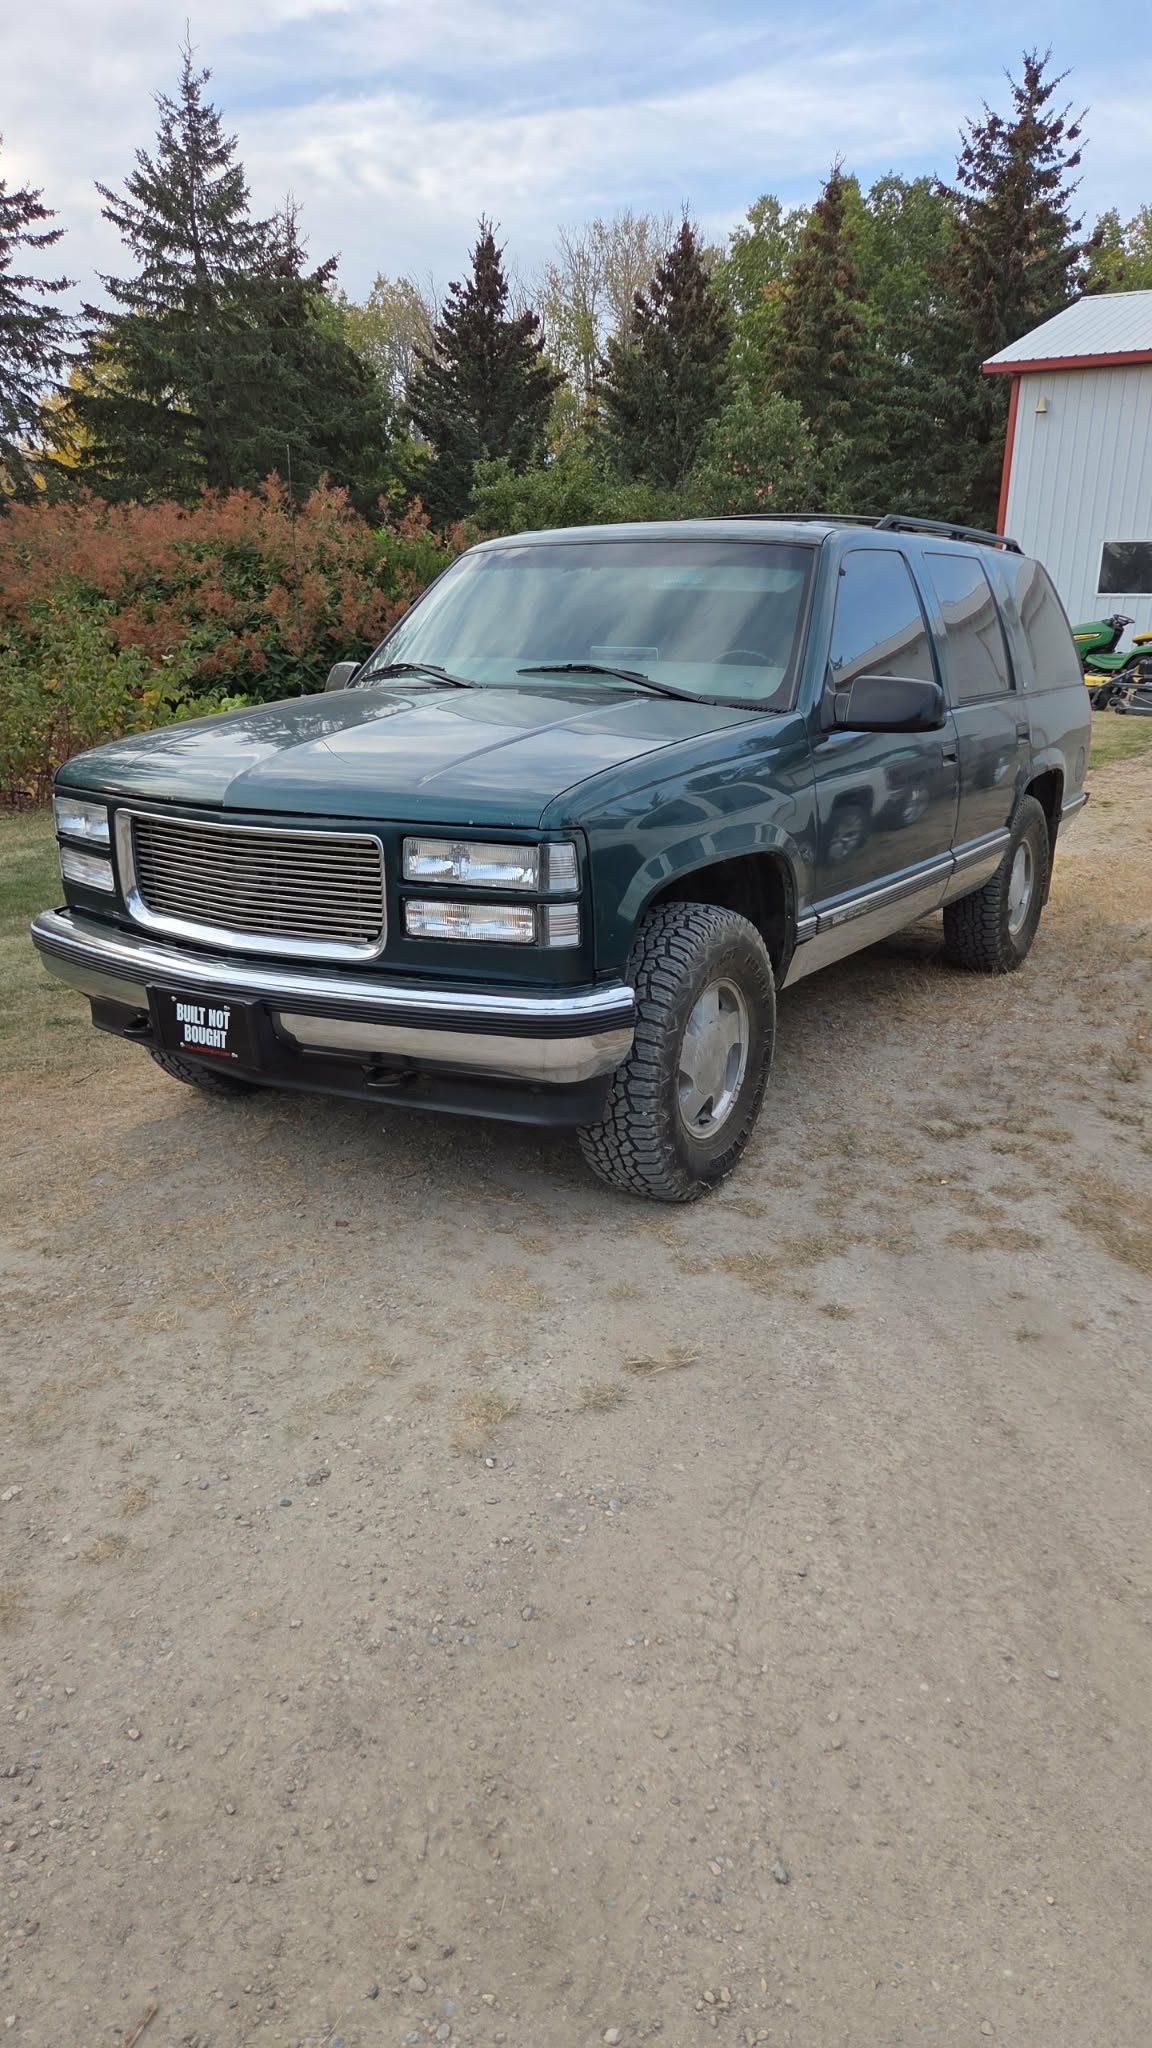
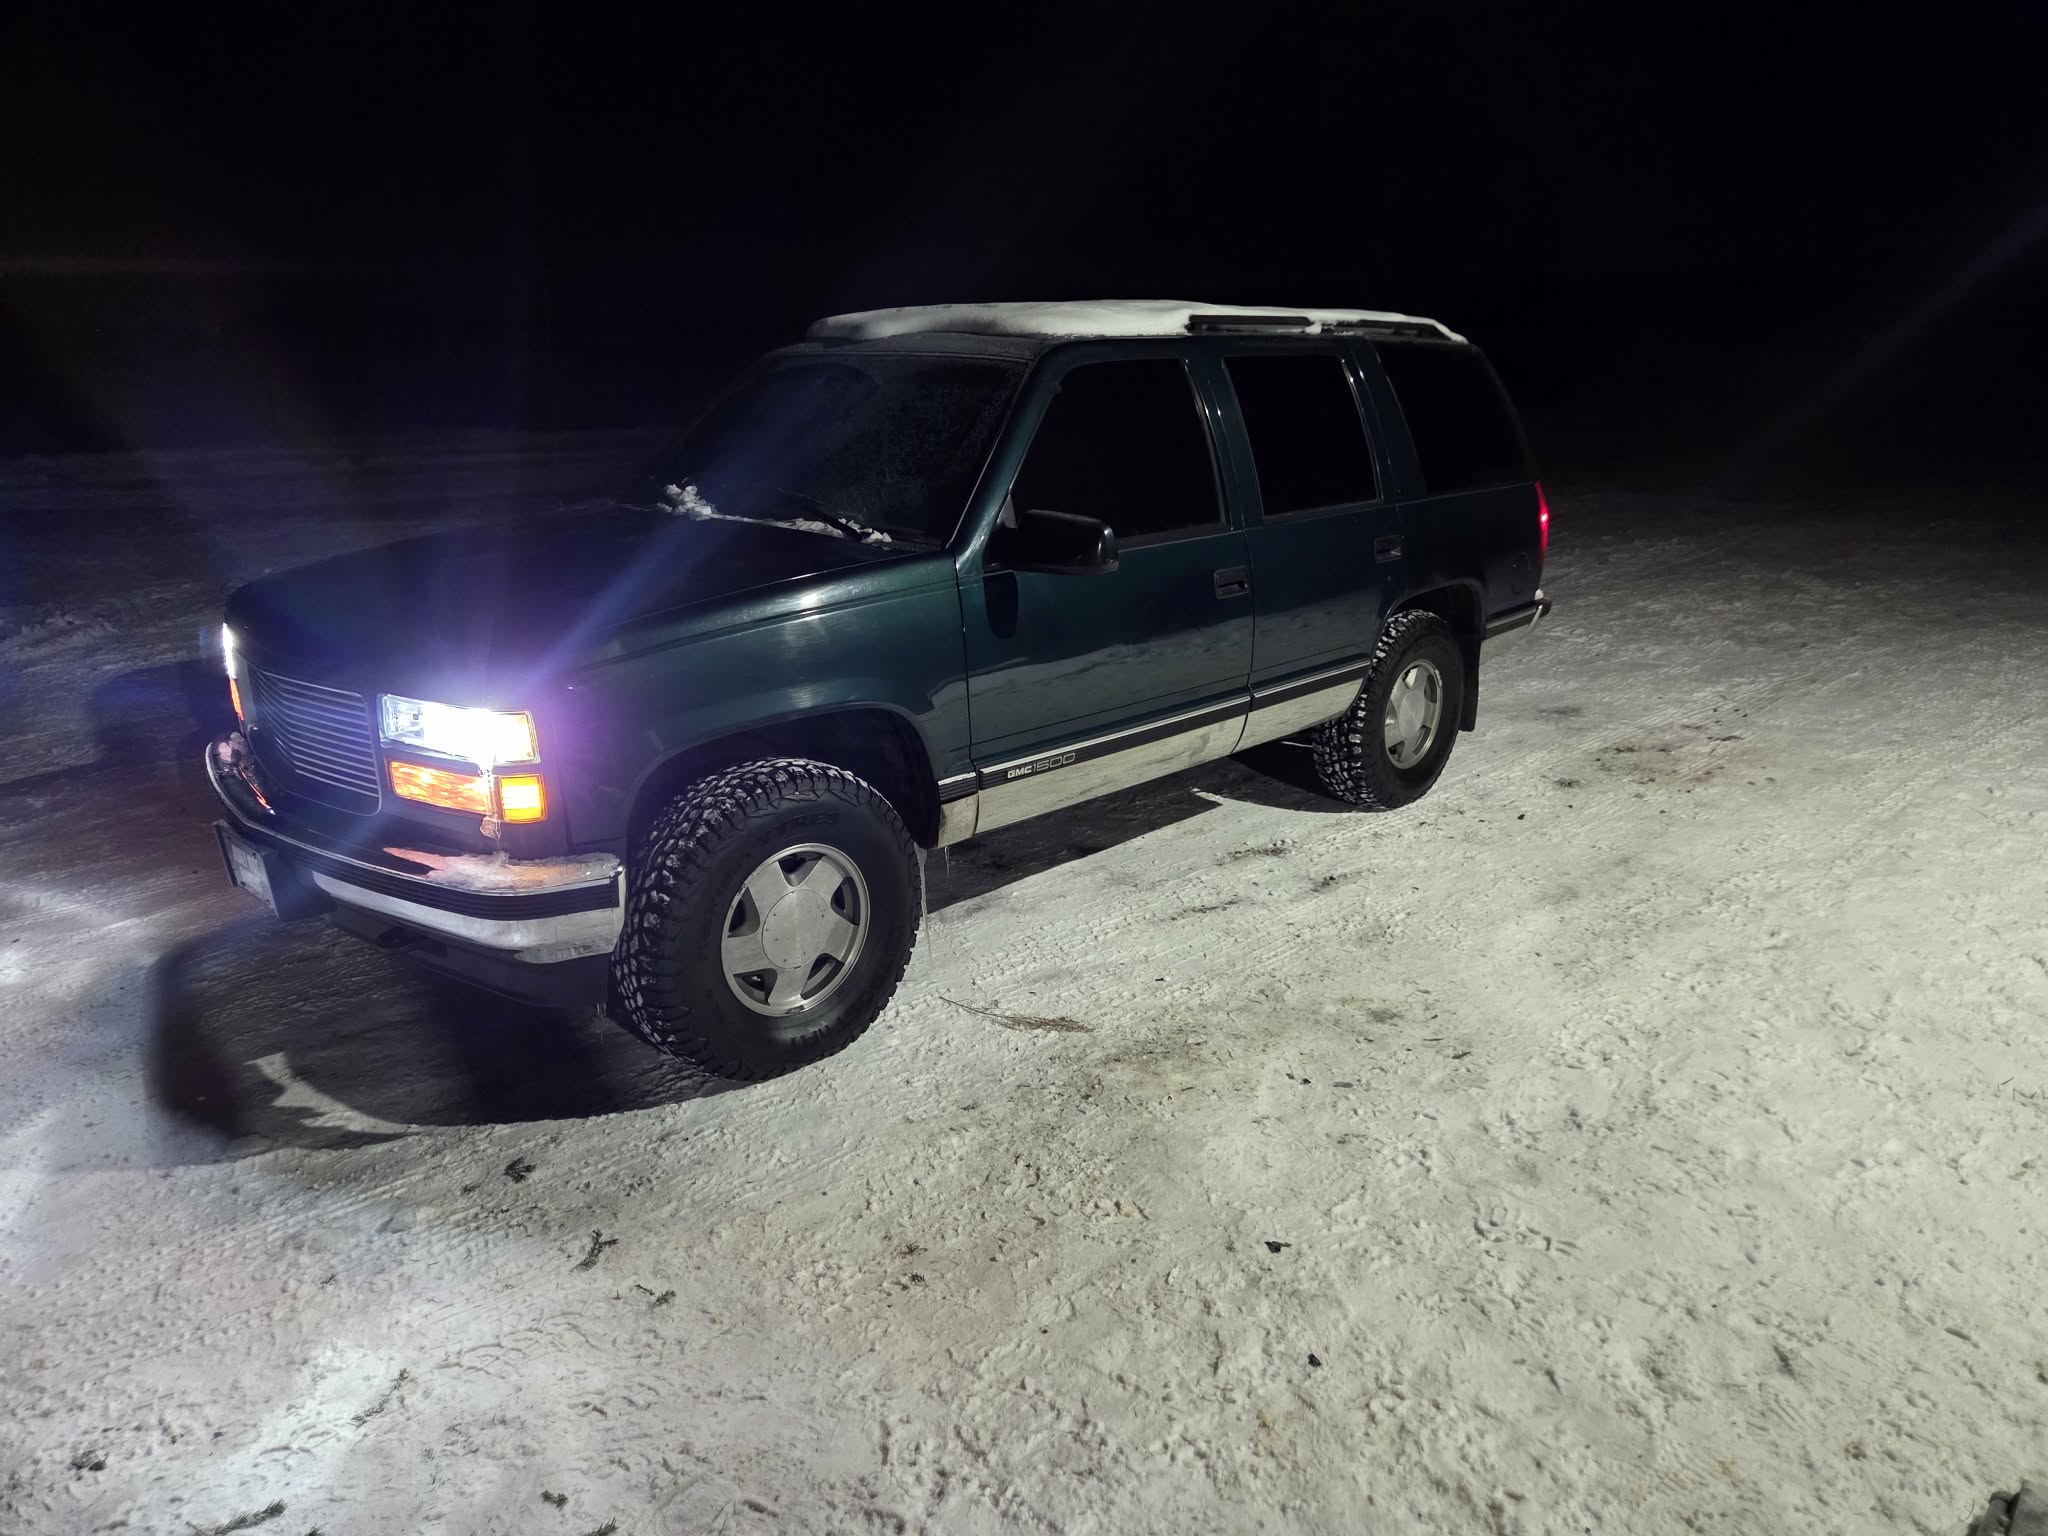
FSC1 : A 1997 OBS Yukon Built for the Community
At the core of the FSC Giveaway is one goal — rebuilding the FullSizeChevy community and bringing the forum back to life. FullSizeChevy exists to represent real GM truck culture—built by enthusiasts, driven by heritage, and unapologetically full-size. The mission is simple: preserve Chevy truck culture and the knowledge behind it for the next 20 years and beyond. It only makes sense that the very first build thread here starts with our FSC1 OBS Yukon!
The goal is to relaunch the forum in 2026 and mark its return by giving one dedicated member the keys to our OBS Yukon. We’re not giving away a brand new Yukon. We are giving away a Yukon from the era that many of us are passionate about! If you are looking for a brand new ride, let me tell you this one isn’t it. This one has passion, a TON of new parts, and will likely outlast any new ride out there.
The Starting Point
Initially I wanted to build a truck, but nothing seemed to fit the bill. I was a bit discouraged after looking at a few clapped out trucks that needed 10K in work. After a few months of searching I finally found the Yukon. I was not a big fan of the green at the start, but it’s grown on me since. It ran/drove/started and stopped well. The interior needed some work, exterior needed some work; but overall it had good bones and was complete (minus the valence).
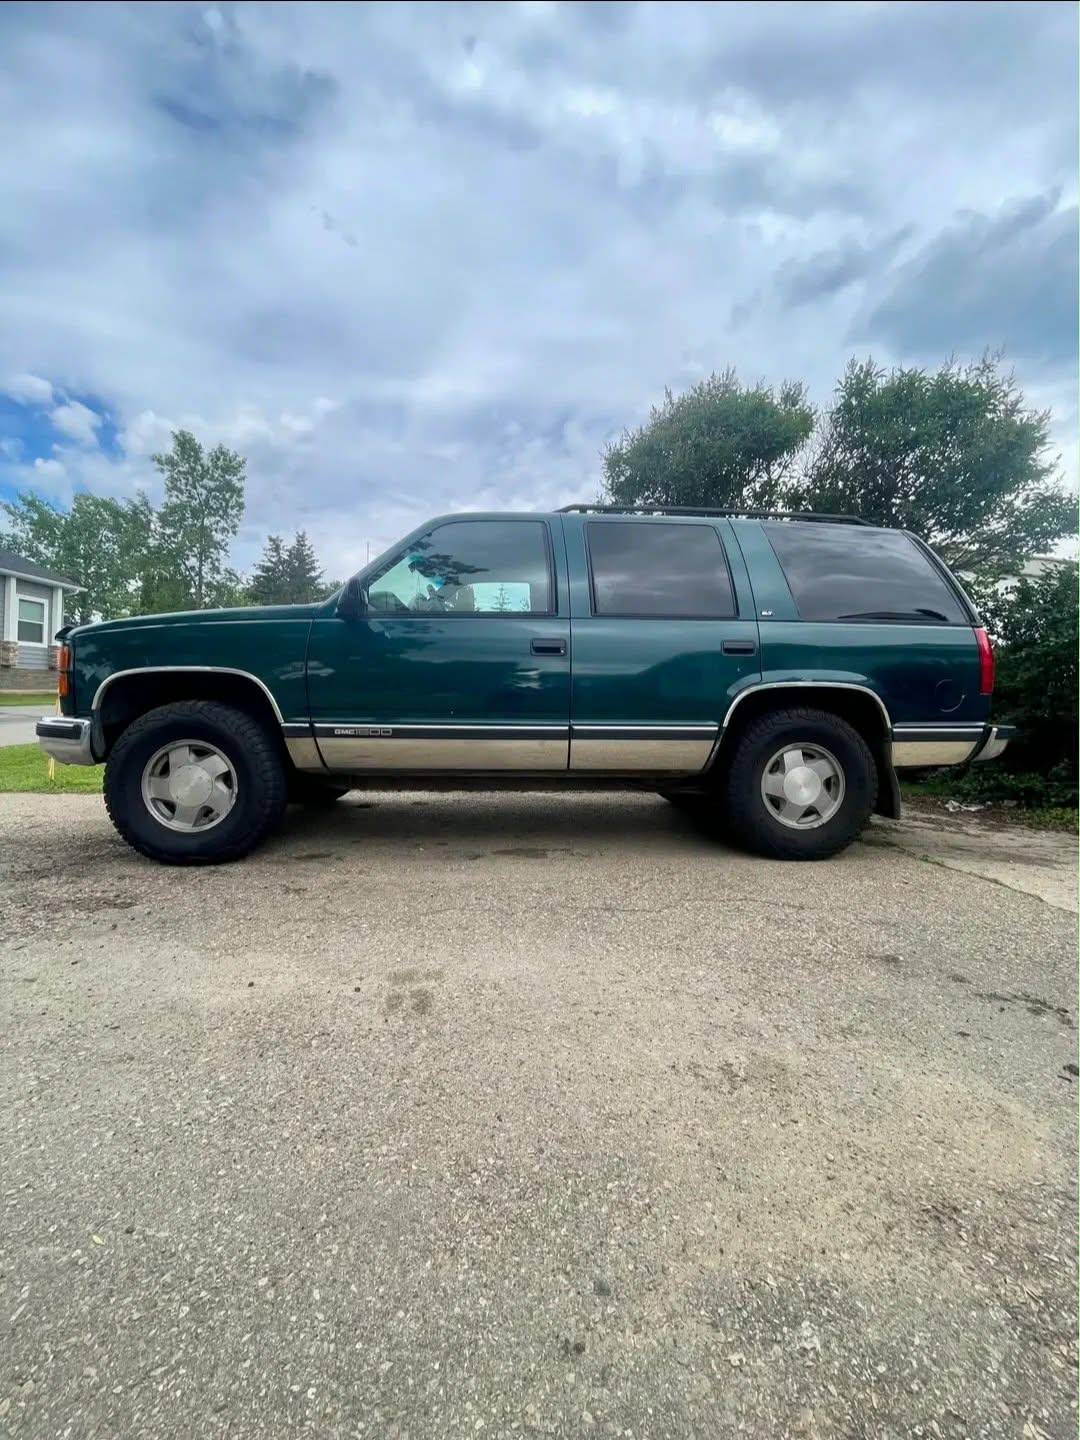
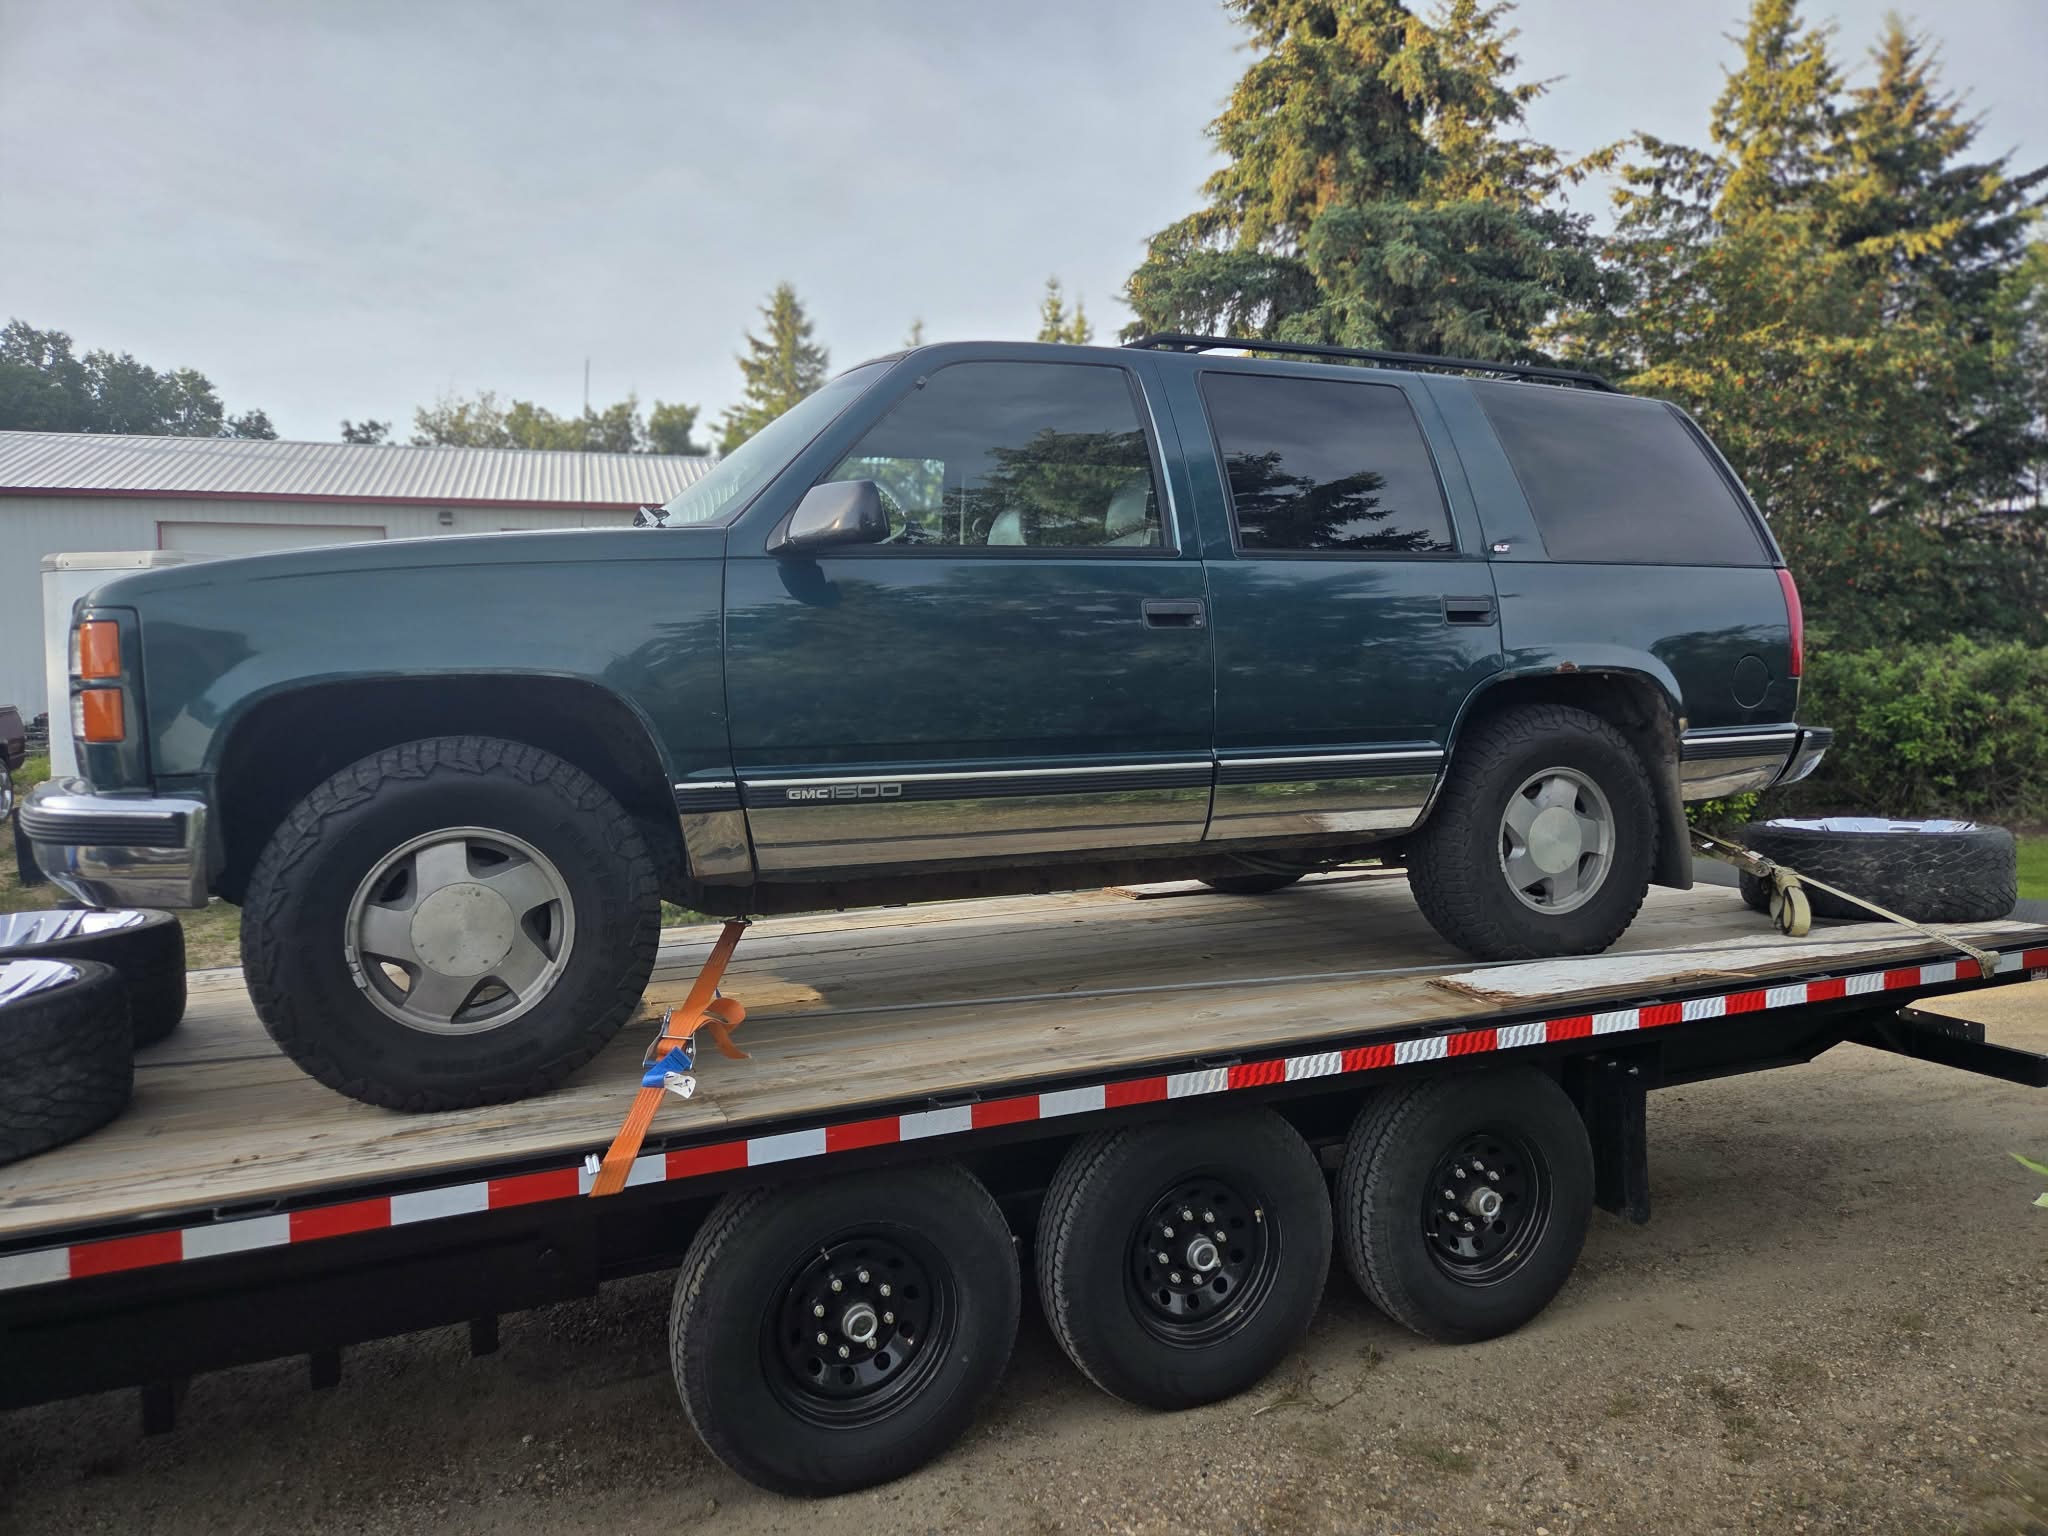
It was a 2hr drive to go view it. I went up with a good friend and test drove it in town and on the highway. We both decided that it was a worthy vehicle to build! We brought the trailer, loaded it up and took it home.
The first order of business was a full mechanical inspection and we threw some parts at it for maintenance purposes. The Yukon will come with a full mechanical inspection from a reputable shop for the peace of mind from a new owner.
The following was replaced:
Driver’s side CV Axle
Wiper Arms & Linkage
High Pressure Power Steering Hose
Serpentine Belt
4WD Actuator
Belt Tensioner and Pulley
Manifold Absolute Pressure Sensor
Air Charge Temperature Sensor
Mass Air Flow Sensor
Key Fob
Engine Temperature Sensor
Front Pads & Rotors
Coolant Thermostat Housing + Thermostat
Starter
PCV Valve
Cap / Rotor / Distributor
Front and Rear Shocks
Rear Drums and Shoes
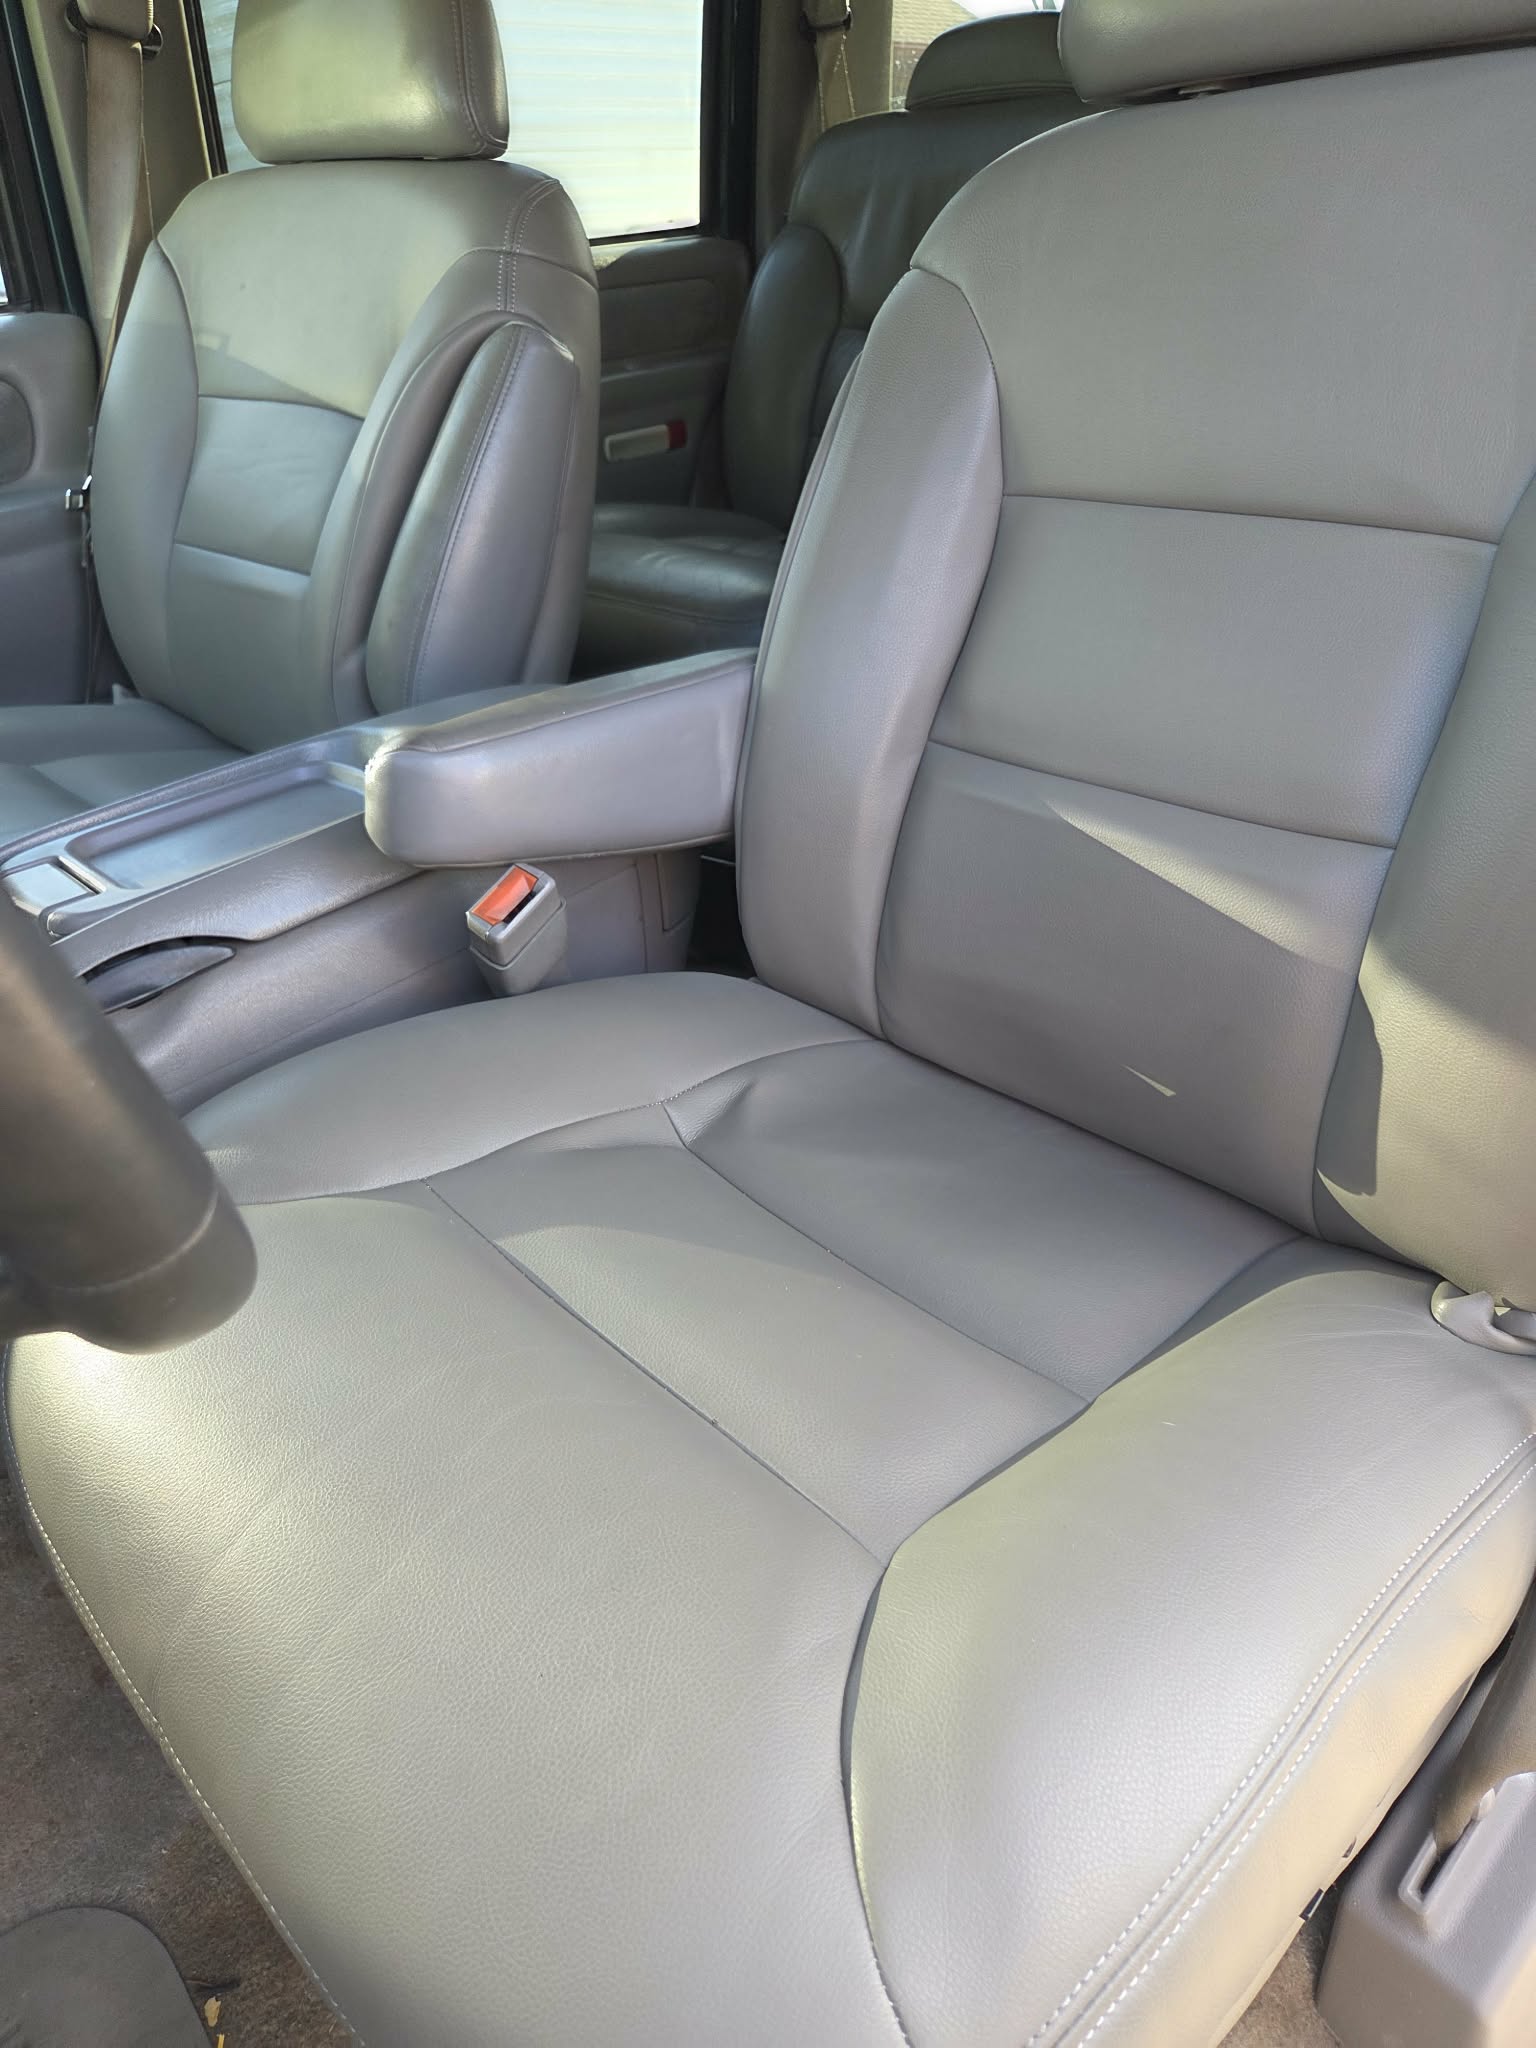
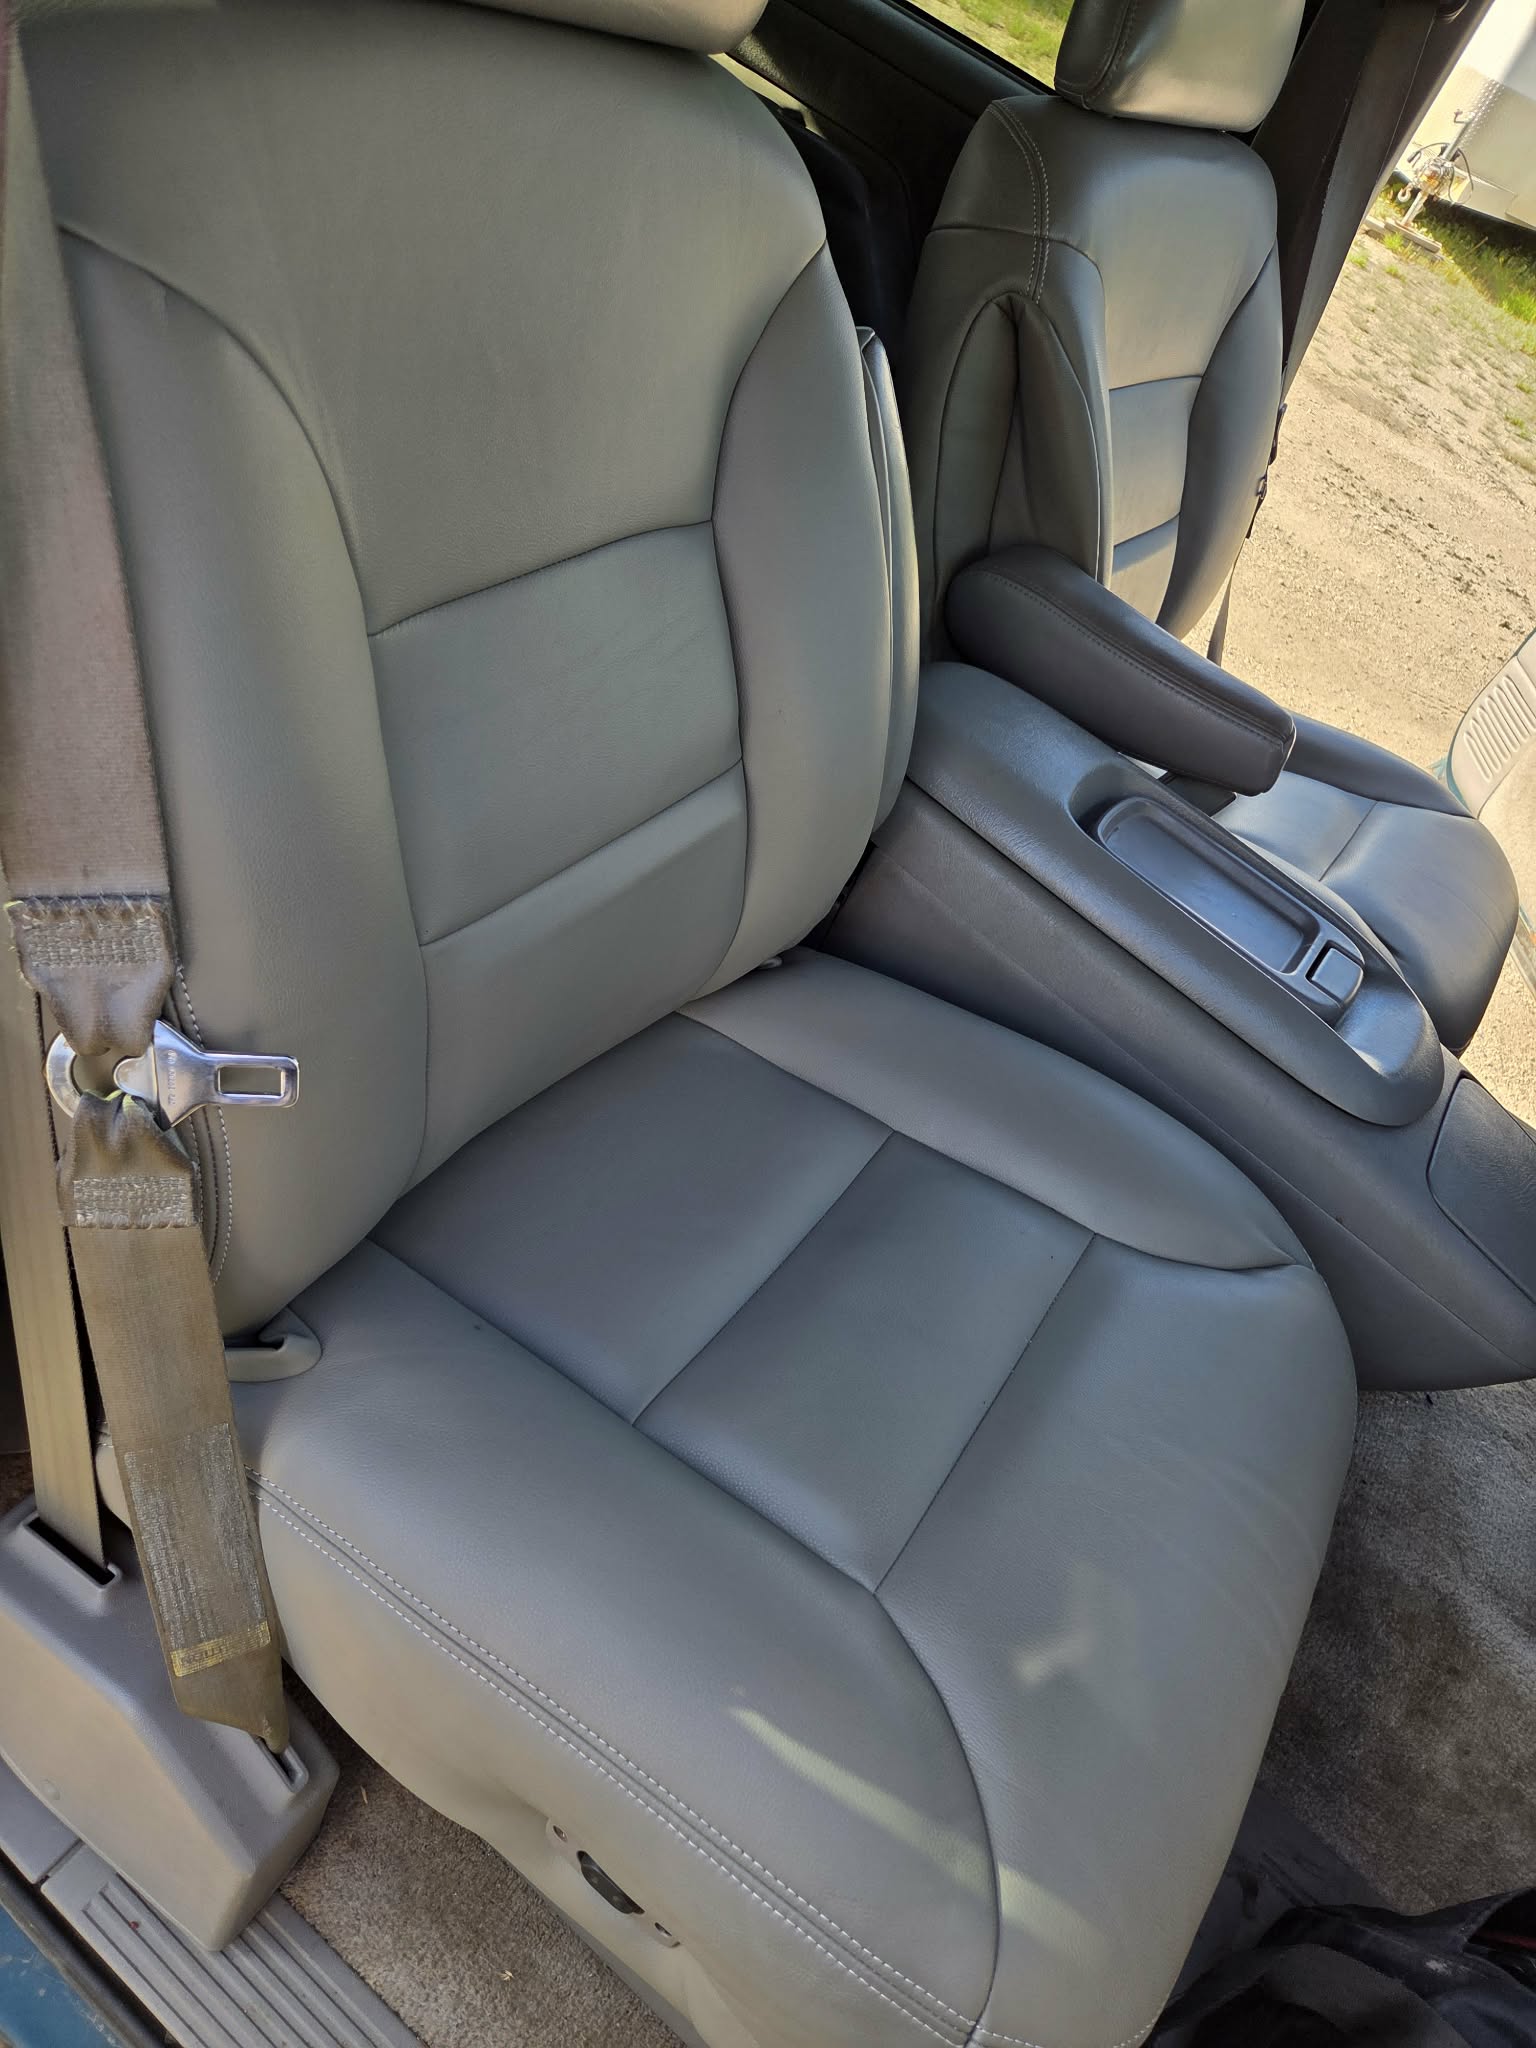
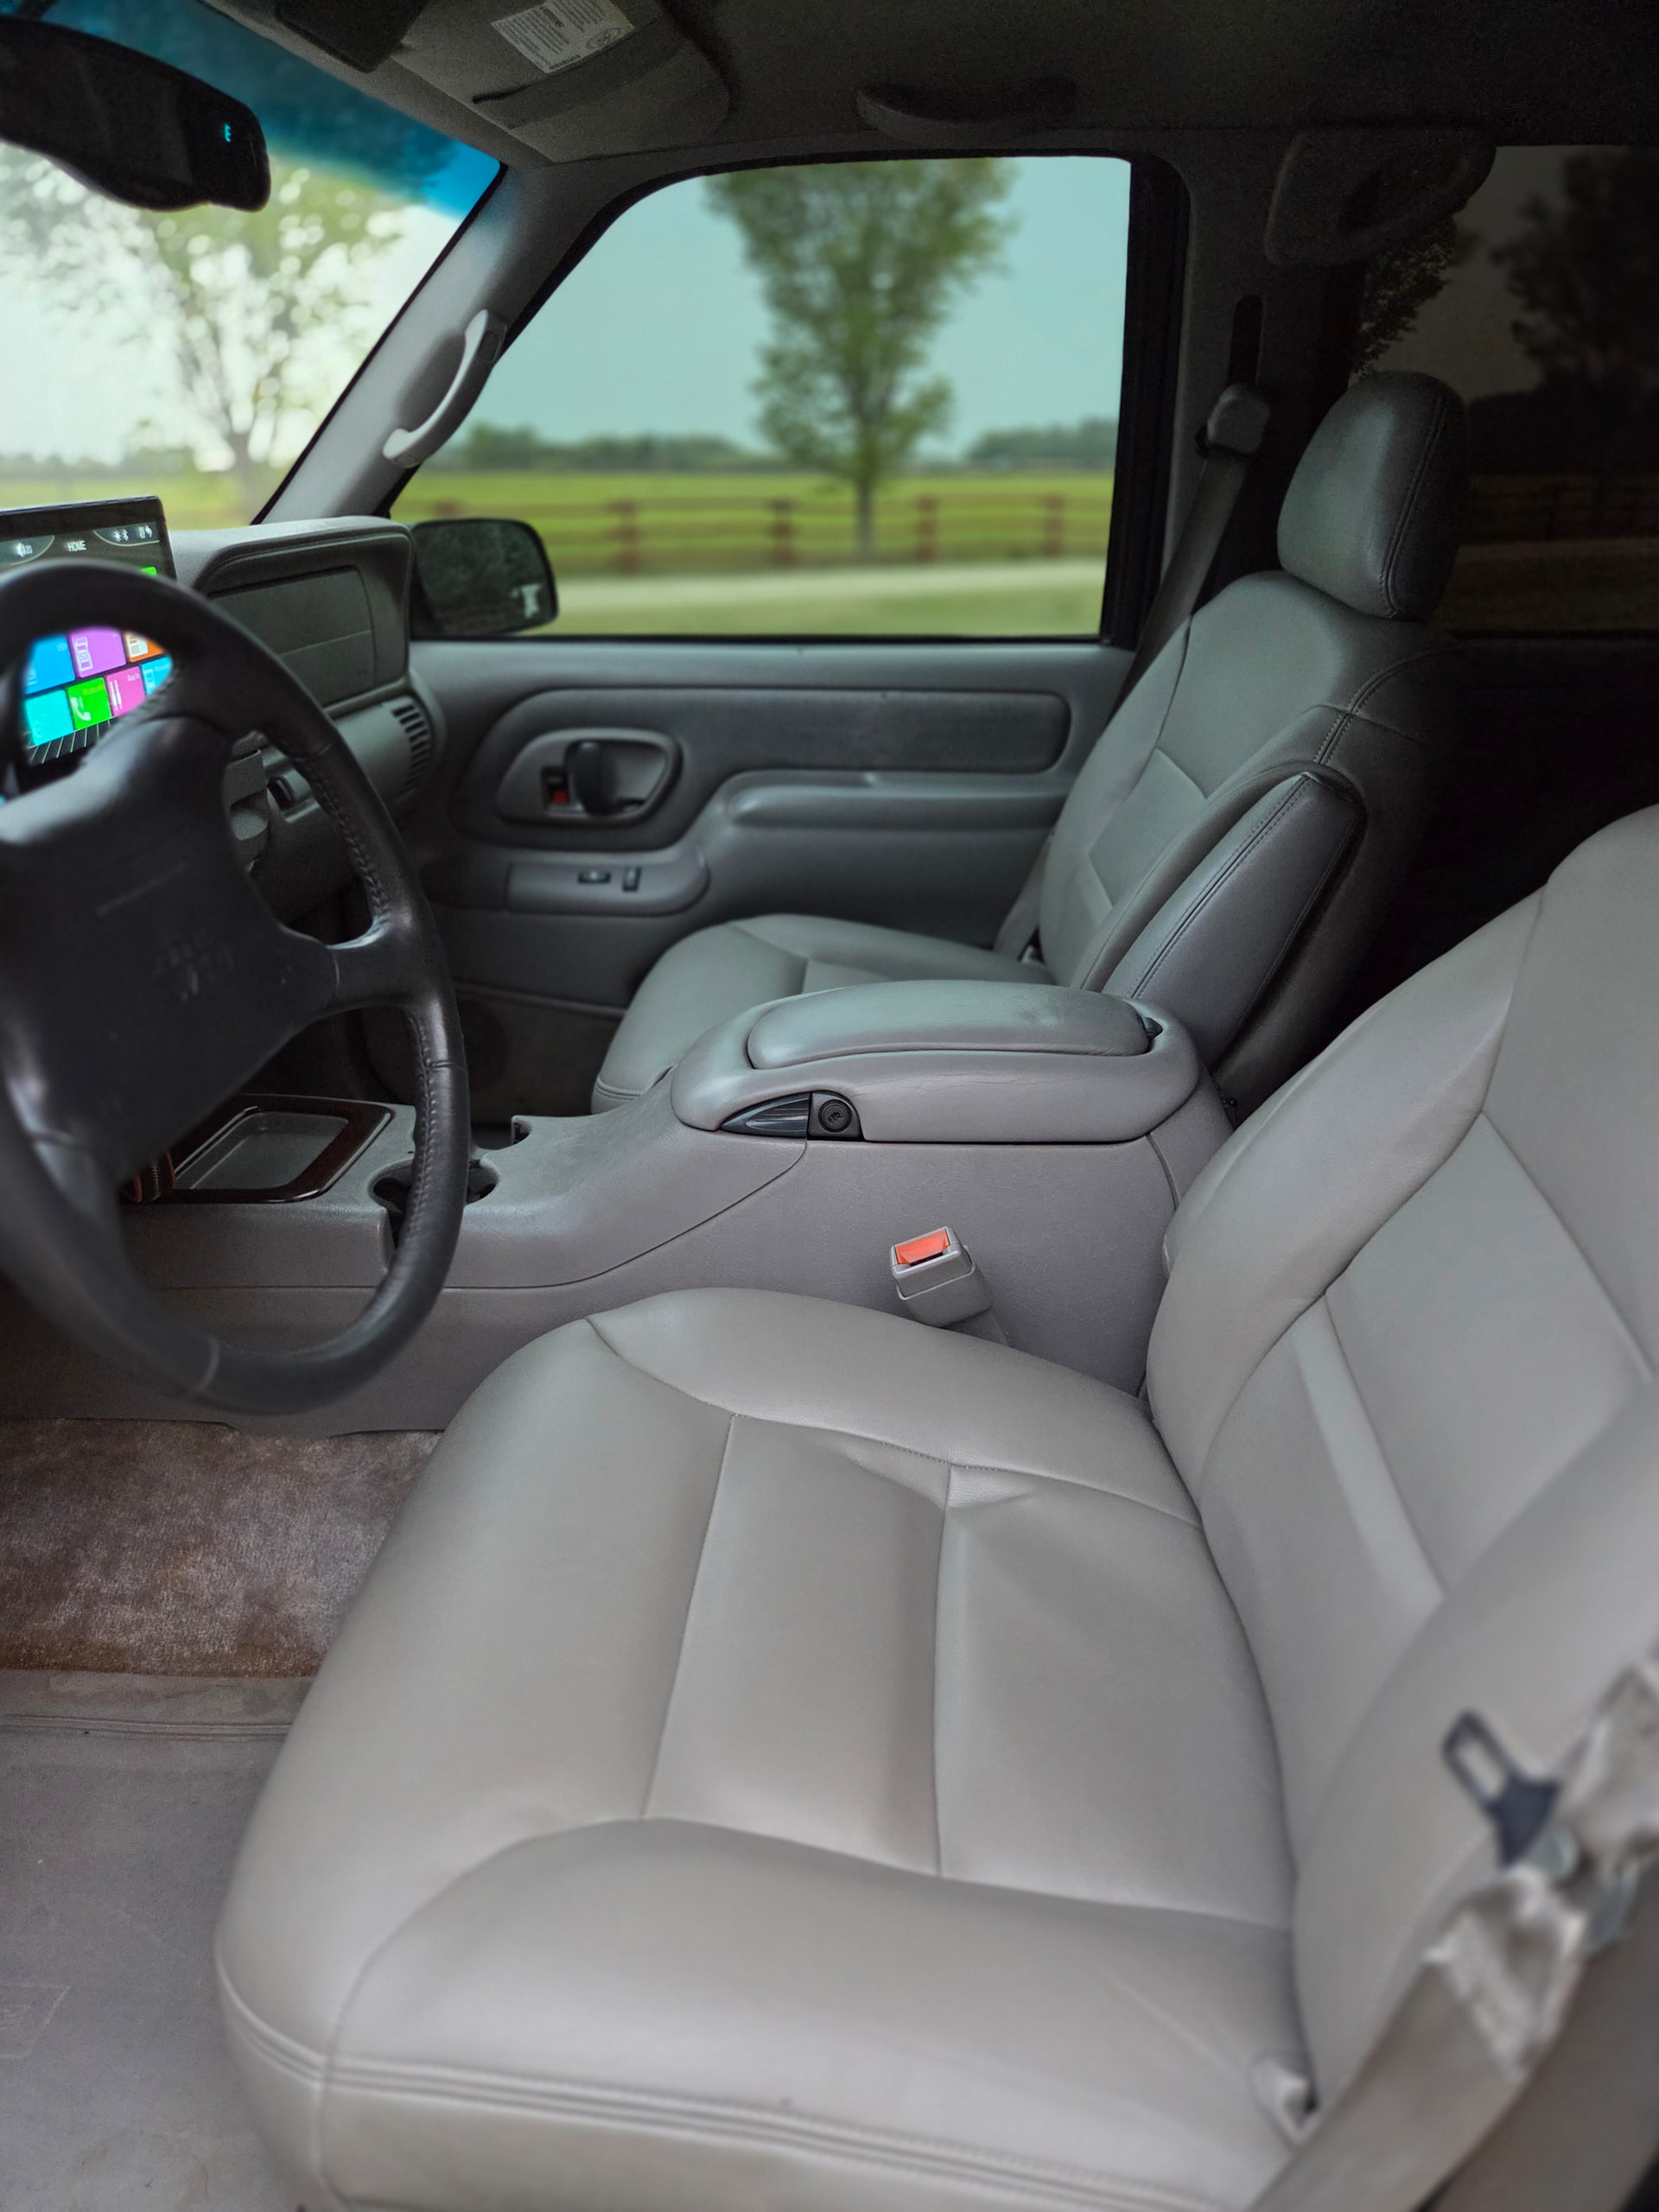
The second order of business was to get the front seats recovered. I honestly prefer cloth in the GMT400’s because of how bad the factory leather of that generation was! The back seats were still in excellent shape but the front had seen better days. I’m happy with how the front seat recovery went!
I always loved these old steering wheels - and I hope you do too. The GMC Truck steering wheel on a Yukon SUV from the factory is just great.

The next item on the hitlist was interior lighting and stereo.
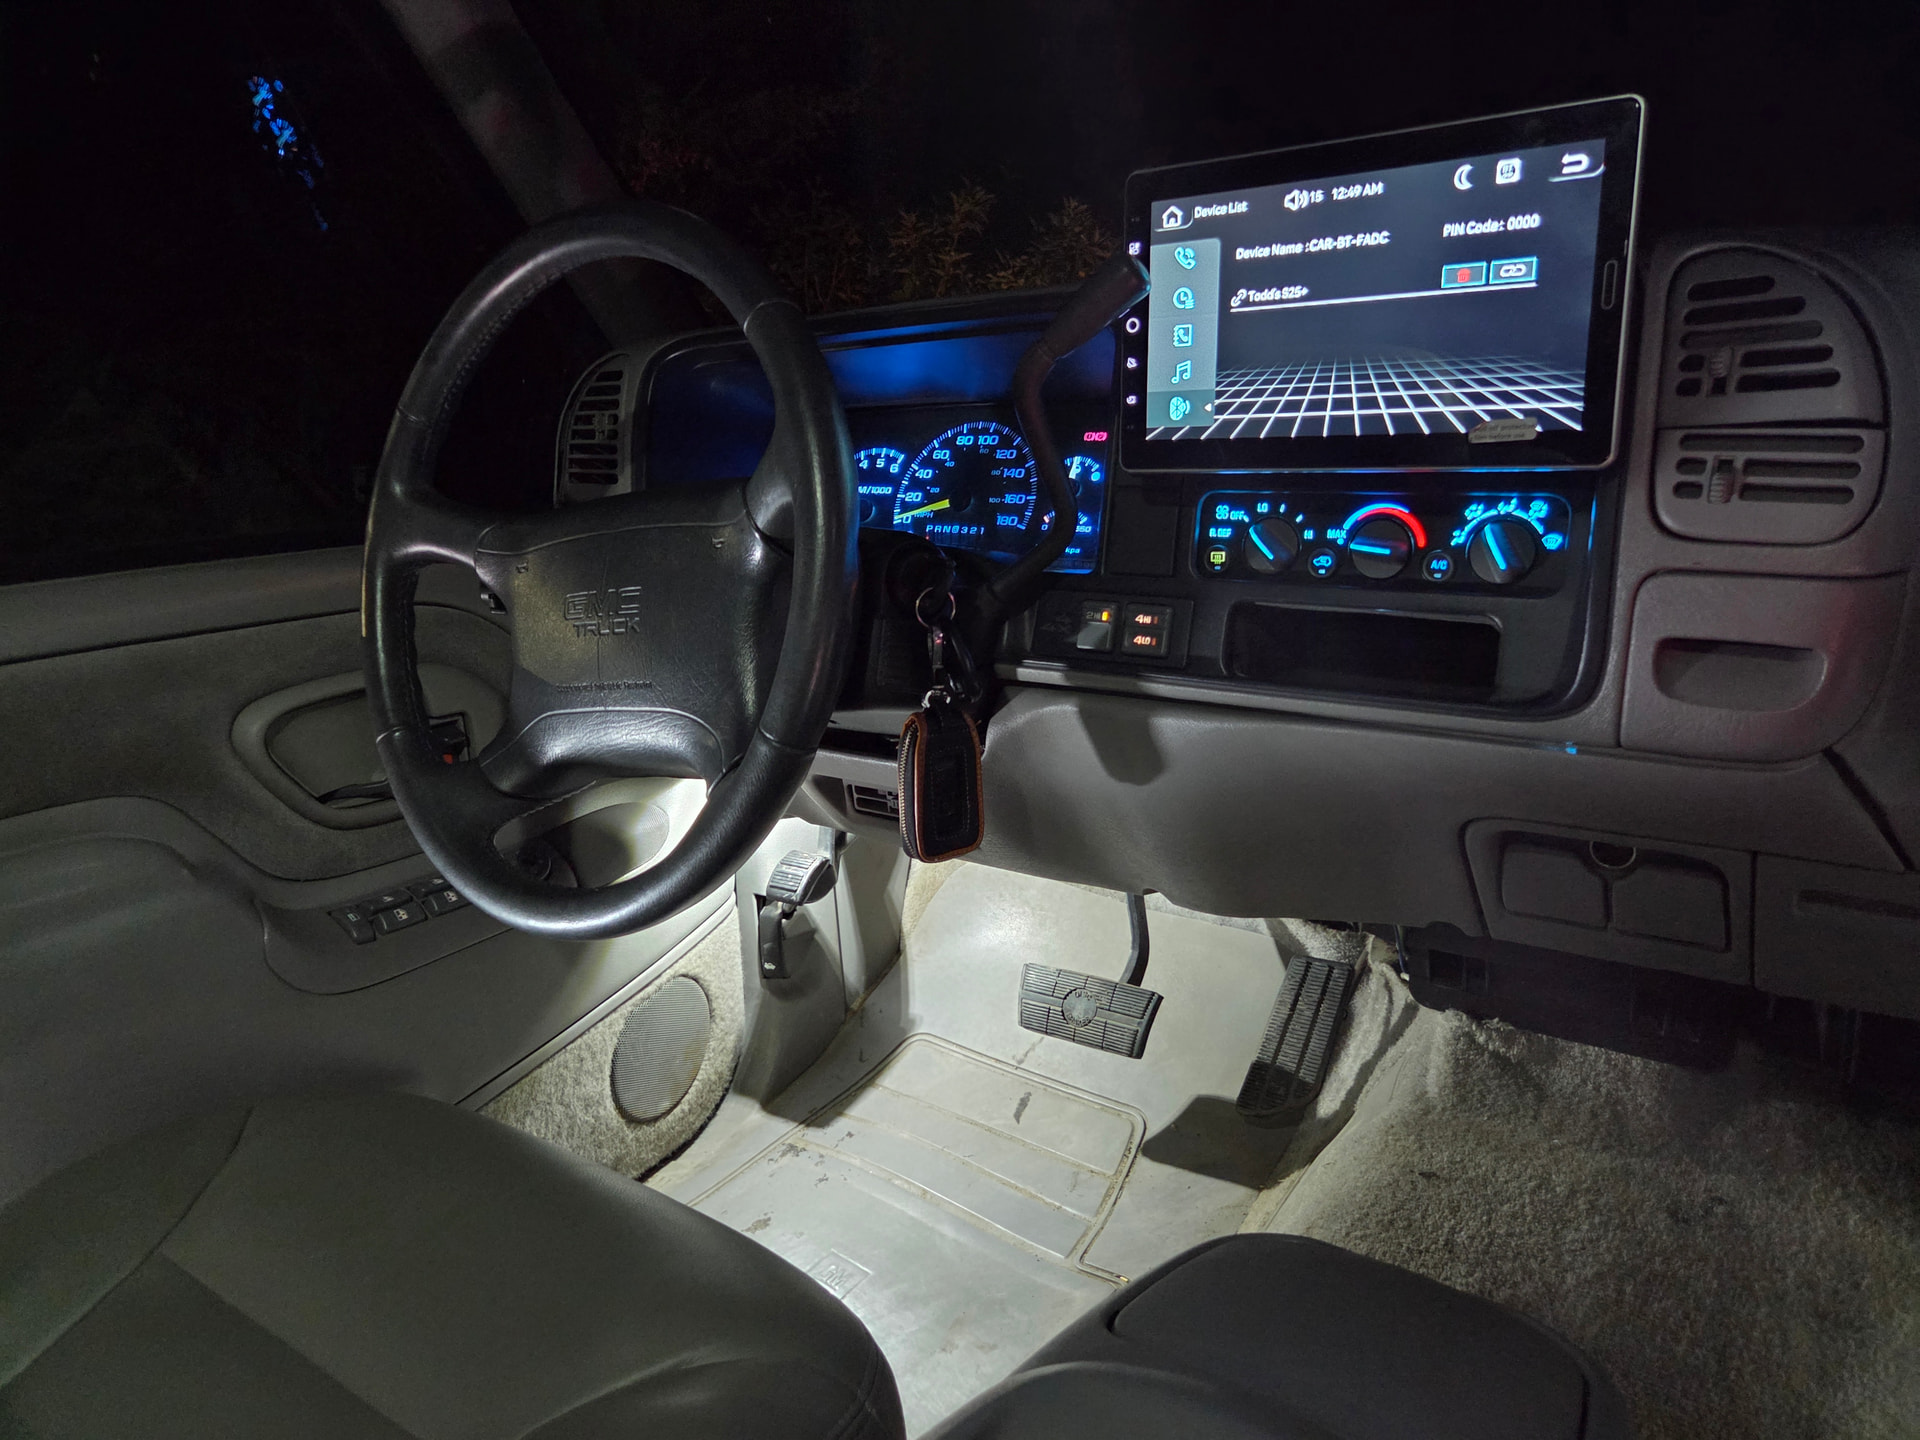
I ordered the Metra 99‑3002 Dash Kit and removed the factory radio to add bluetooth.
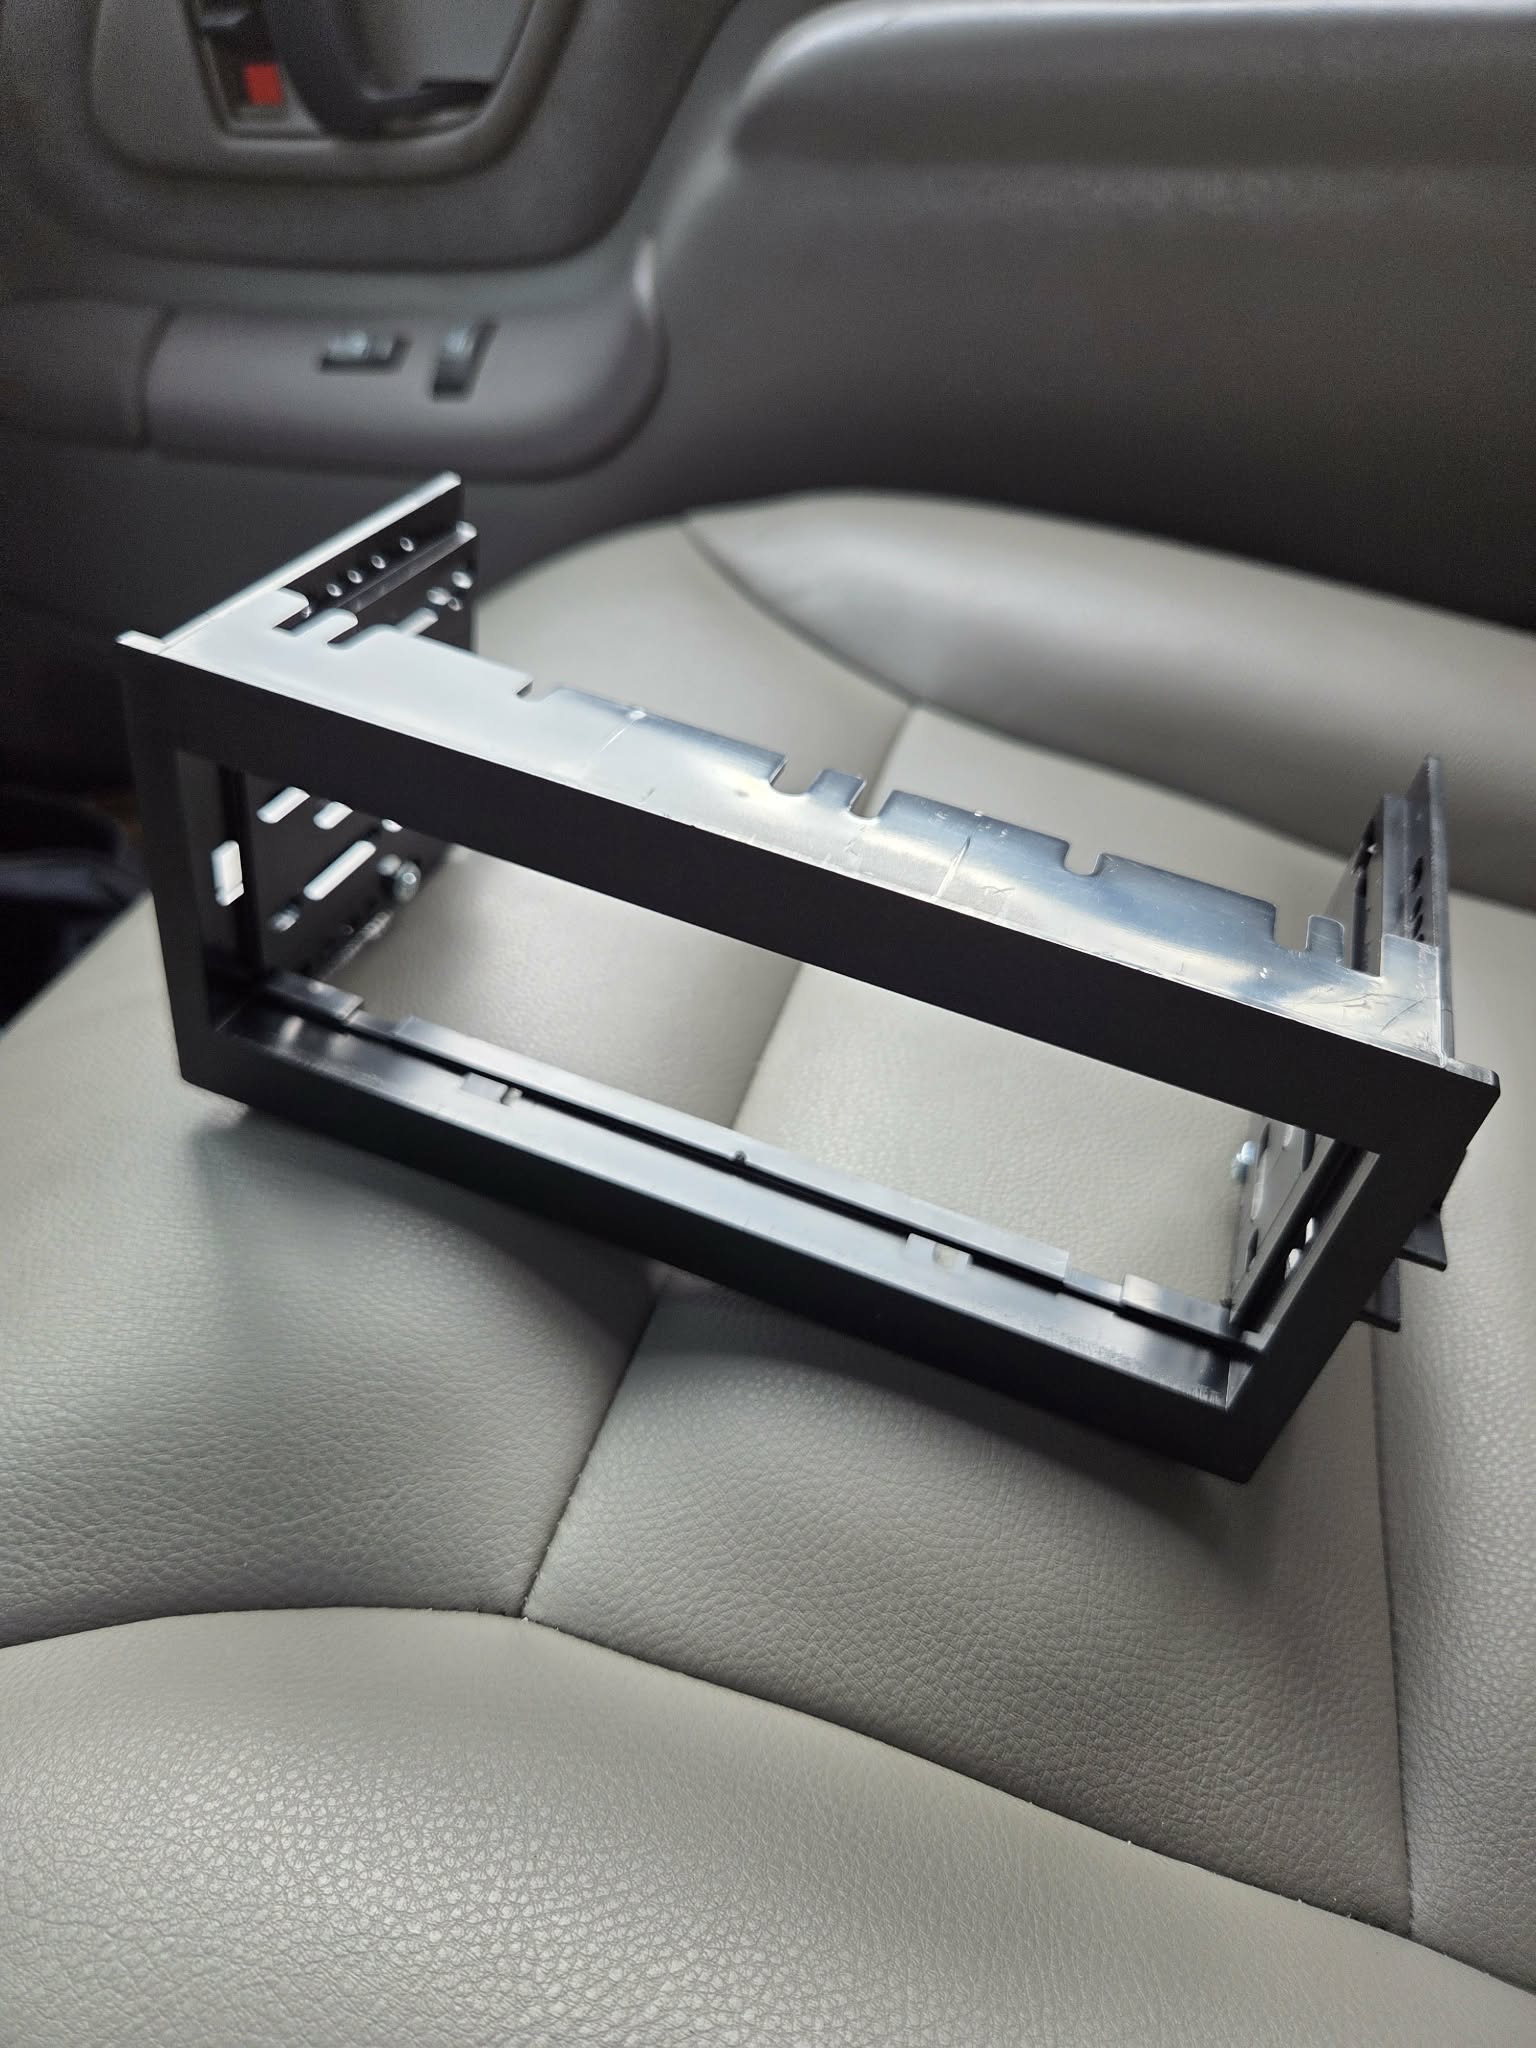
I installed a Tesla style large 10.1” touchscreen single din deck. It is CarPlay and Android Auto compatible. Backup camera input ready. I know this deck is not for the purists and I am also still on the fence about it. I read the comments, some hate it, some asked about it. It is what it is
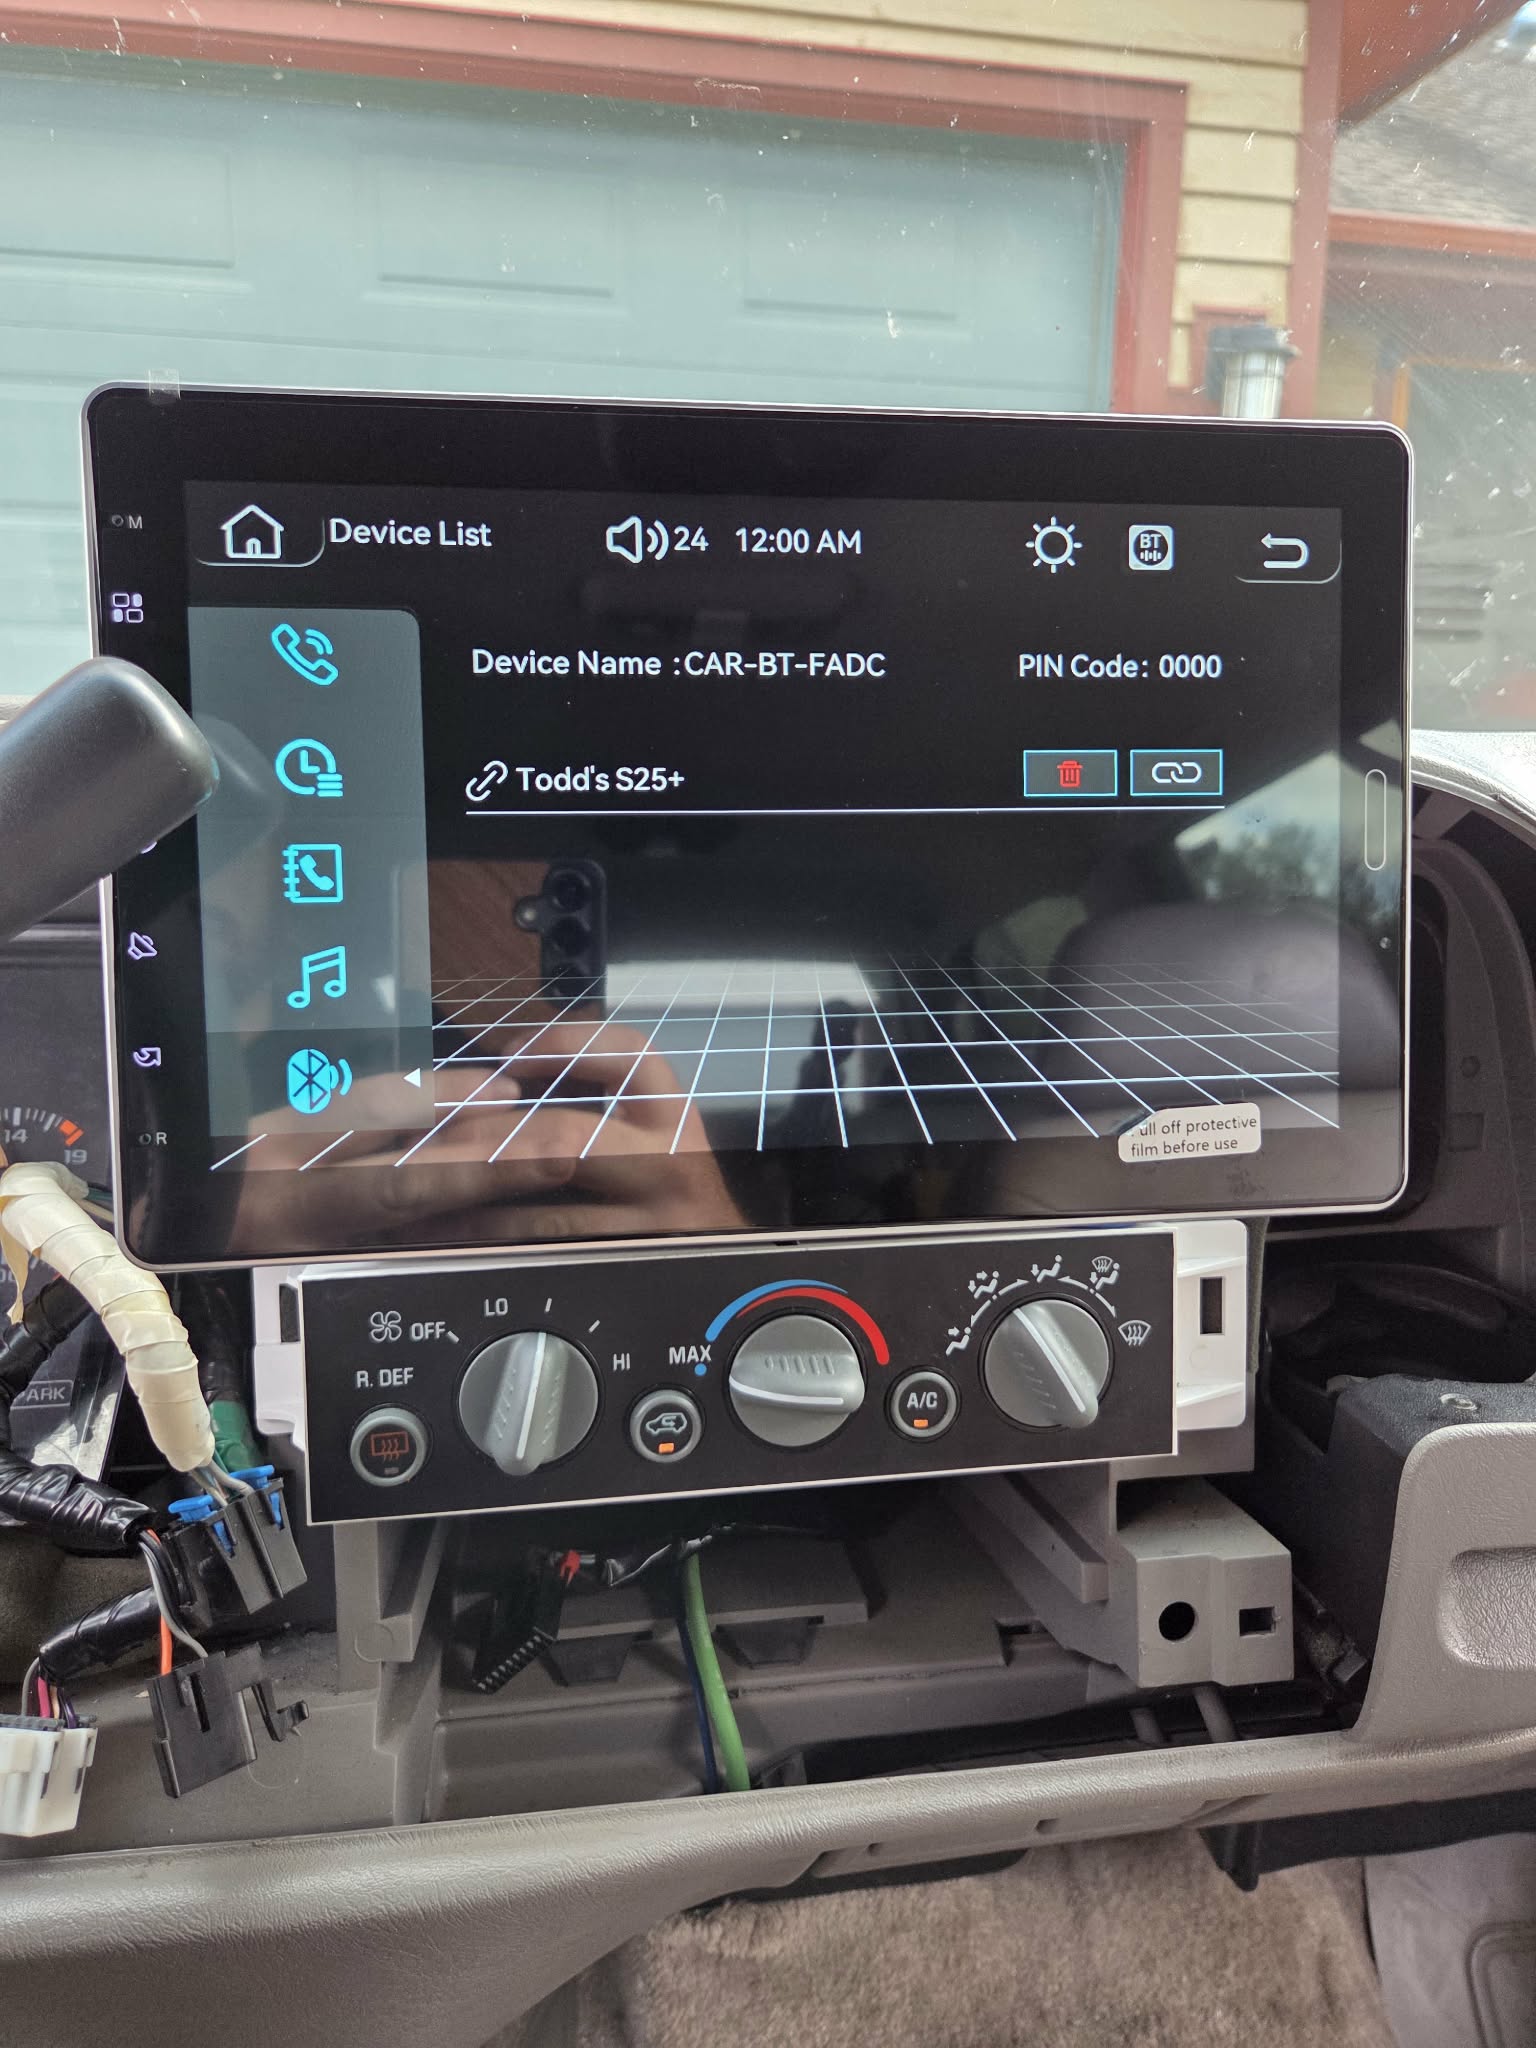
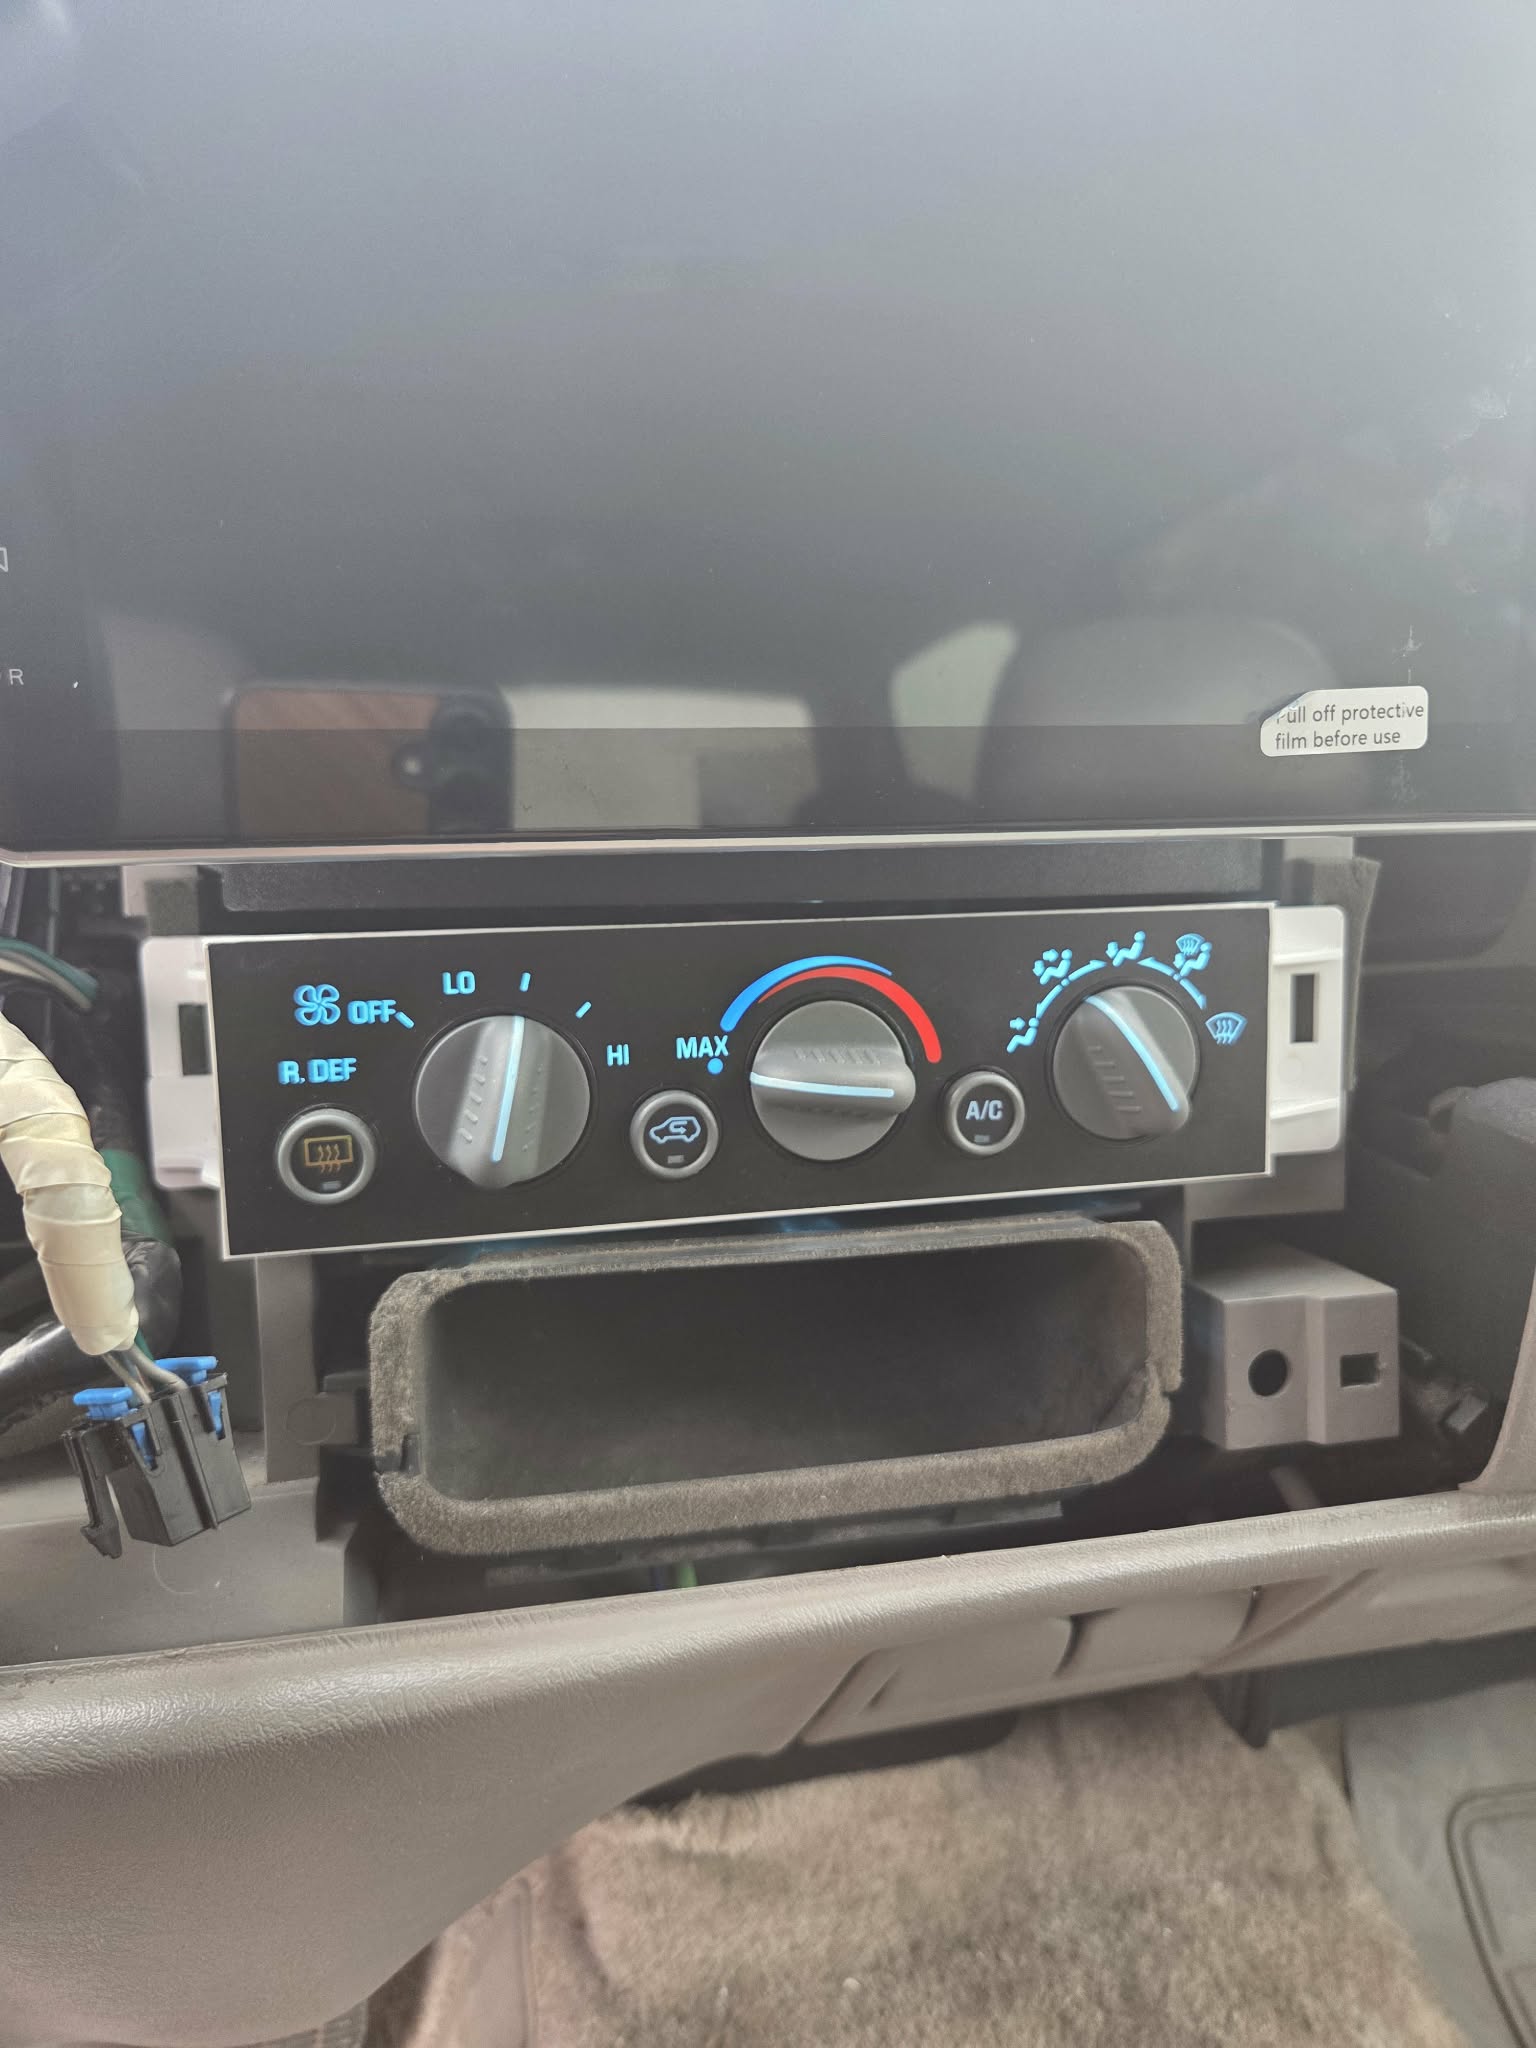
While the dash was off, I ordered LEDS for the HVAC controls and found a pocket for the removed CD player. The bulbs are T4.2’s for the HVAC controls and I went with the Ice Blues. Link to the bulbs here.
The next item on the hitlist was the rest of the interior LEDS!
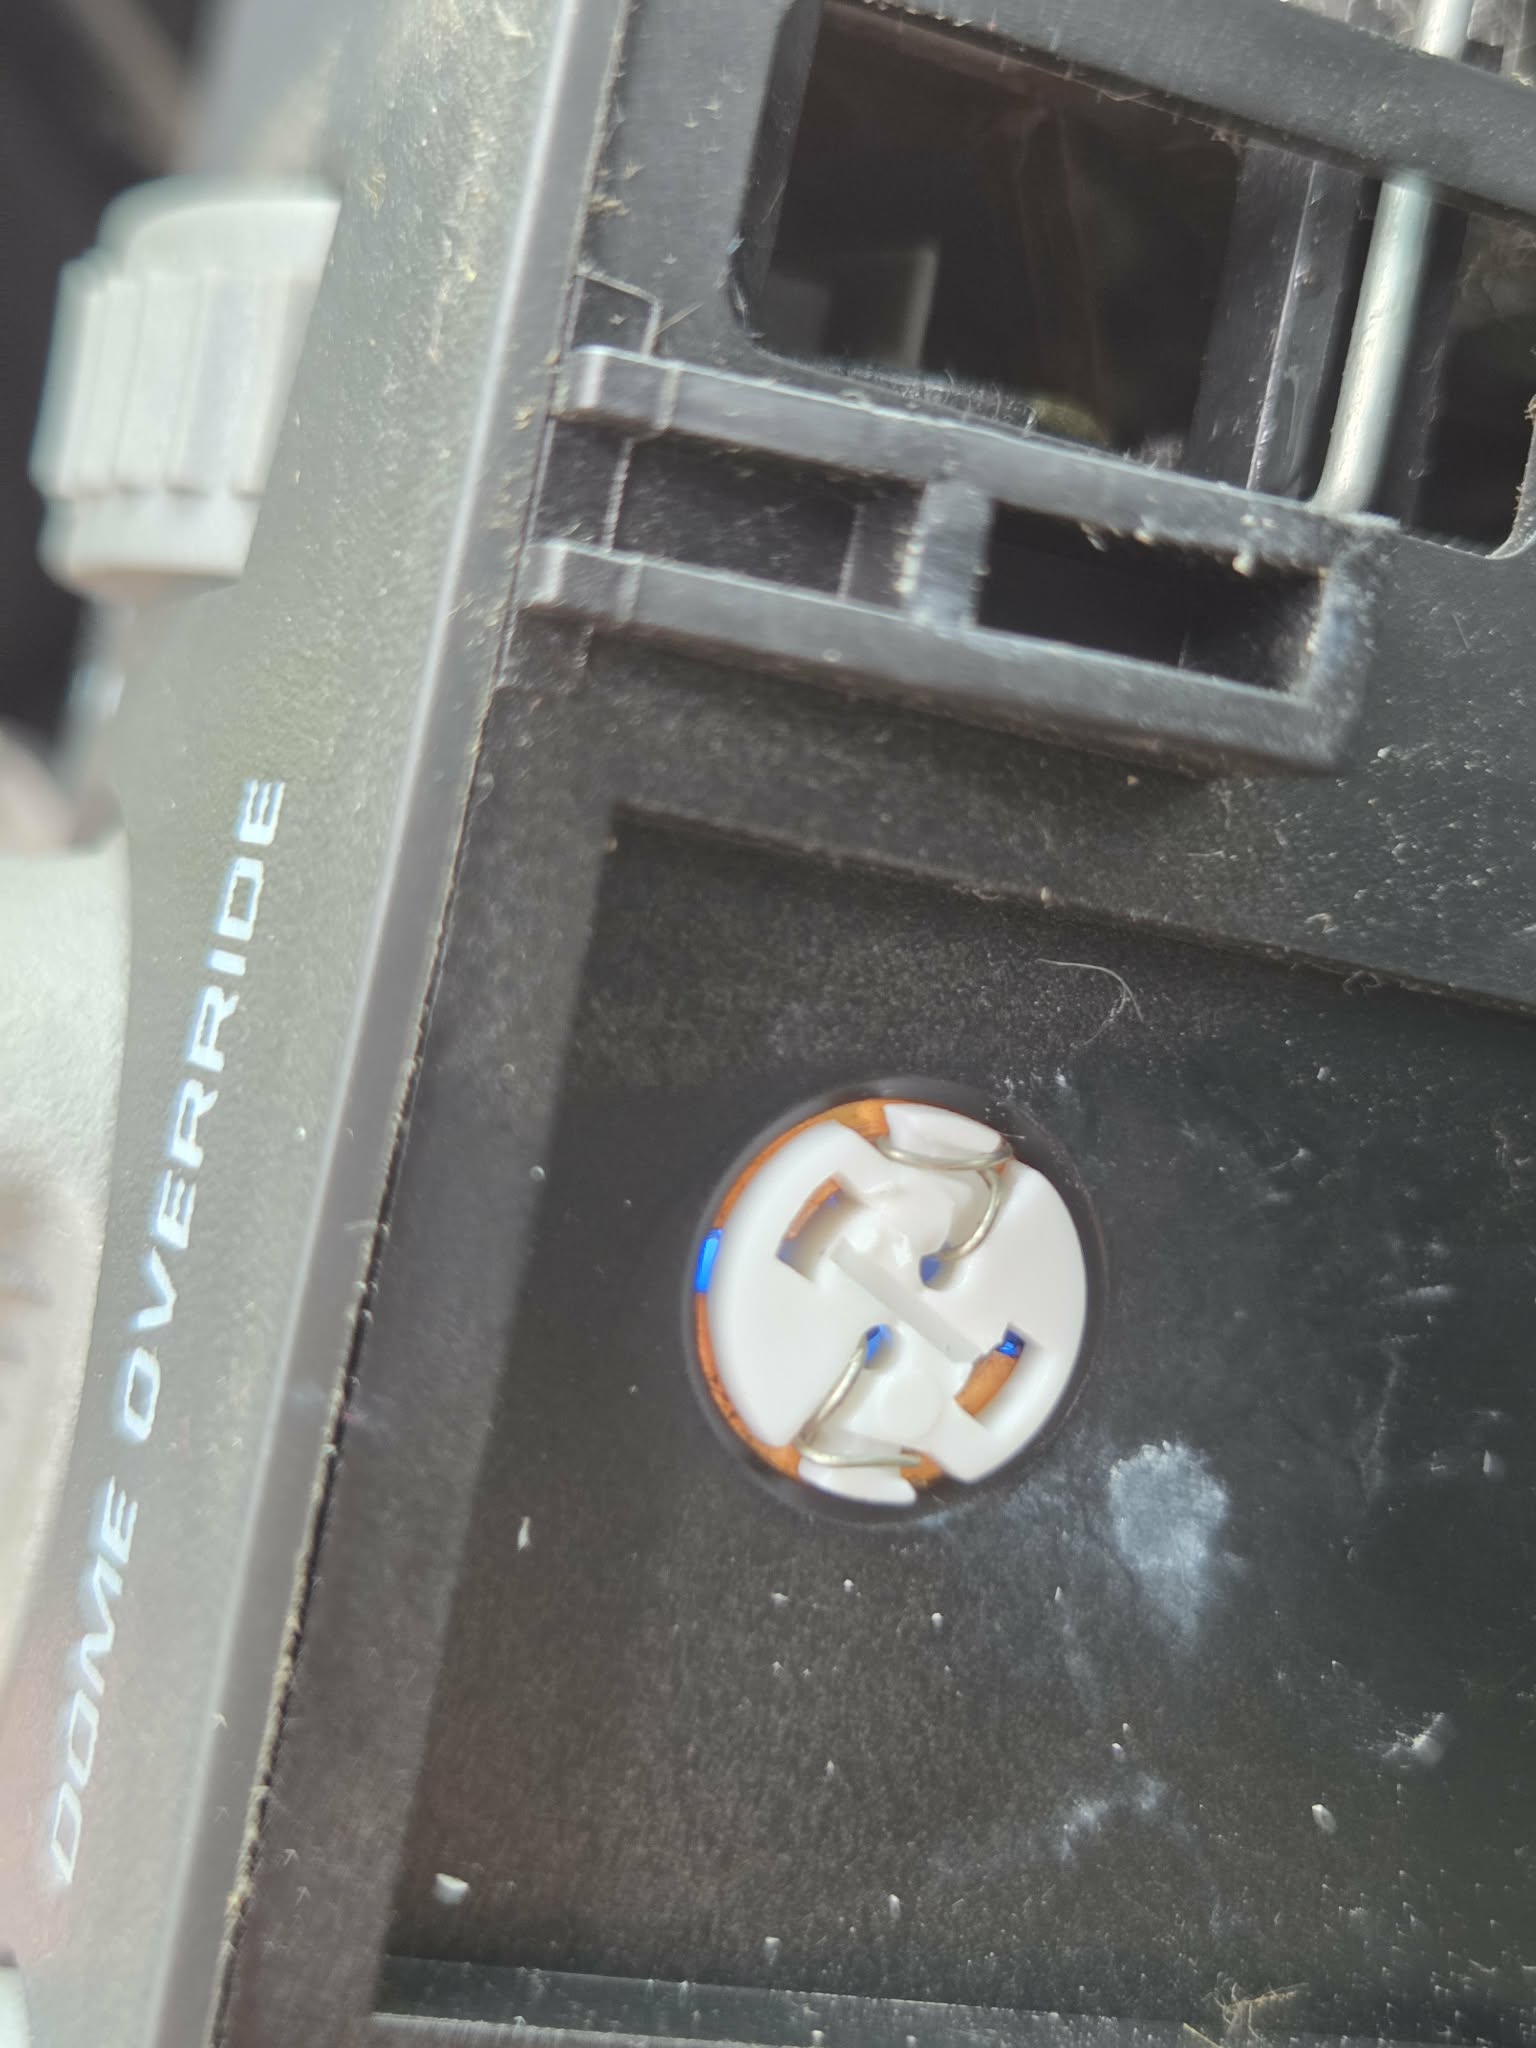
I did the headlight switch next. I found it easiest to simply use needle nose pliers to put the bulb in and twist it0. The bulb is a T3 for the headlight switch and I went with the Ice Blues. Link to the bulbs here.
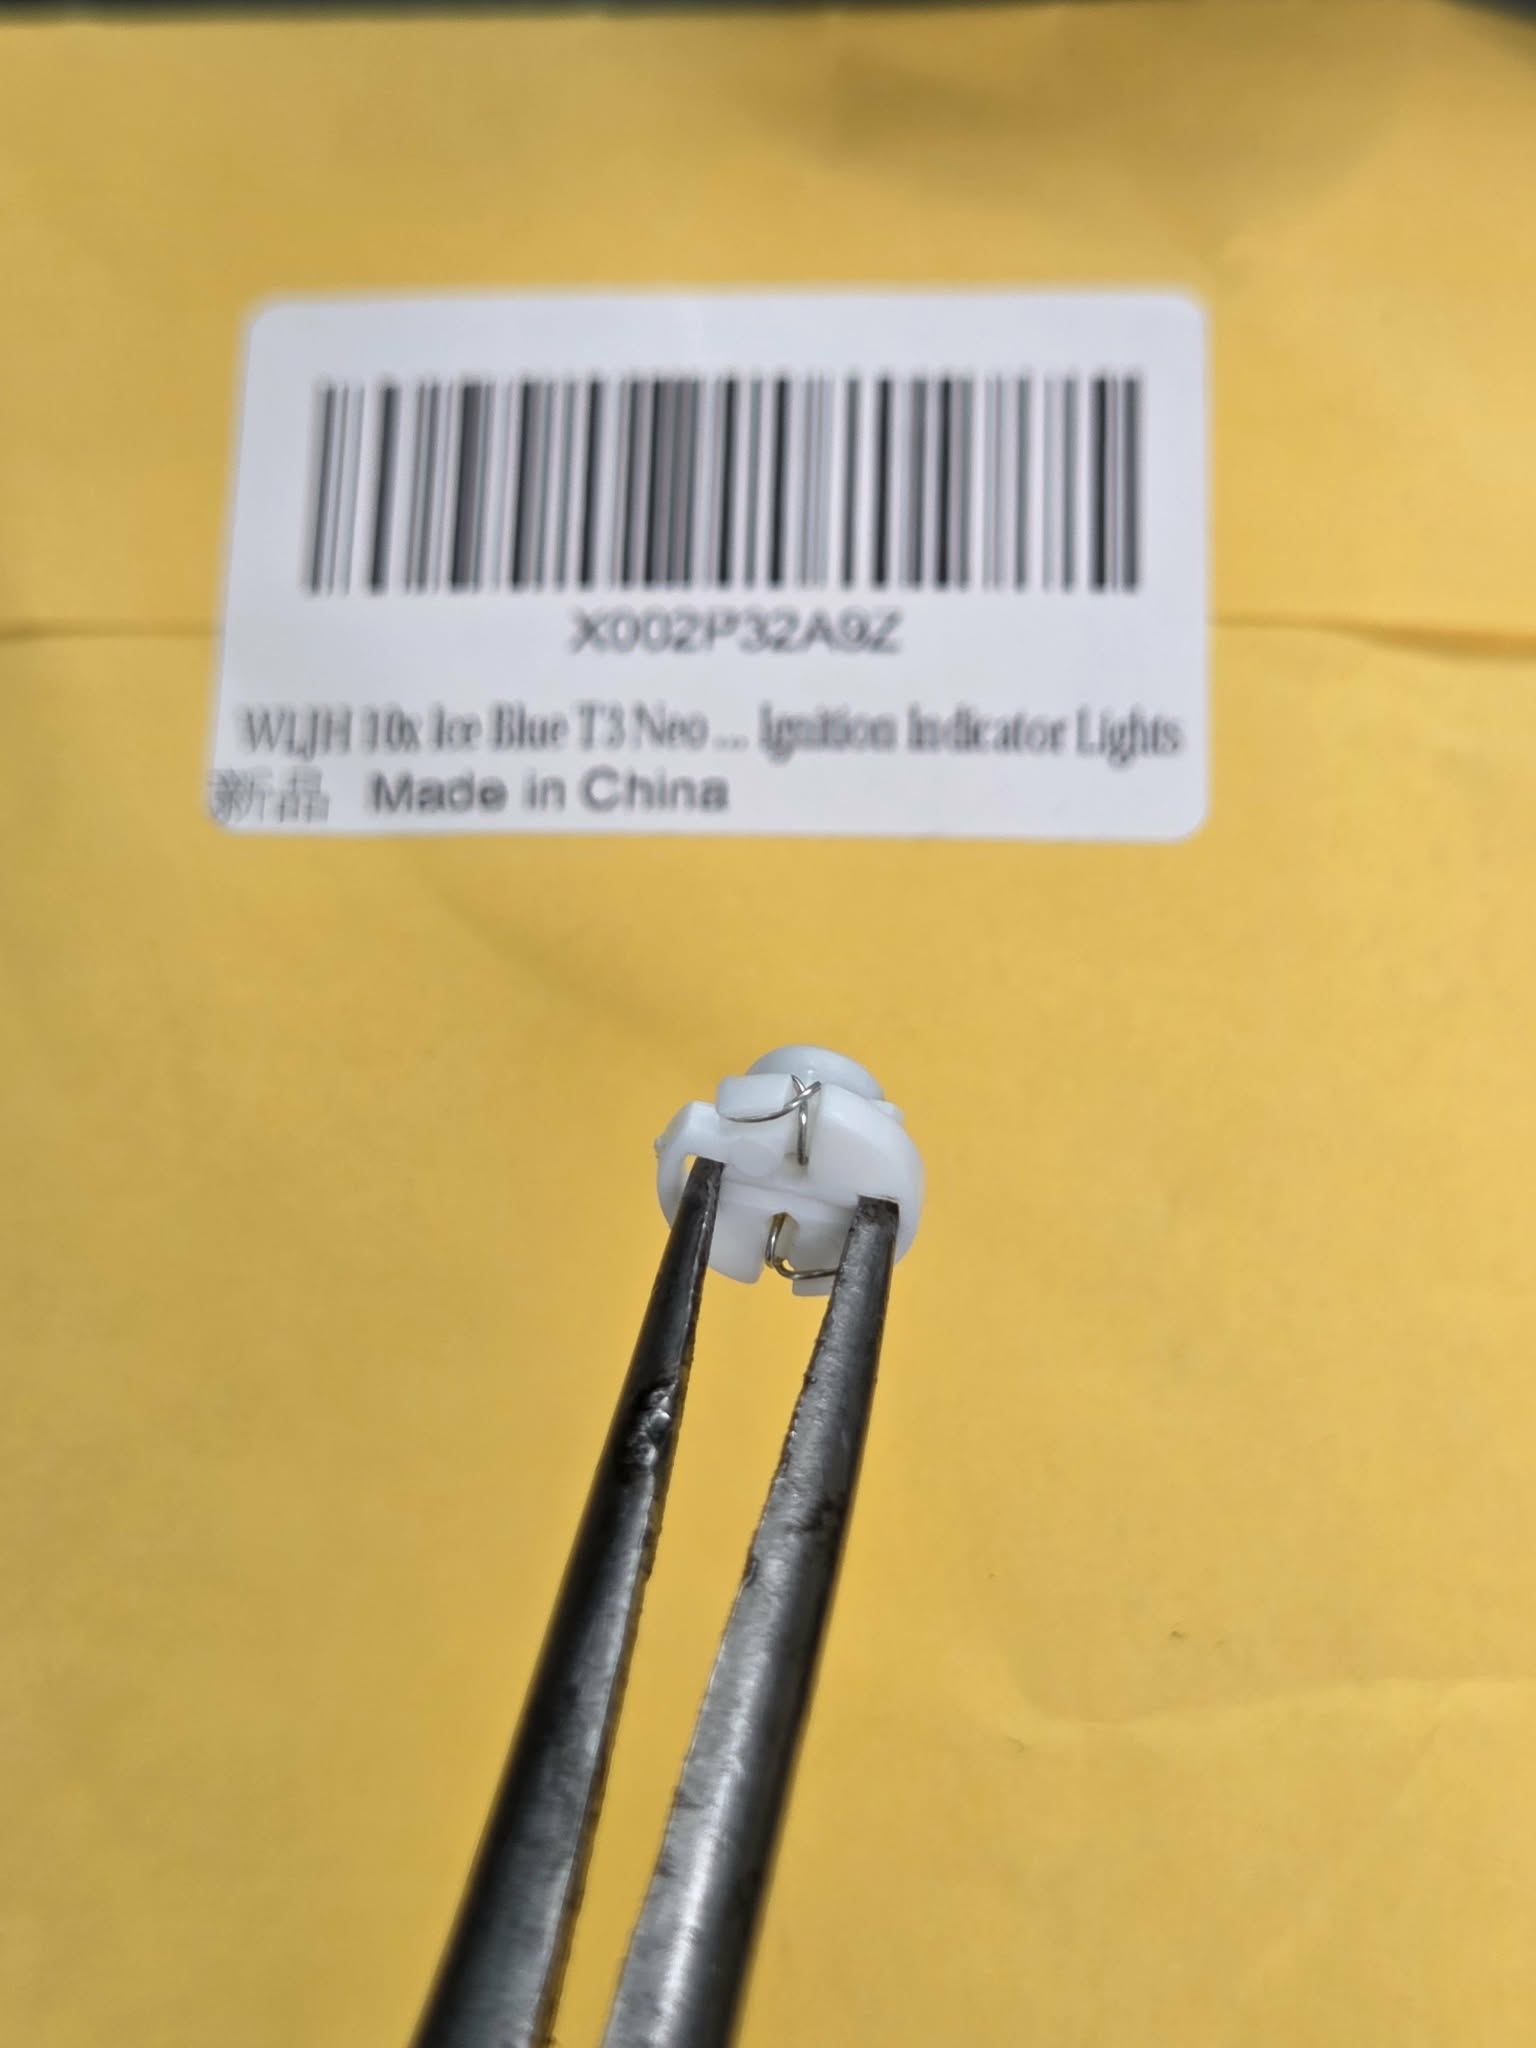
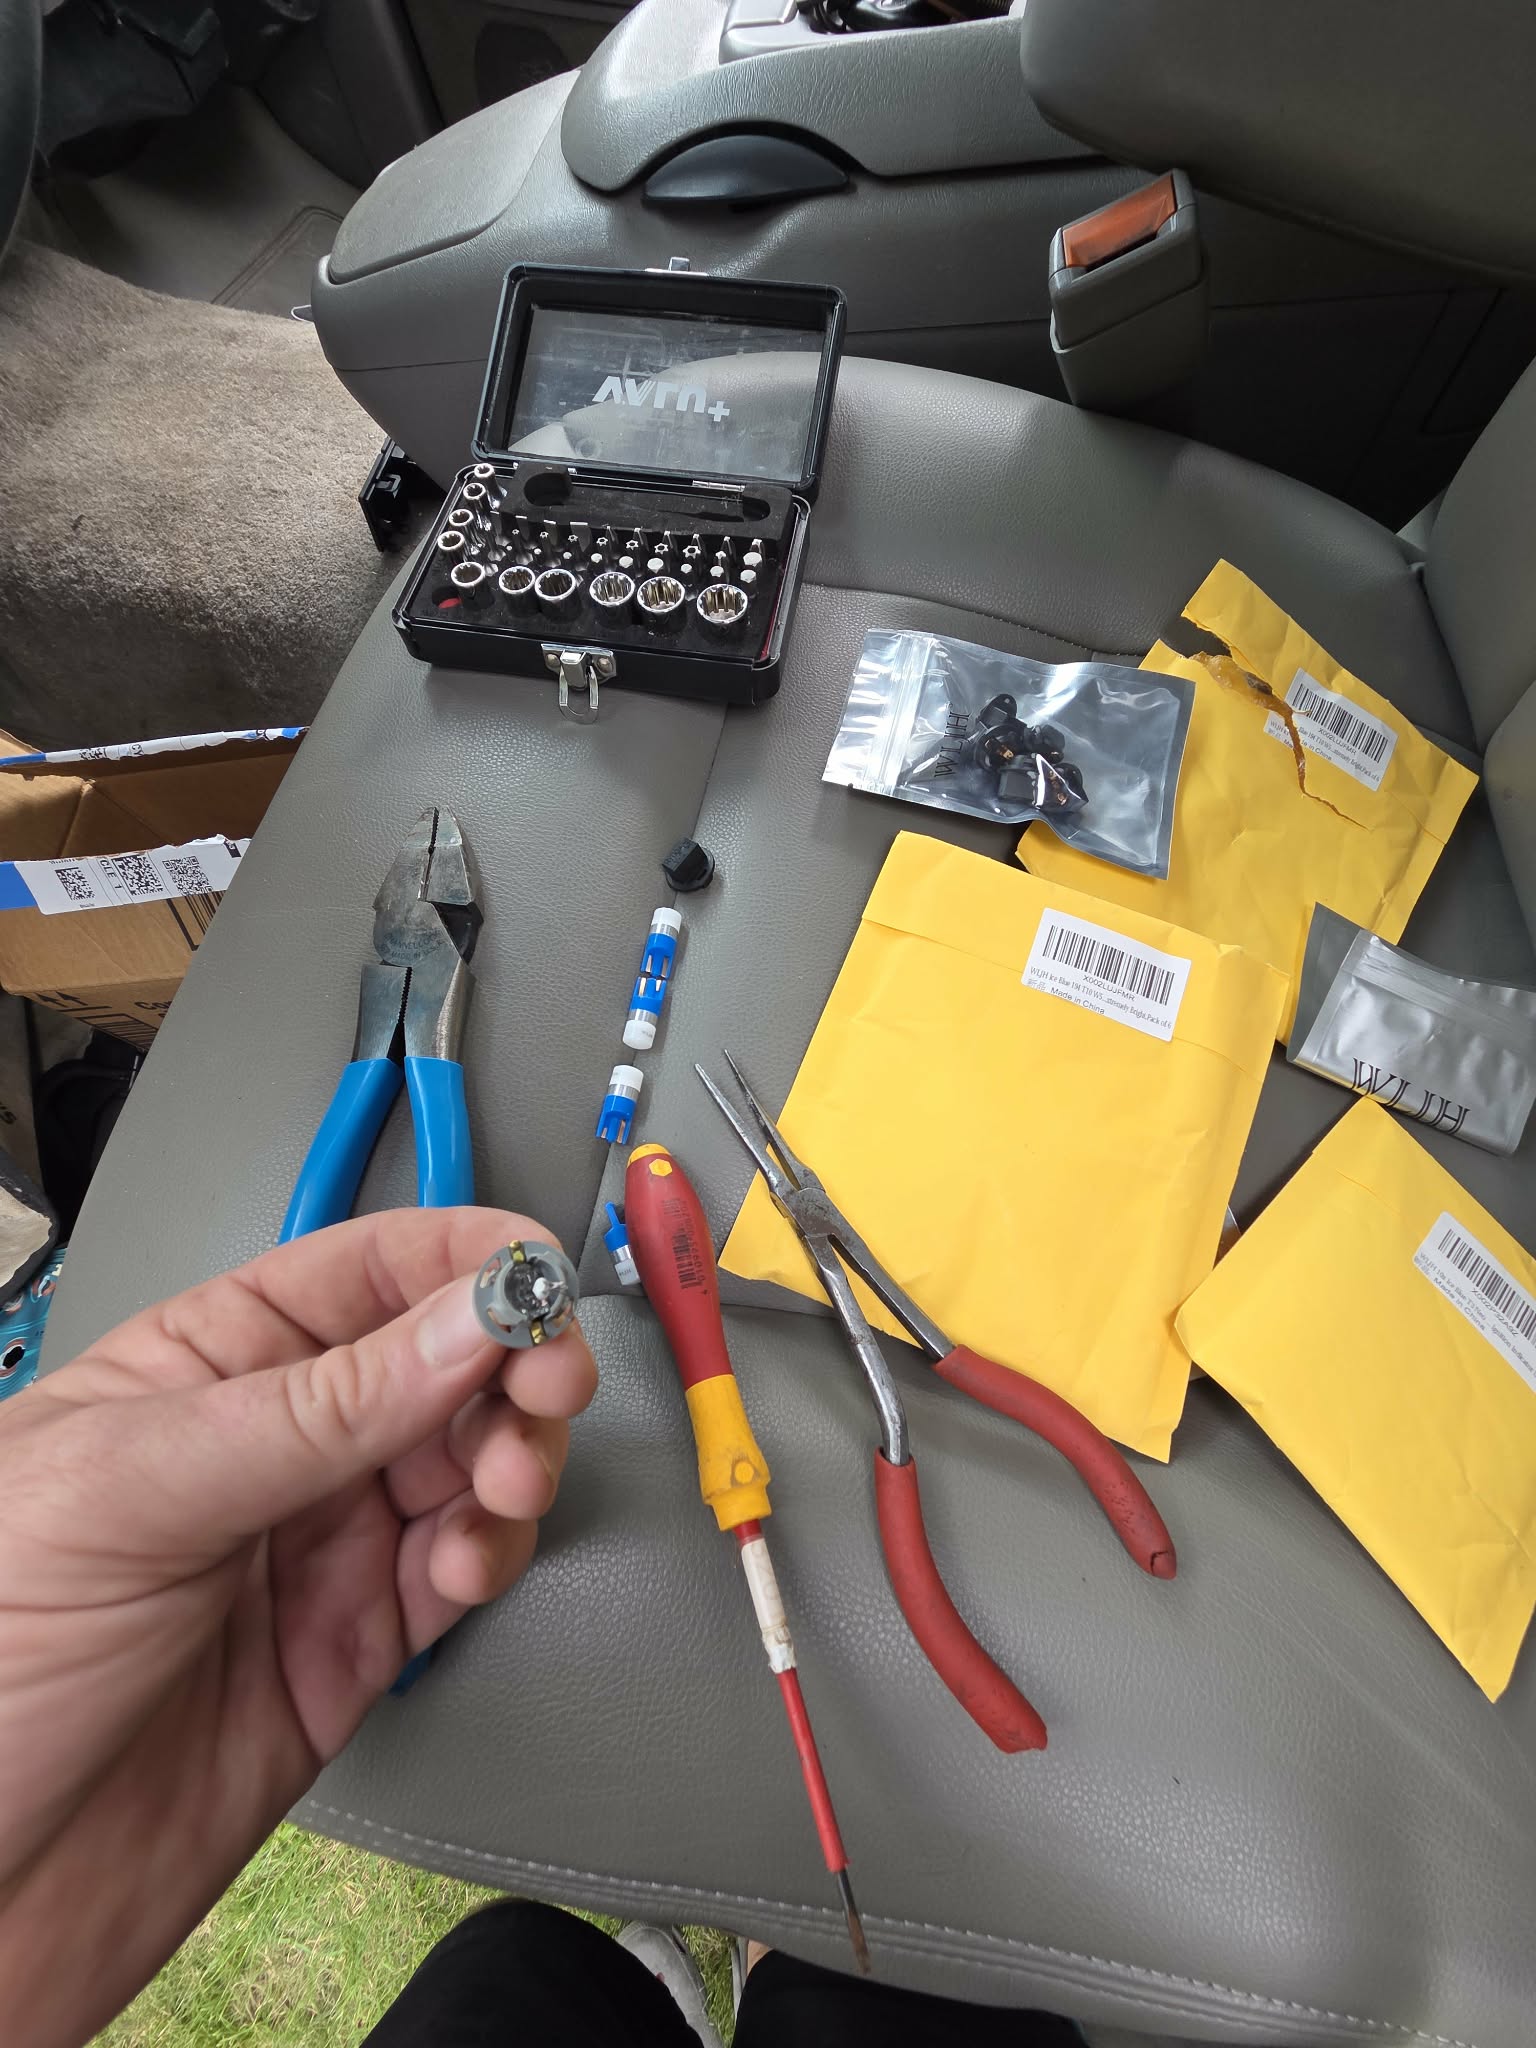
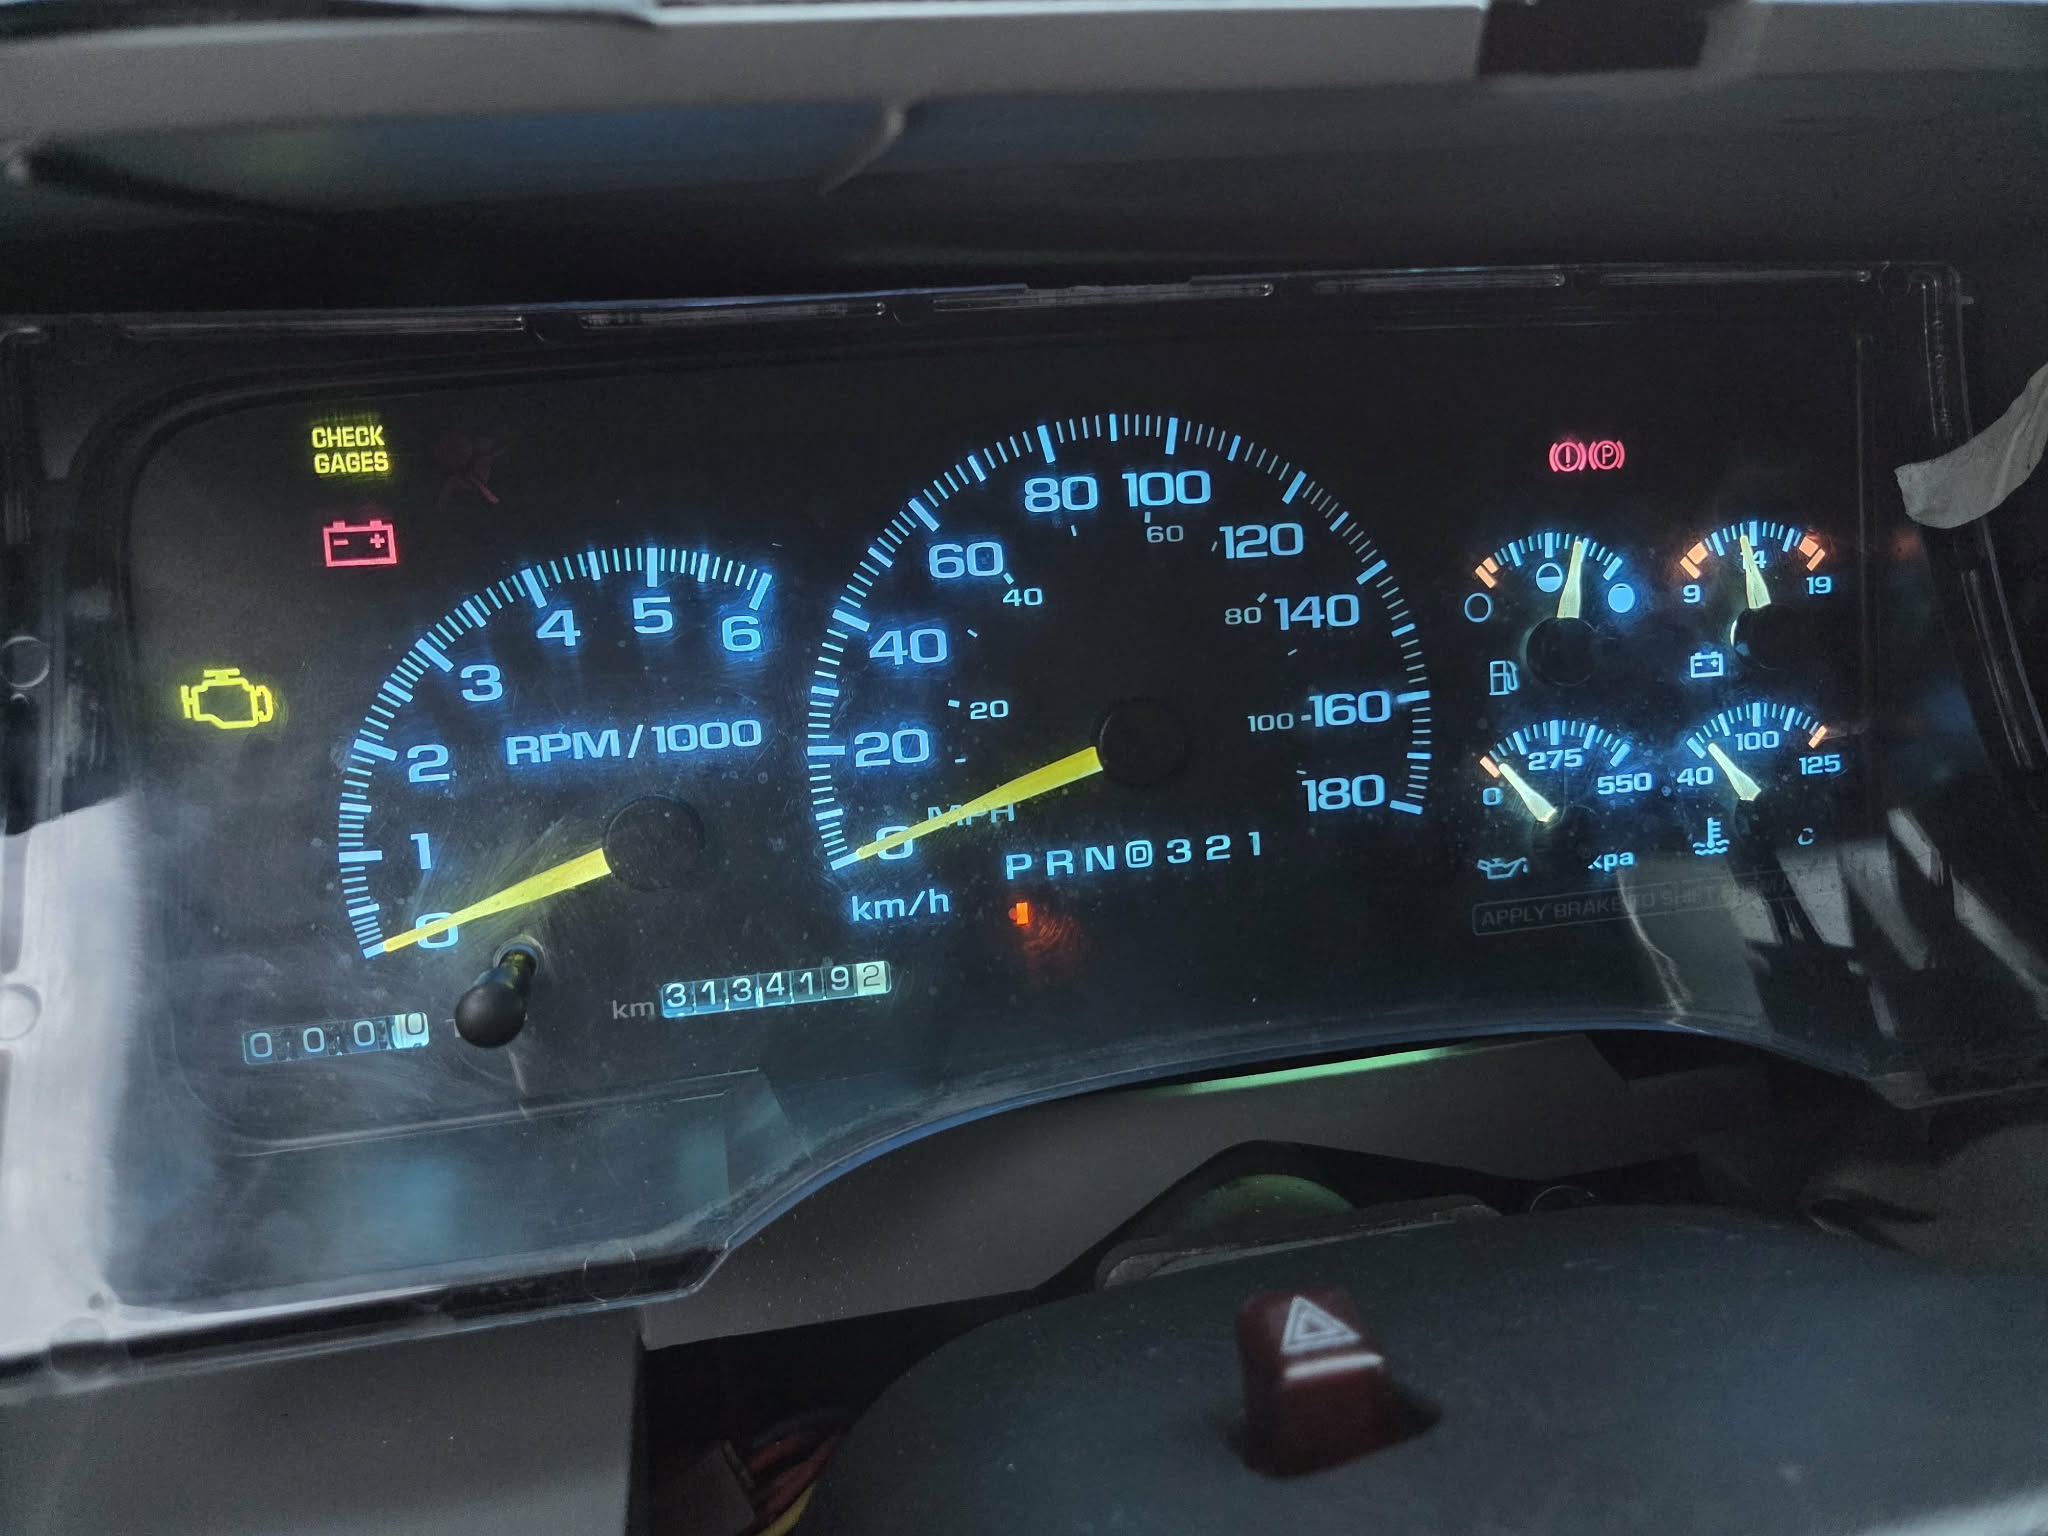
With the headlight switch and HVAC done I was onto the 28 year old cluster next. It definitely wasn’t bad, but needed a bit of love. The bulbs for the cluster are (8) 194/T10’s for the main illumination and (9) 74/T5’s for indication. Once again, I went with the Ice Blues. Link to the 194/T10 bulbs here and the 74/T5 bulbs are here. It’s always good to order packs of 10 and have spares as I did break one or two of the new bulbs along the way.
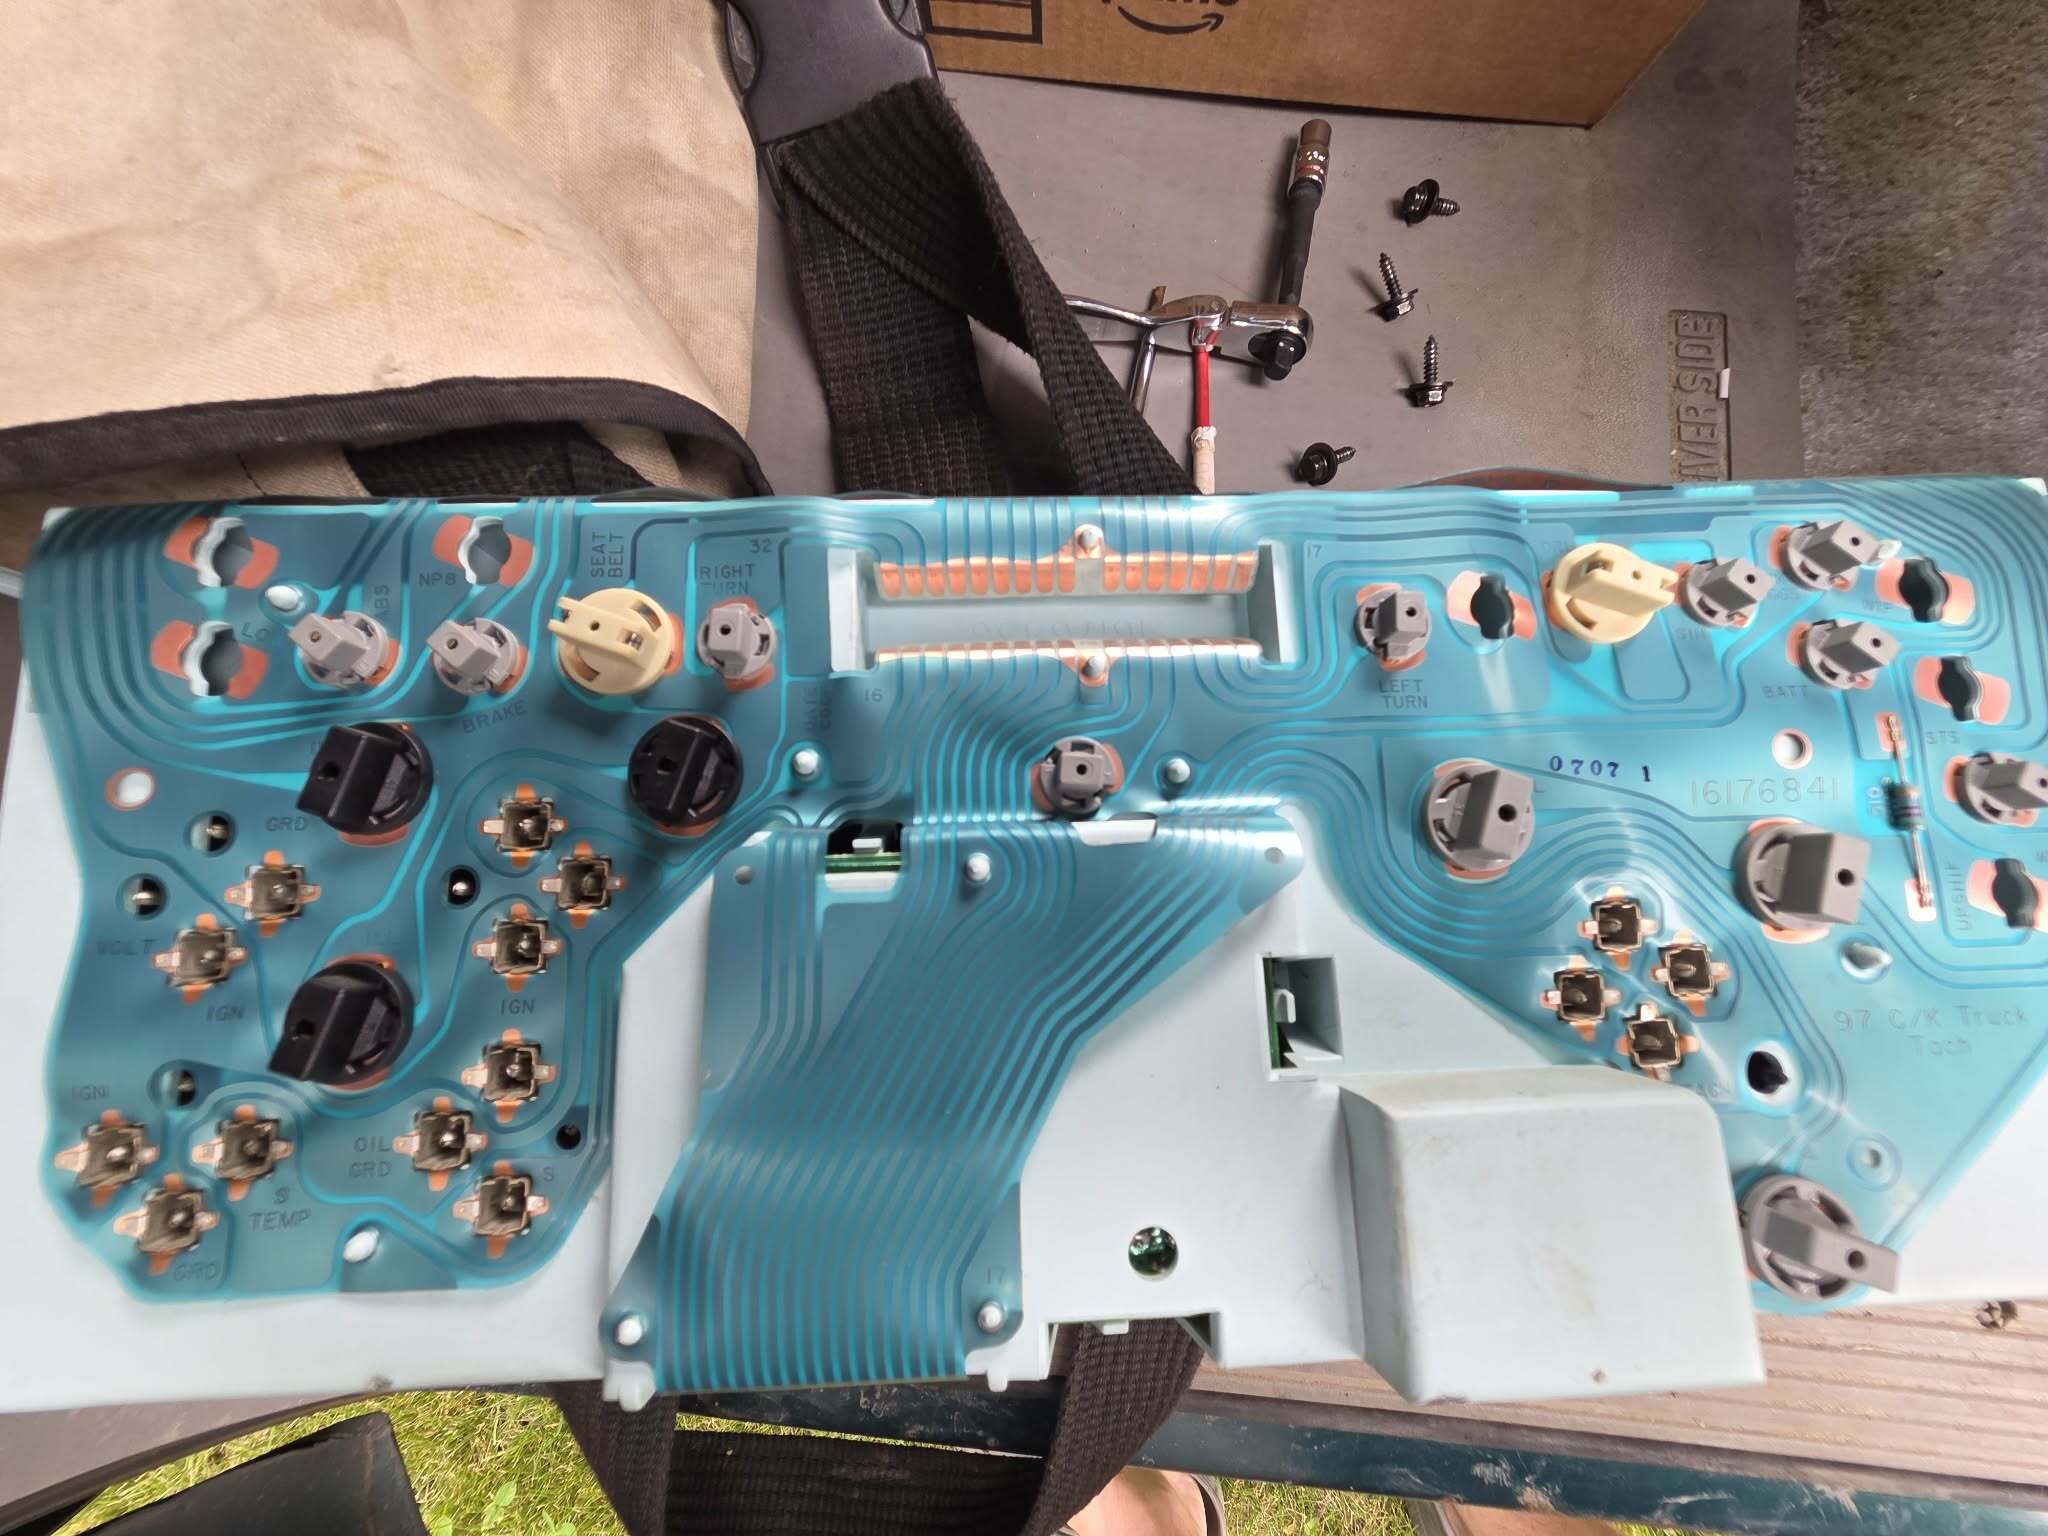
I also broke one or two of the 28 year old halogen bulbs! I’m sure that the ones that I broke were factory bulbs as they sure were in there.
I finished the cluster bulbs and had to check it out! The mileage on the Yukon is ~314,000 kilometers or 195,000 miles. Not exactly new, but then again GM isn’t exactly making new GMT400’s anymore
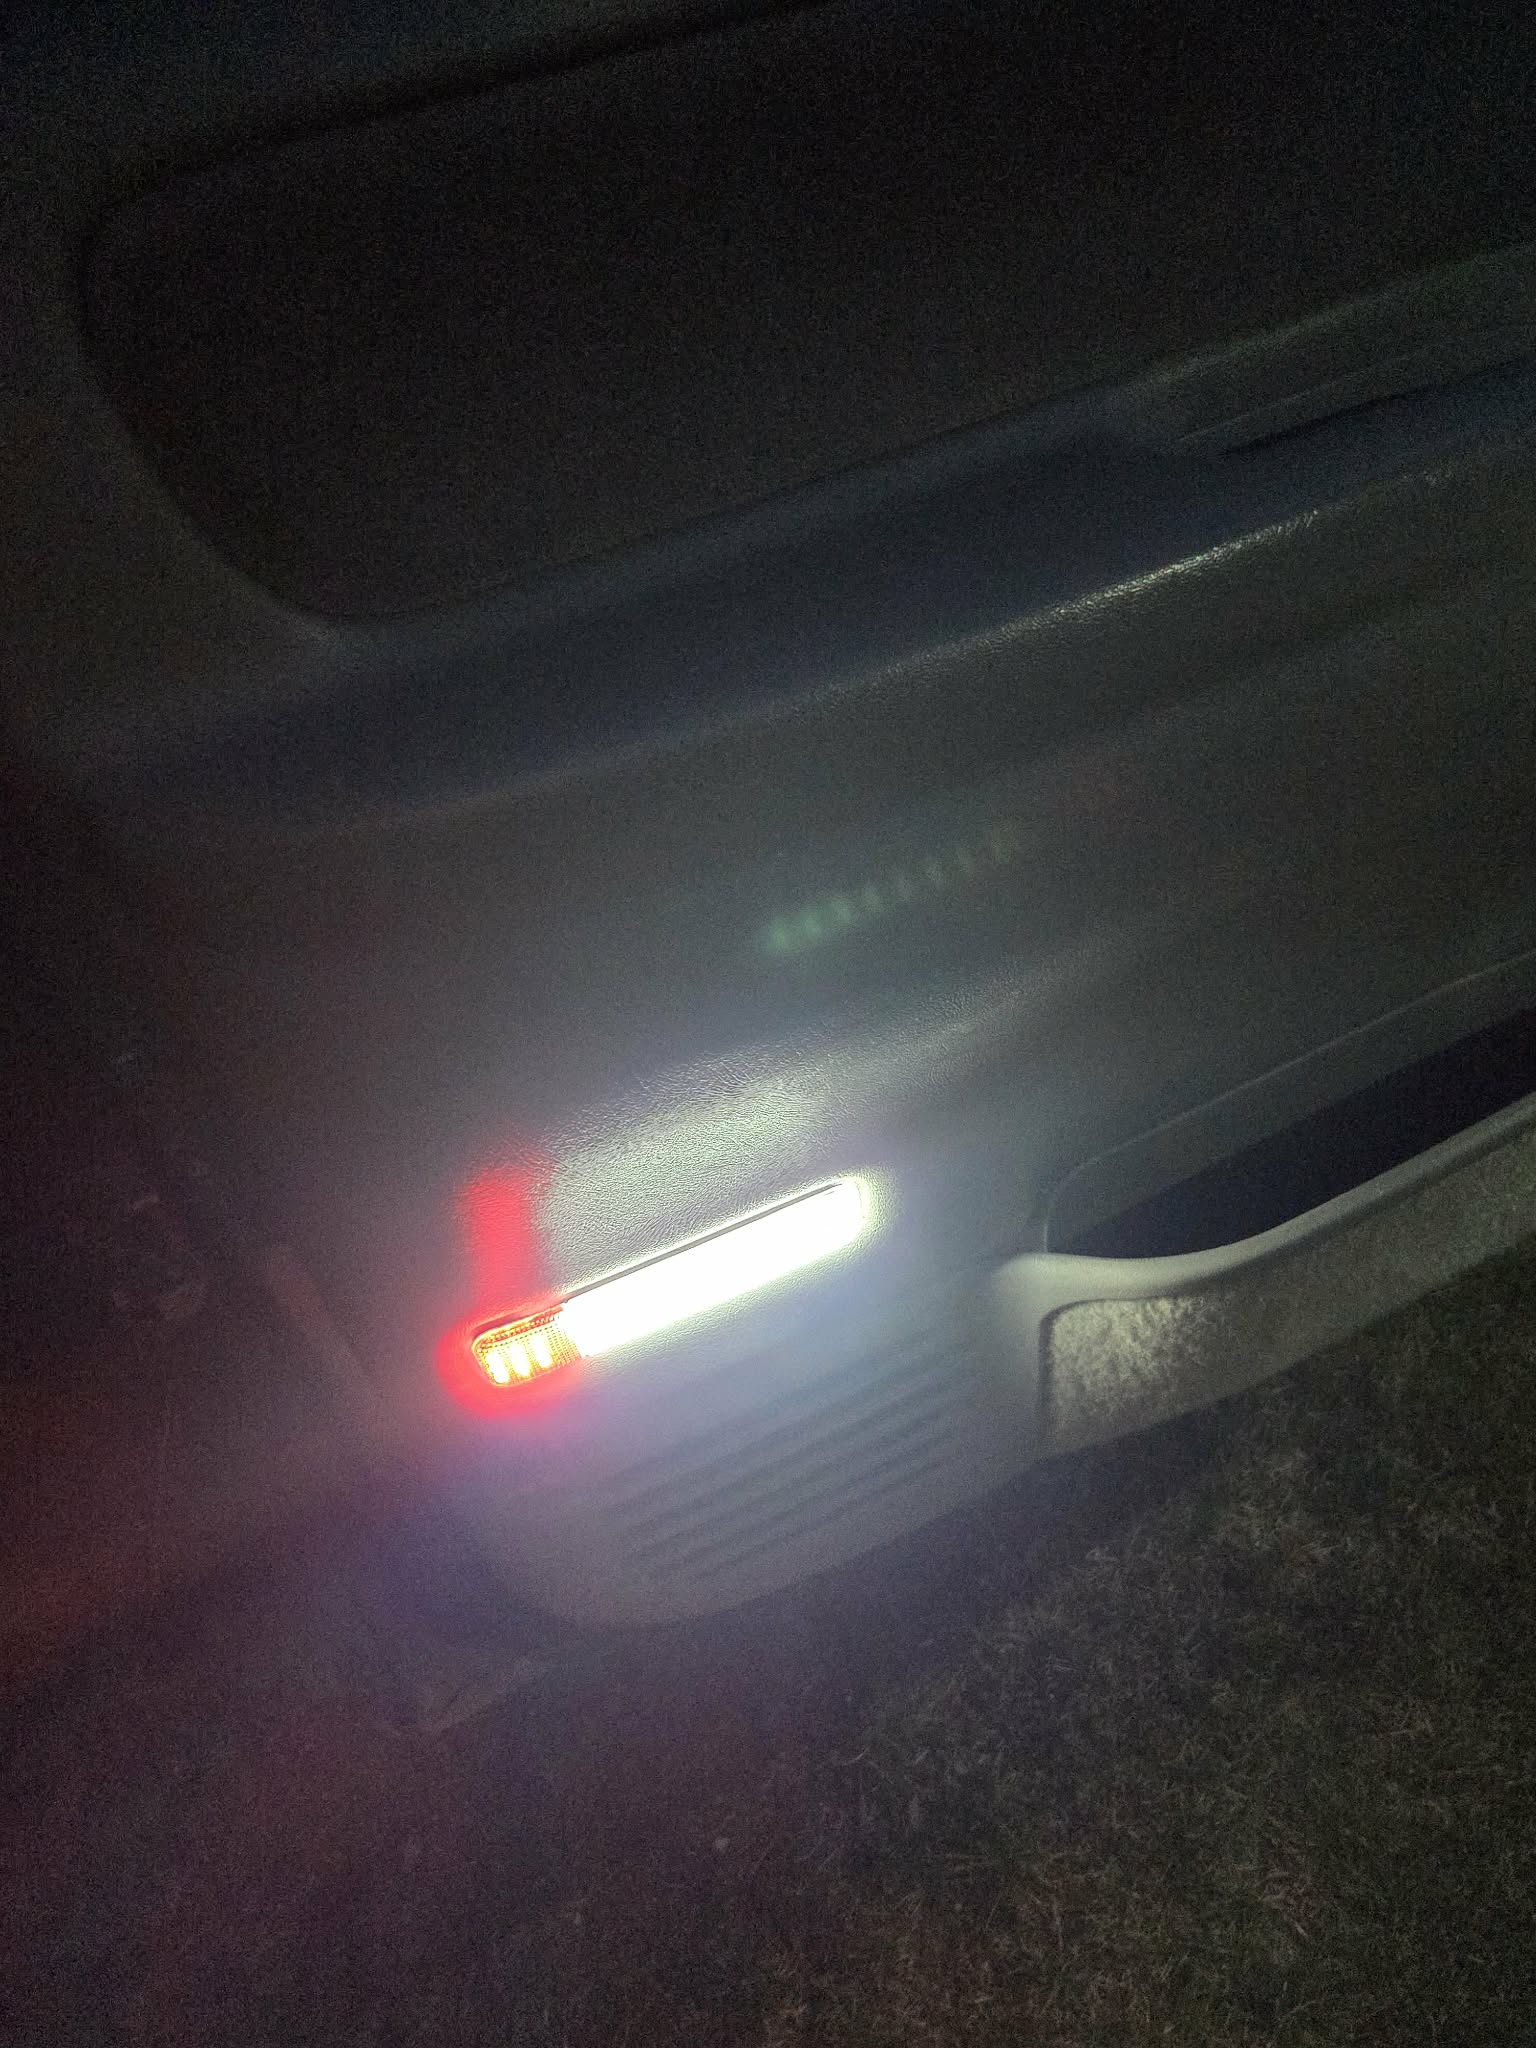
I had some extra 194’s and did the doors as well as the (2) underdash bulbs.
The cluster had some swirls and scratches. I’ve had great luck polishing cluster glass out with Meguiar’s PlastX. I gave it a go with the Meguiar’s and a microfiber and took some night time pictures!
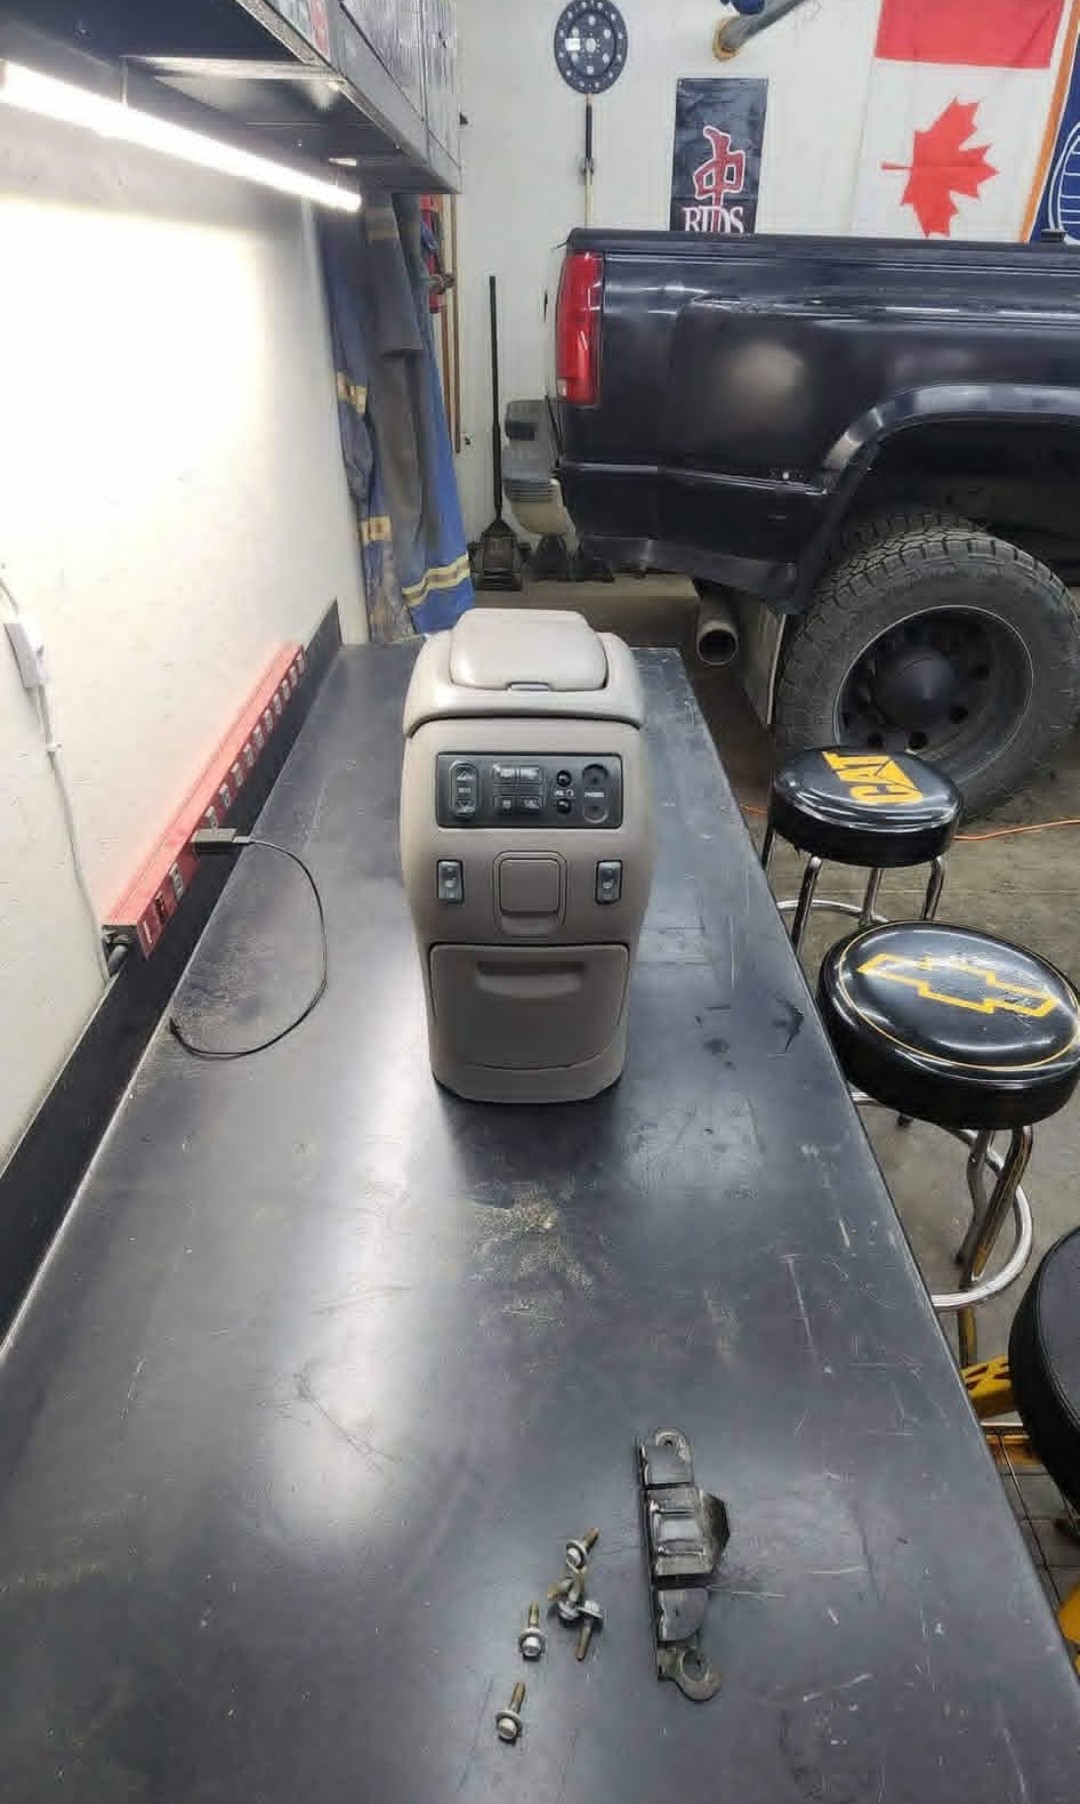
With the seats, lights and mechanical done I took it for a few cruises and realized that we could do better with the console. I started to then look for an OBS Escalade console and luckily I found the PERFECT candidate for the Yukon. It was an hour away, fully intact. The rear cupholder hinges weren’t even broke! I knew this was next on my list!
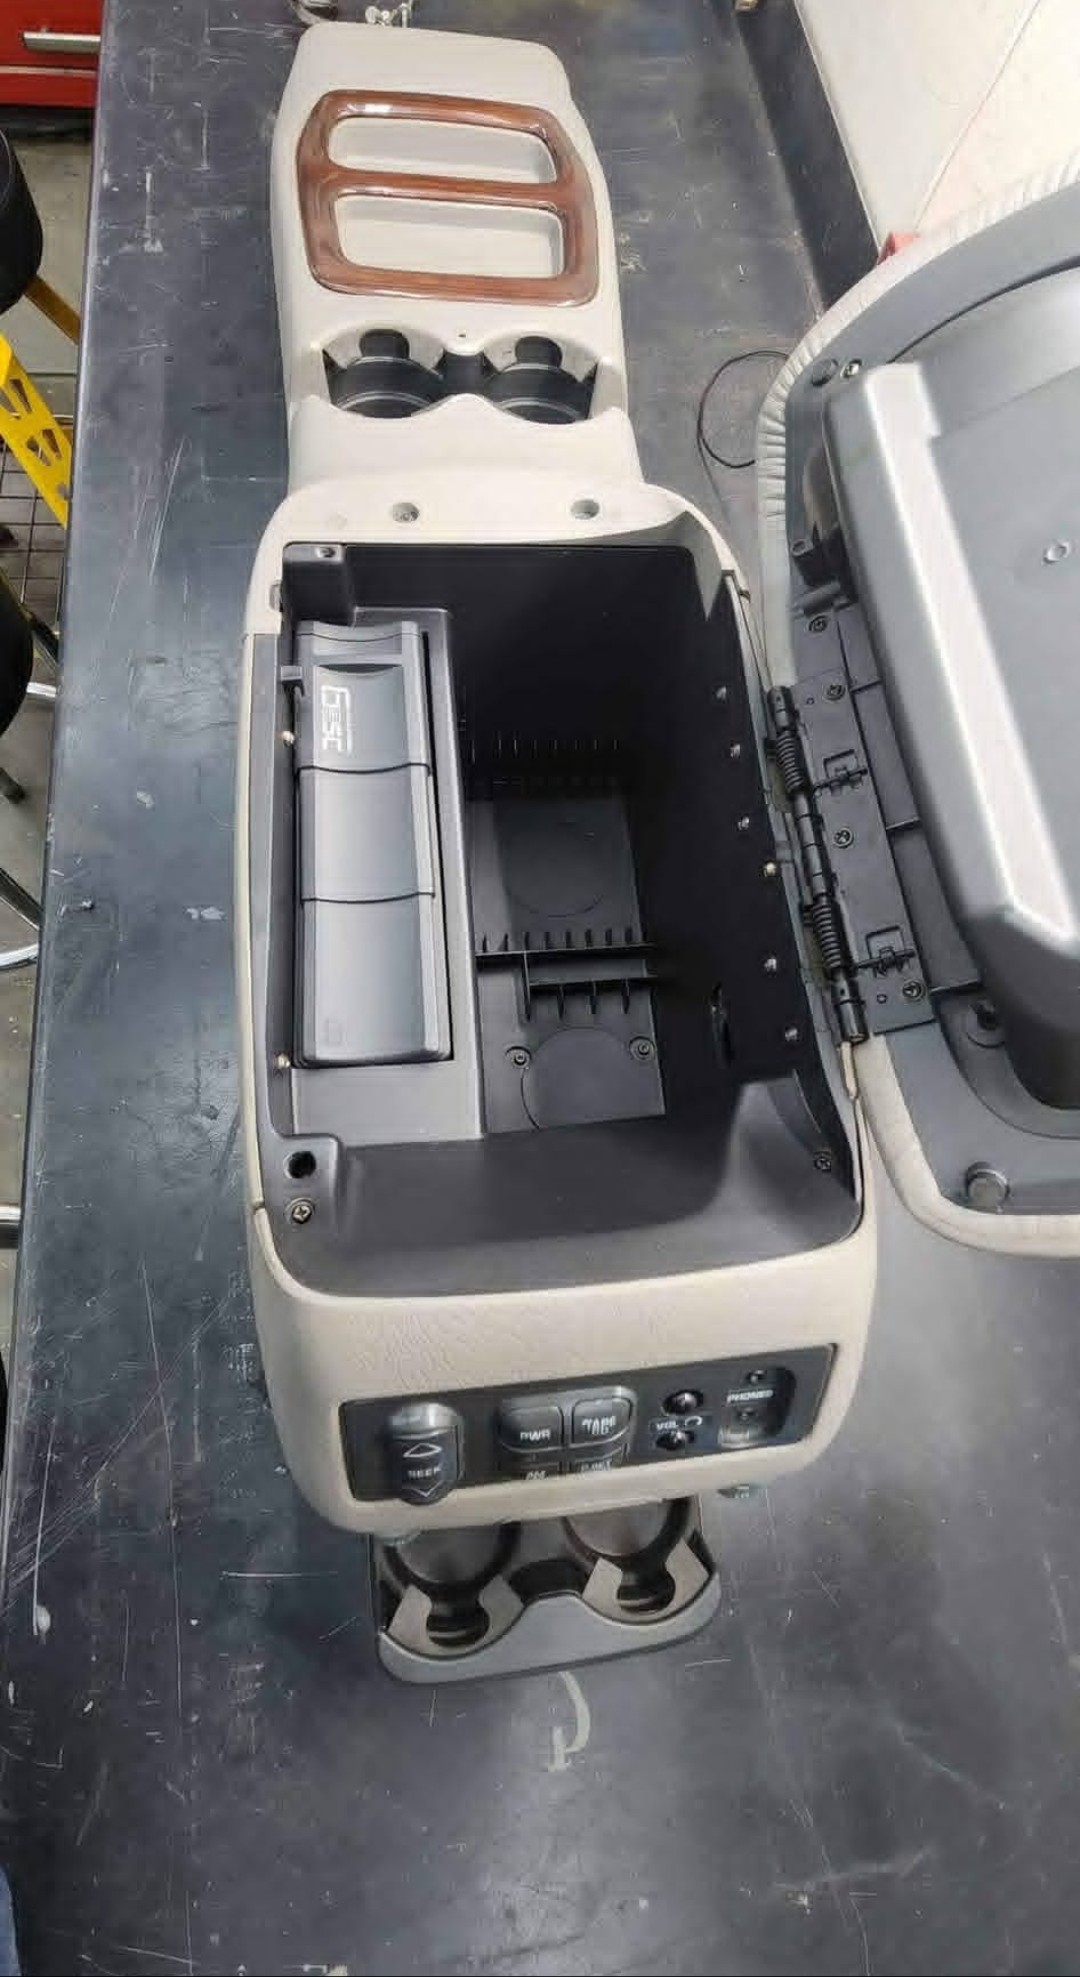
I ended up getting the OBS Escalade console from a mechanic and fellow Chevy lover who had Duramax swapped his OBS CCSB truck. He had said he was hanging onto this console in case he ever did another OBS but ultimately sold it (I was happy about that!).
I remember chatting with the guy for quite a bit. Can’t remember his name (but hope he sees this and joins the forum). IIRC it was a ‘99 or 2000 Crew cab truck. He swapped the drivetrain and interior of a ‘2002 Duramax into it. Clean, cool build!
The console was installed after the middle tunnel was carpet cleaned, and then the rear 12V was wired up. The full swap guide can be read here. I was ecstatic with my choice and how it was all coming together! Don’t mind the carpets; they still needed to be cleaned at this point.
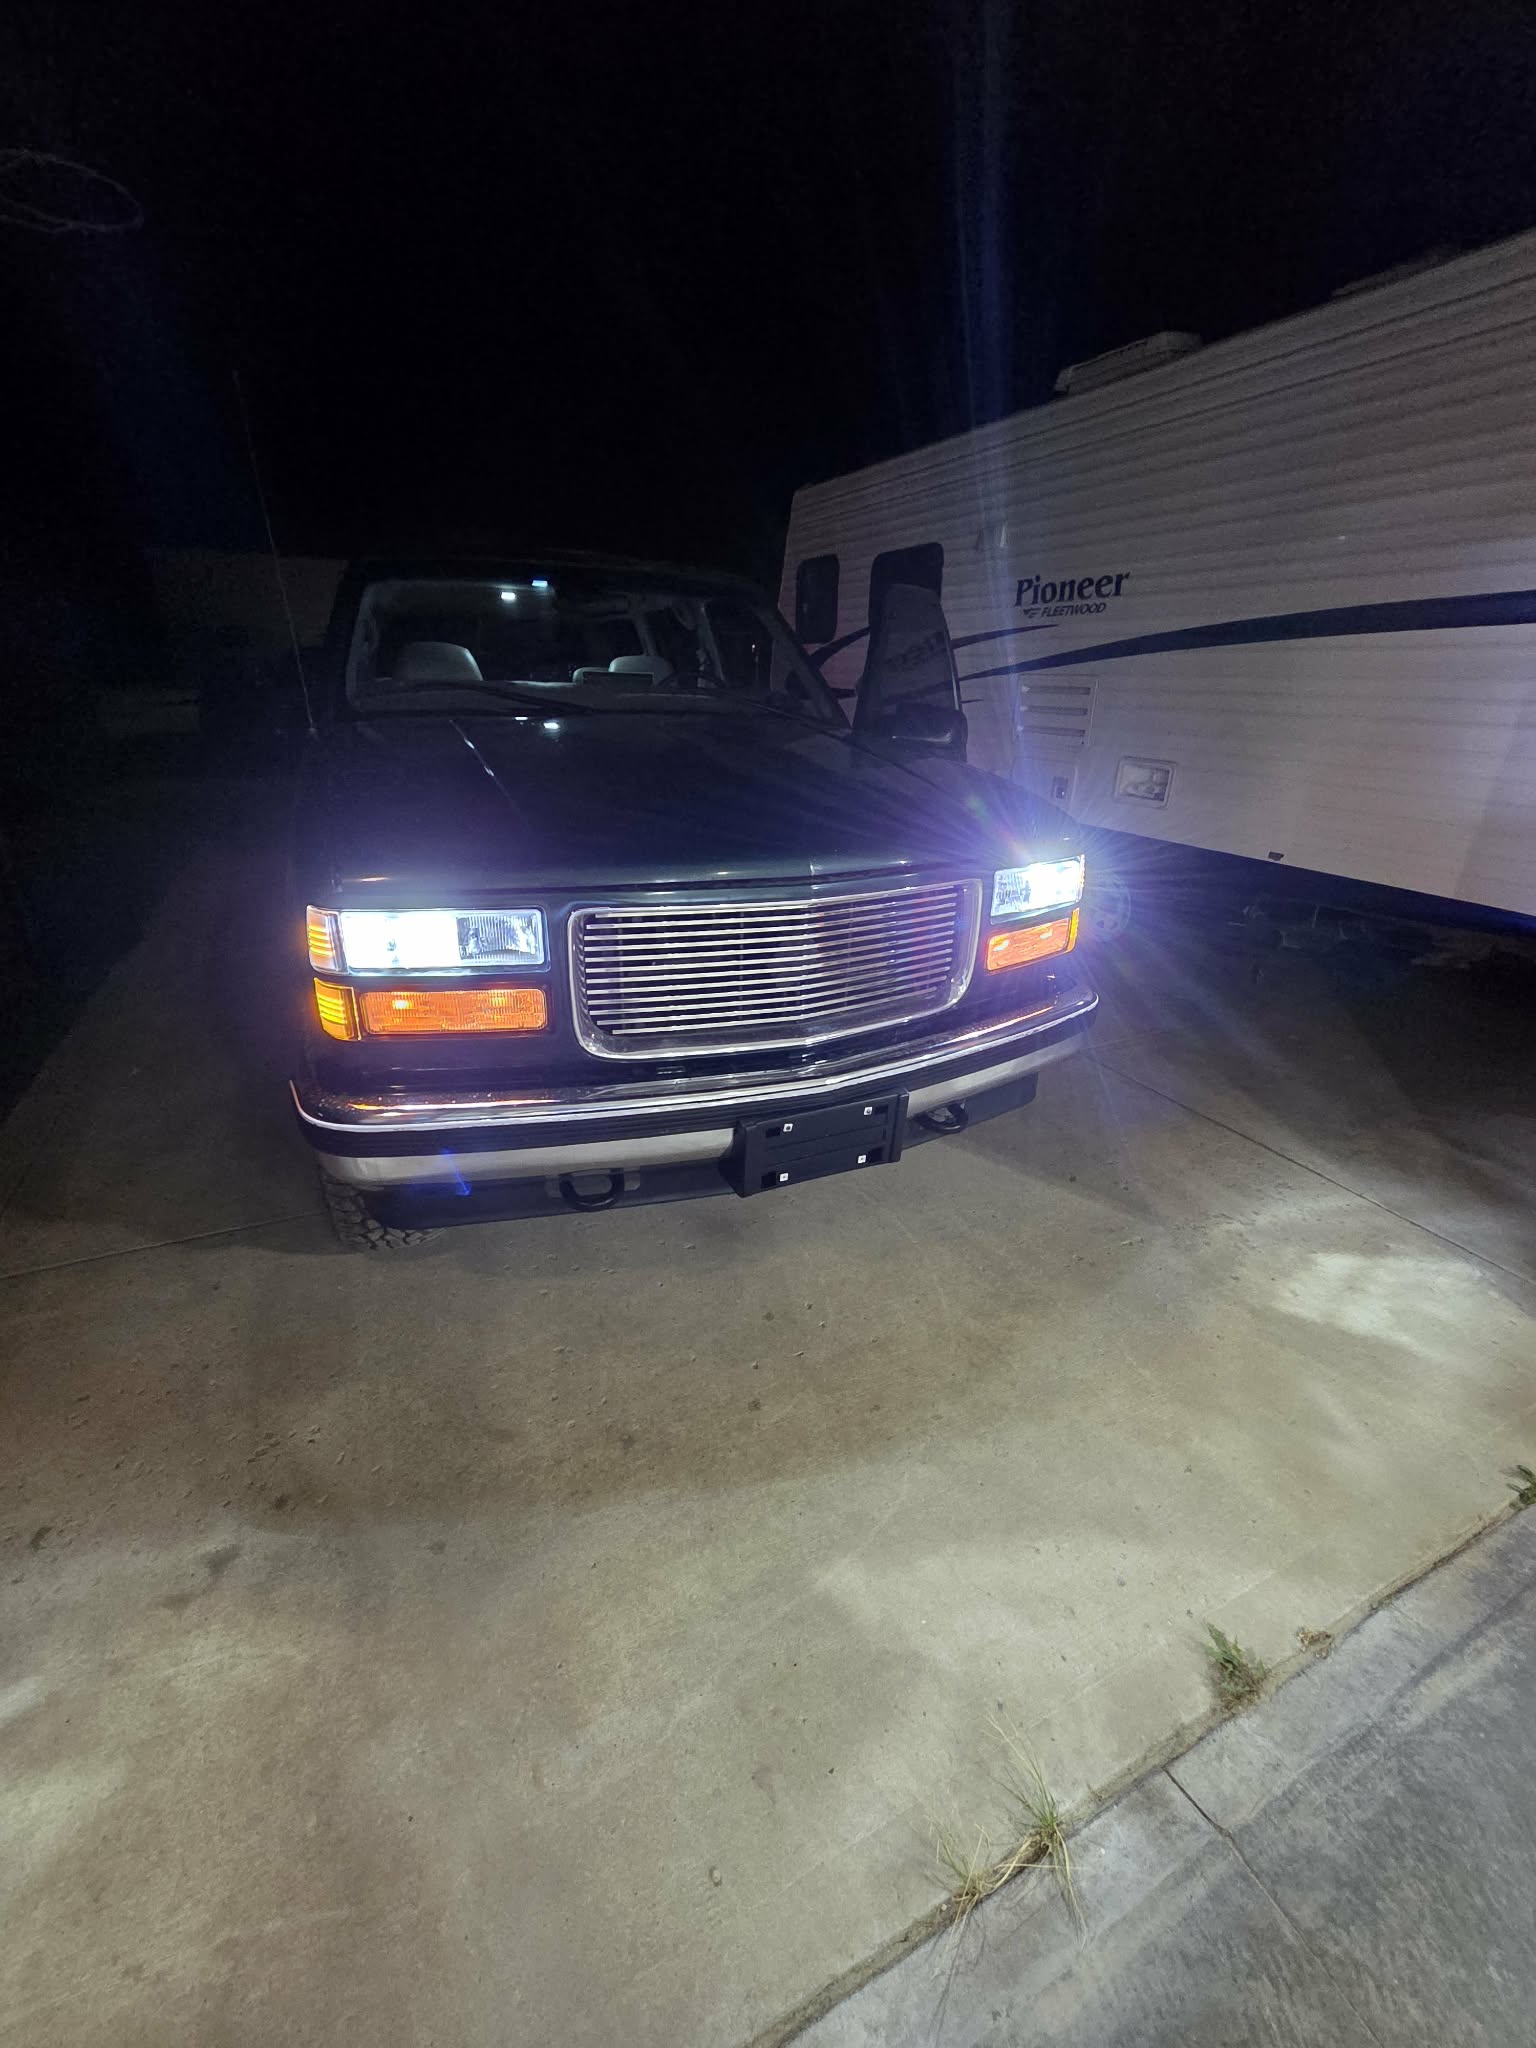
After this, I took a break and focused on the exterior. I installed all new headlight and park light housings. Sequential LED’s were installed up front for signal lights. You can find the sequential LED writeup for OBS Chevy’s here. I also chose to go with a billet grille - which really cleaned up the front end. I then gave it a good detail and ceramic coat over all exterior finishes using Gyeon’s ceramic coating. I polished the bumpers as well using Autosol polish. After the exterior cleanup I took it in for tint. 20% went on the front sides, with 5% going over the rear windows.
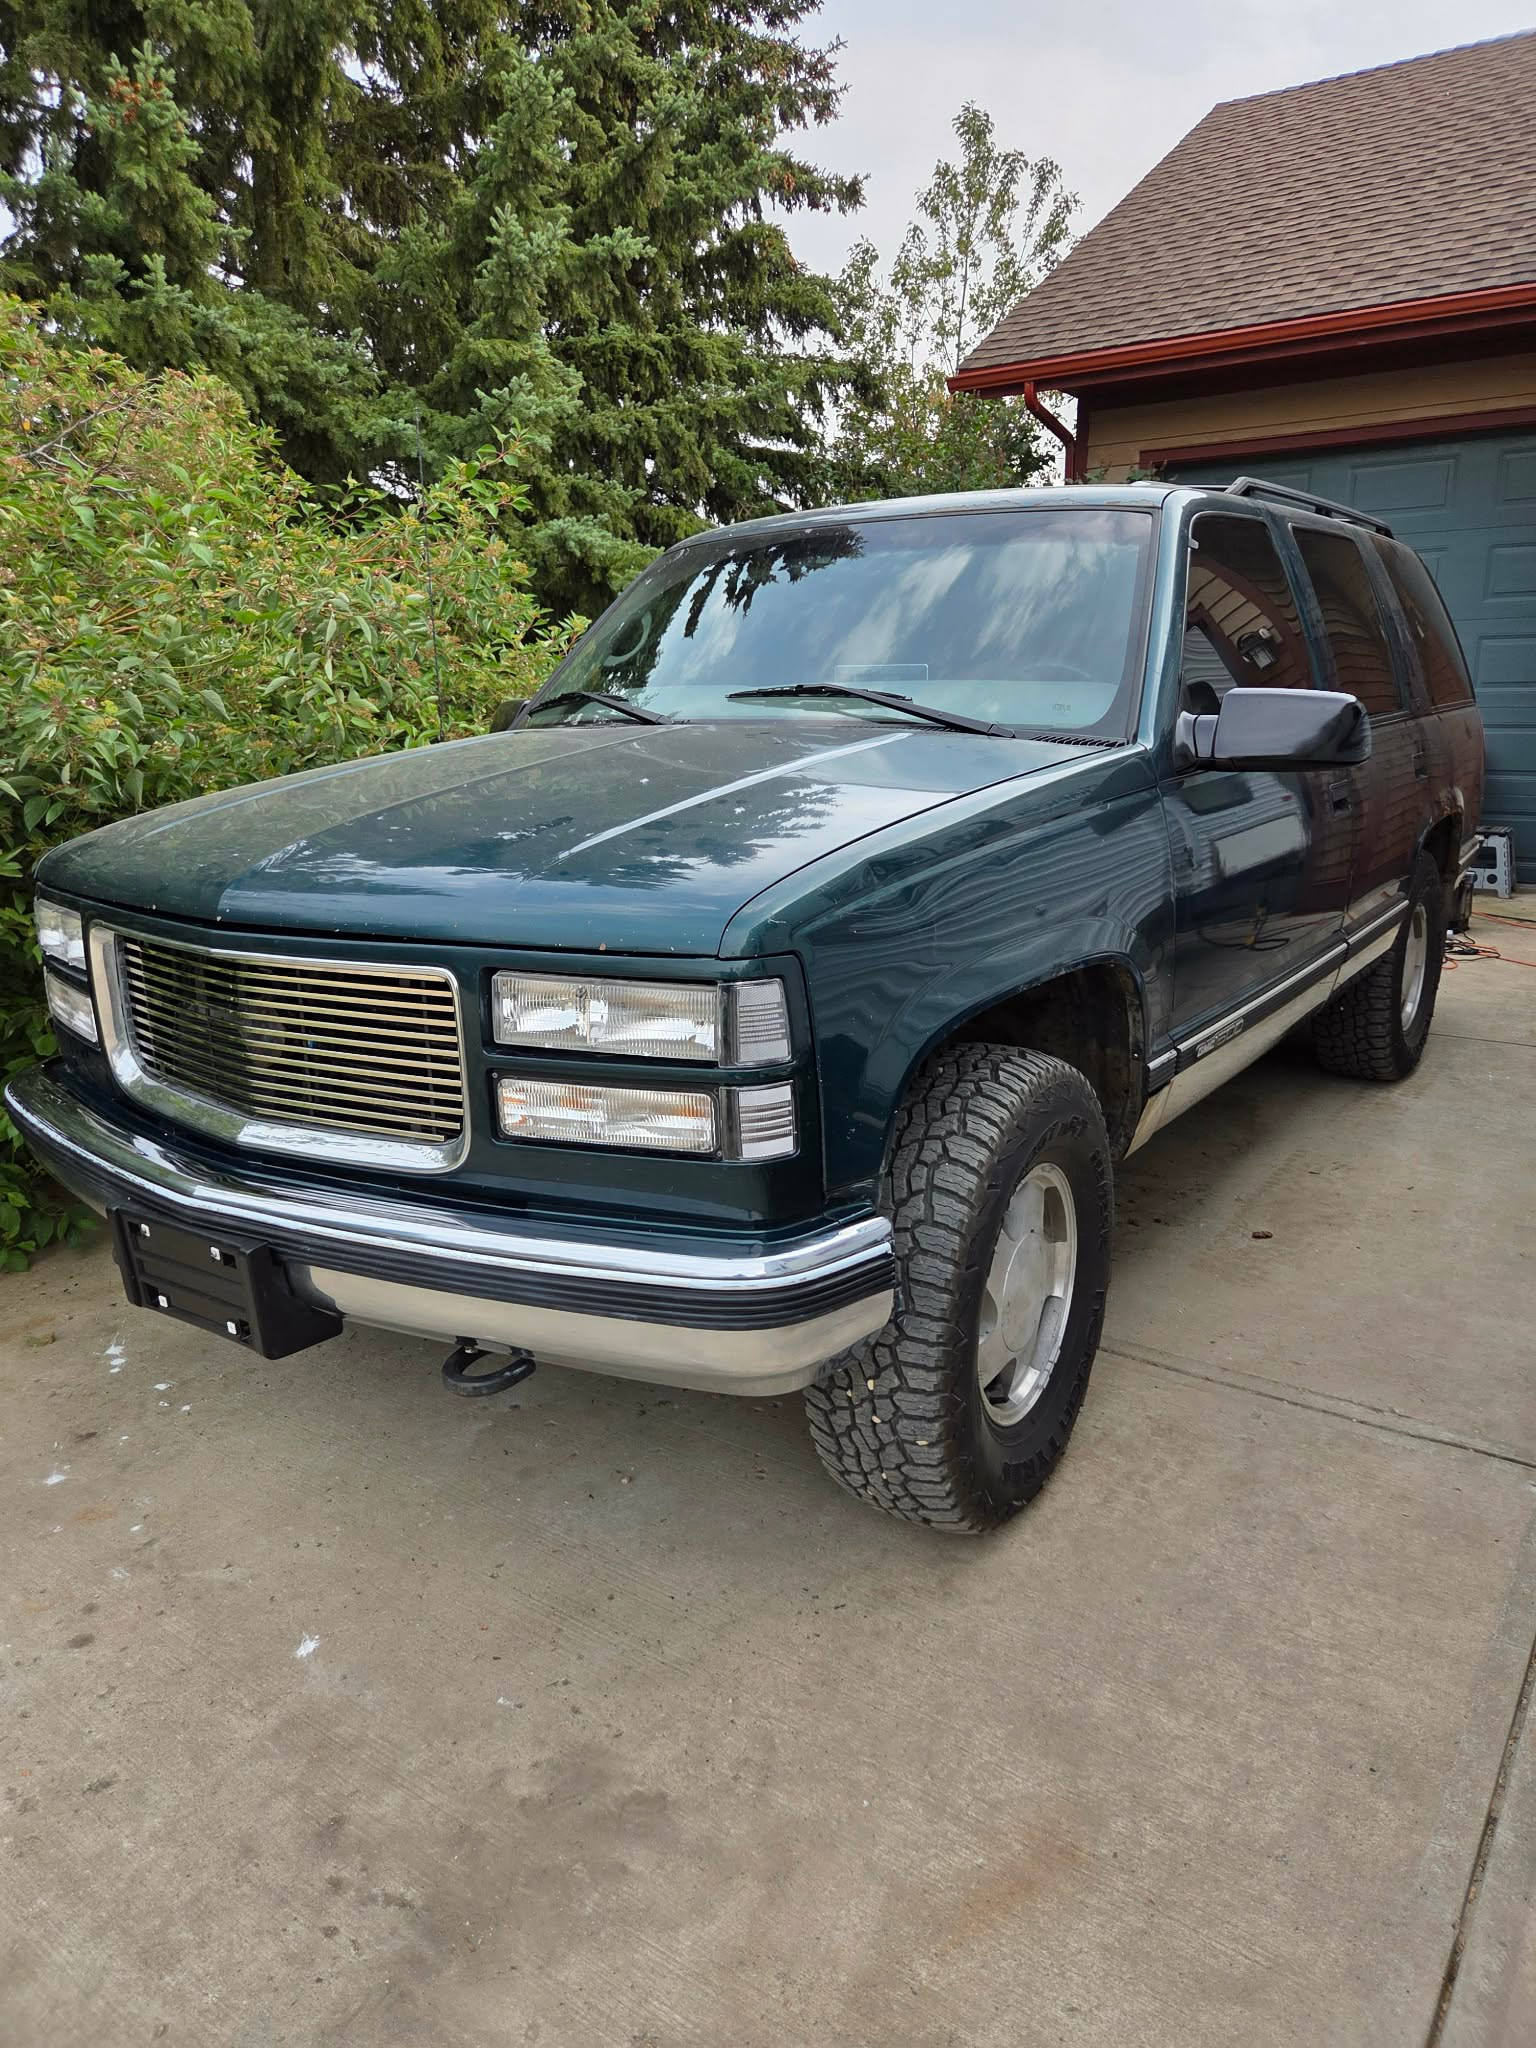
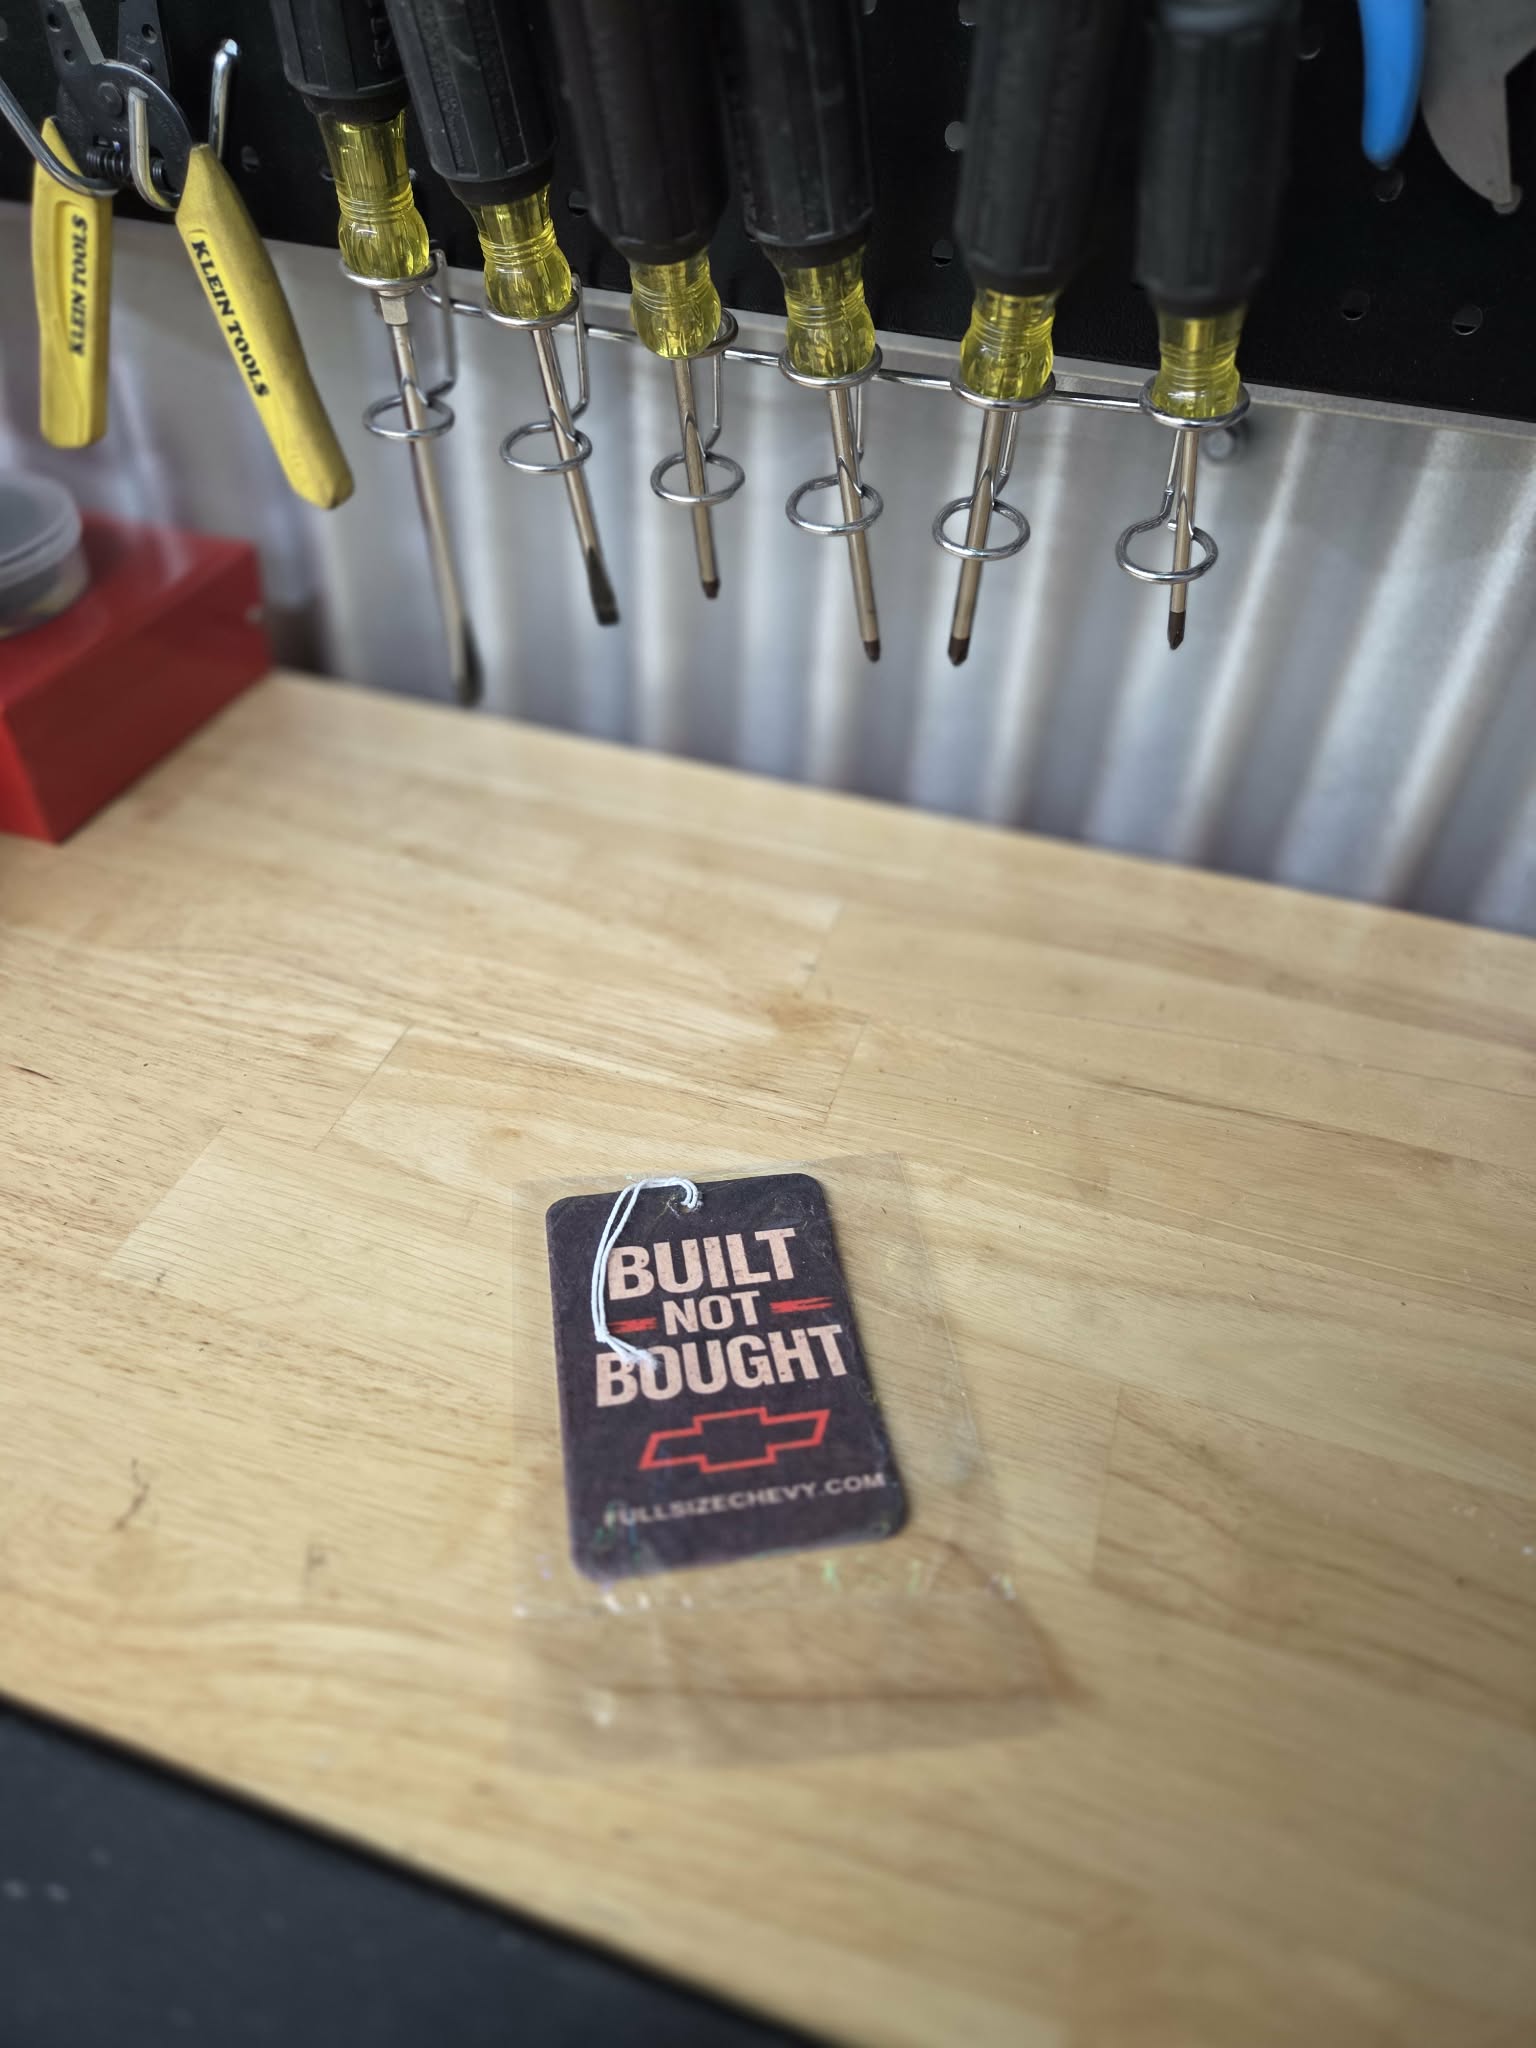
I was happy with it so far! The sequential LED’s definitely are eye-catching! Yes it’s still missing a valence at this point. I did order one in after finishing the billet grille. The front license plate area looked empty, so I ordered a FSC “Built Not Bought” plate.
Mint Escalade console chevy")
LED headlights went in to replace the factory OBS Candlesticks.
With the billet grille in and valence on order, I booked the Yukon in for an exhaust system. I booked the Yukon in for a Magnaflow muffler and 3” tip - and boy I must say I am happy with how it turned out! At idle and just driving around it sounds great!

Nothing too loud; it sounds respectable and you could definitely daily drive this rig with sleeping kids and be fine. Once you give it some gas or step on it you can definitely tell it’s piped! Here’s an interior video as well:

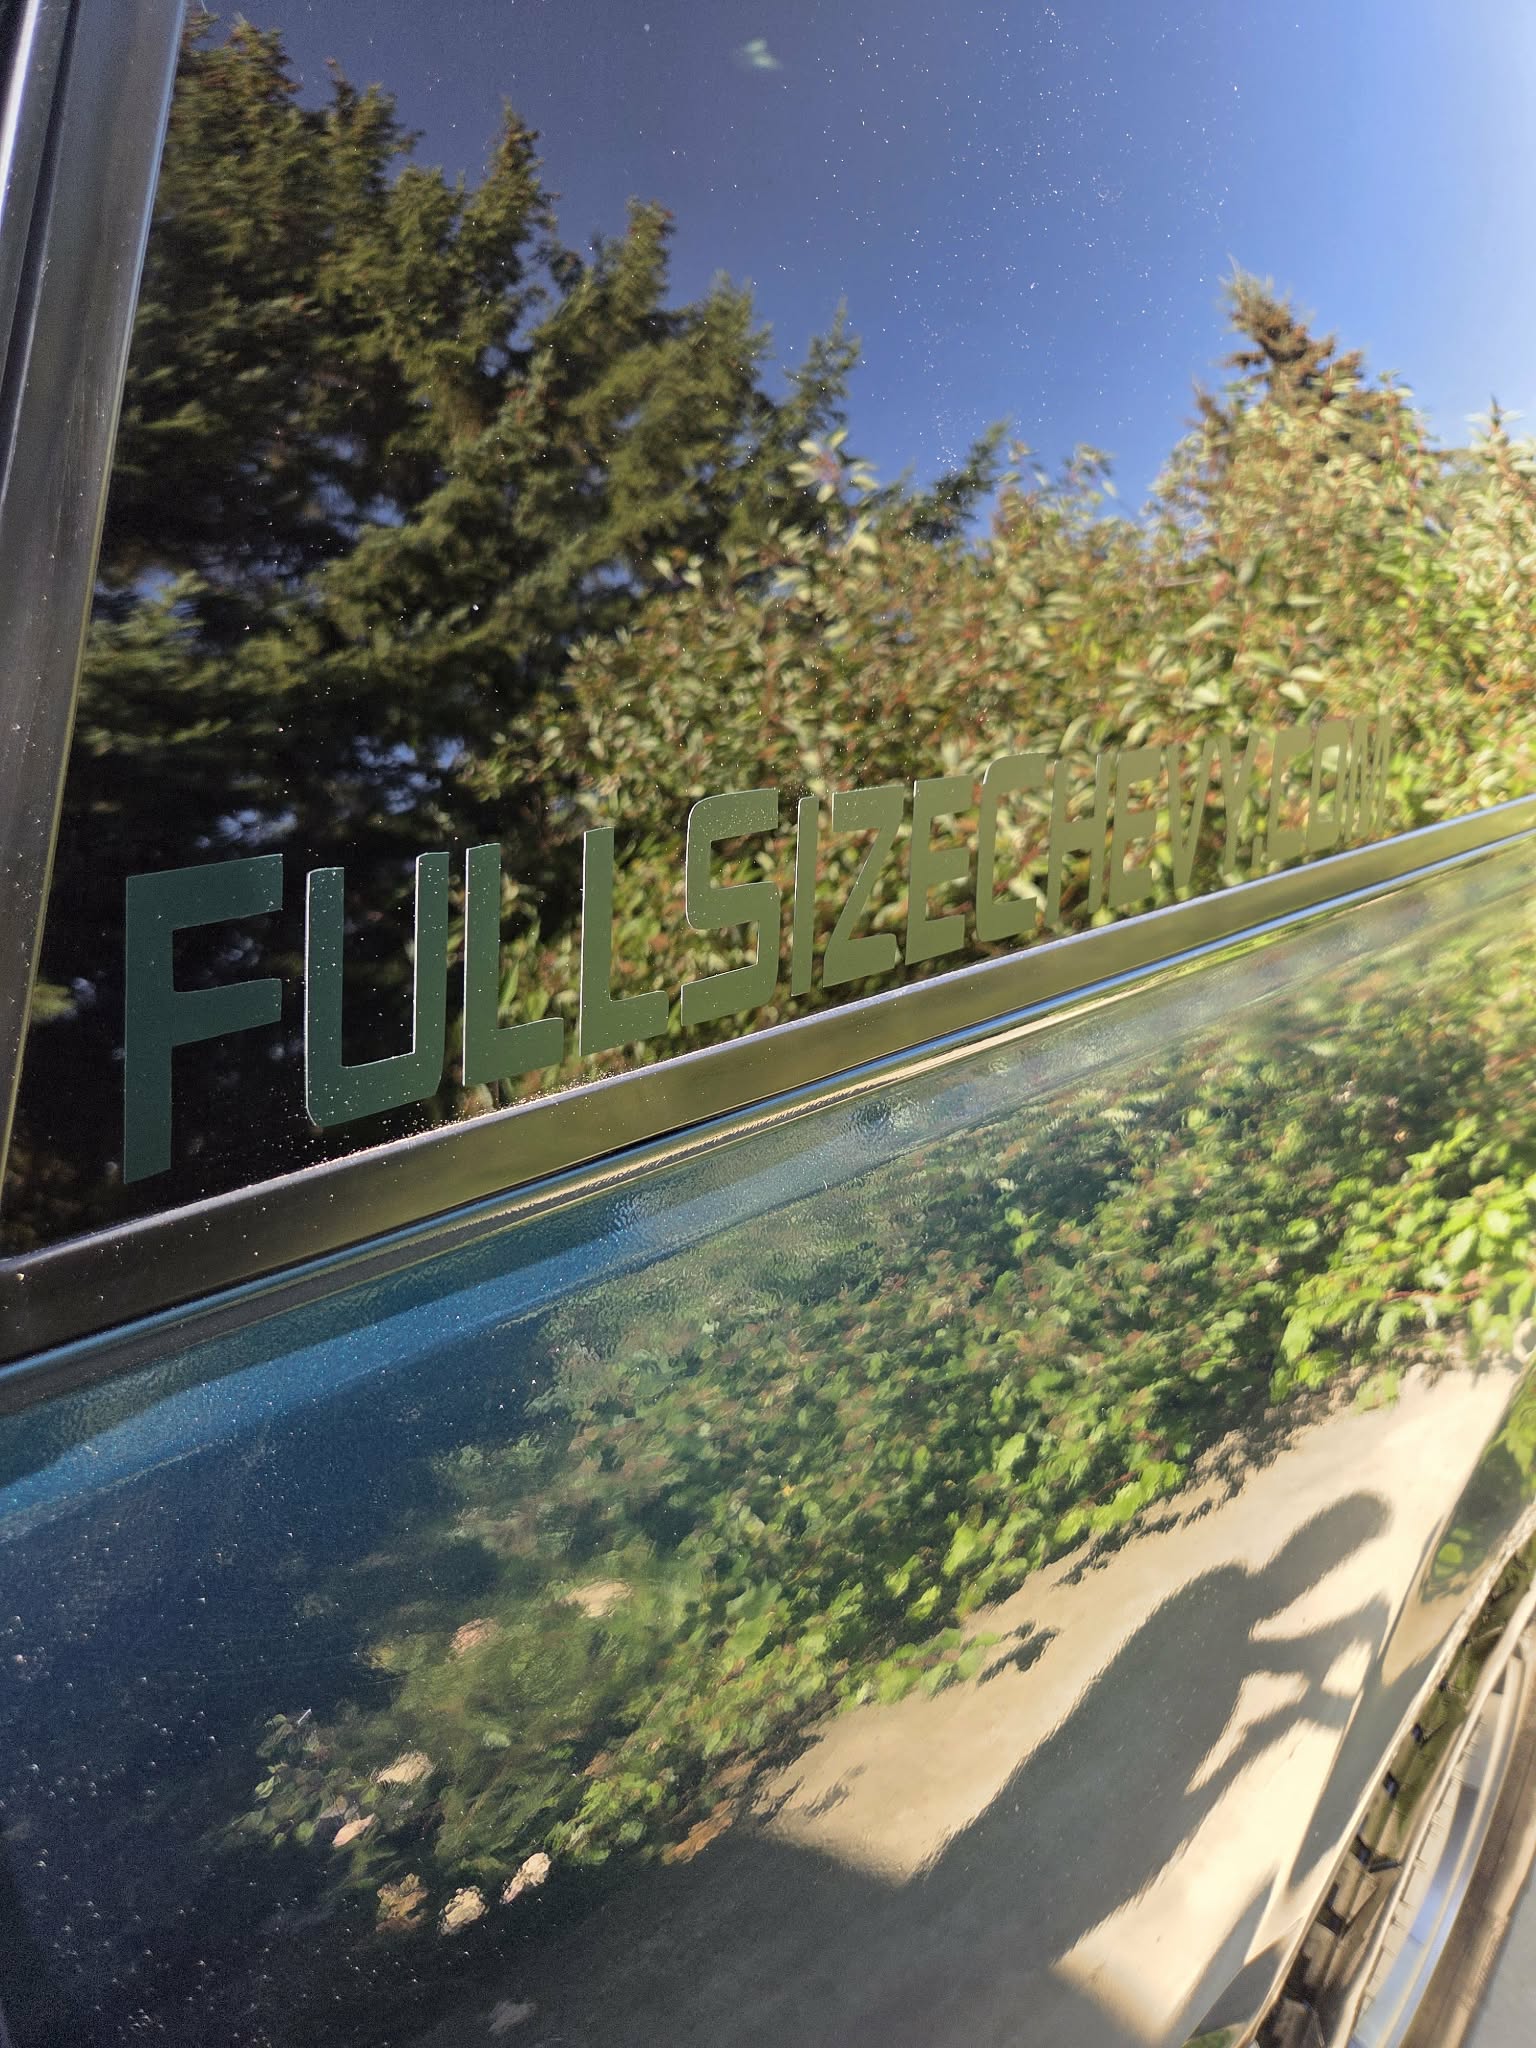
After the exhaust was done it was time for the FSC stickers to go on! ![]()
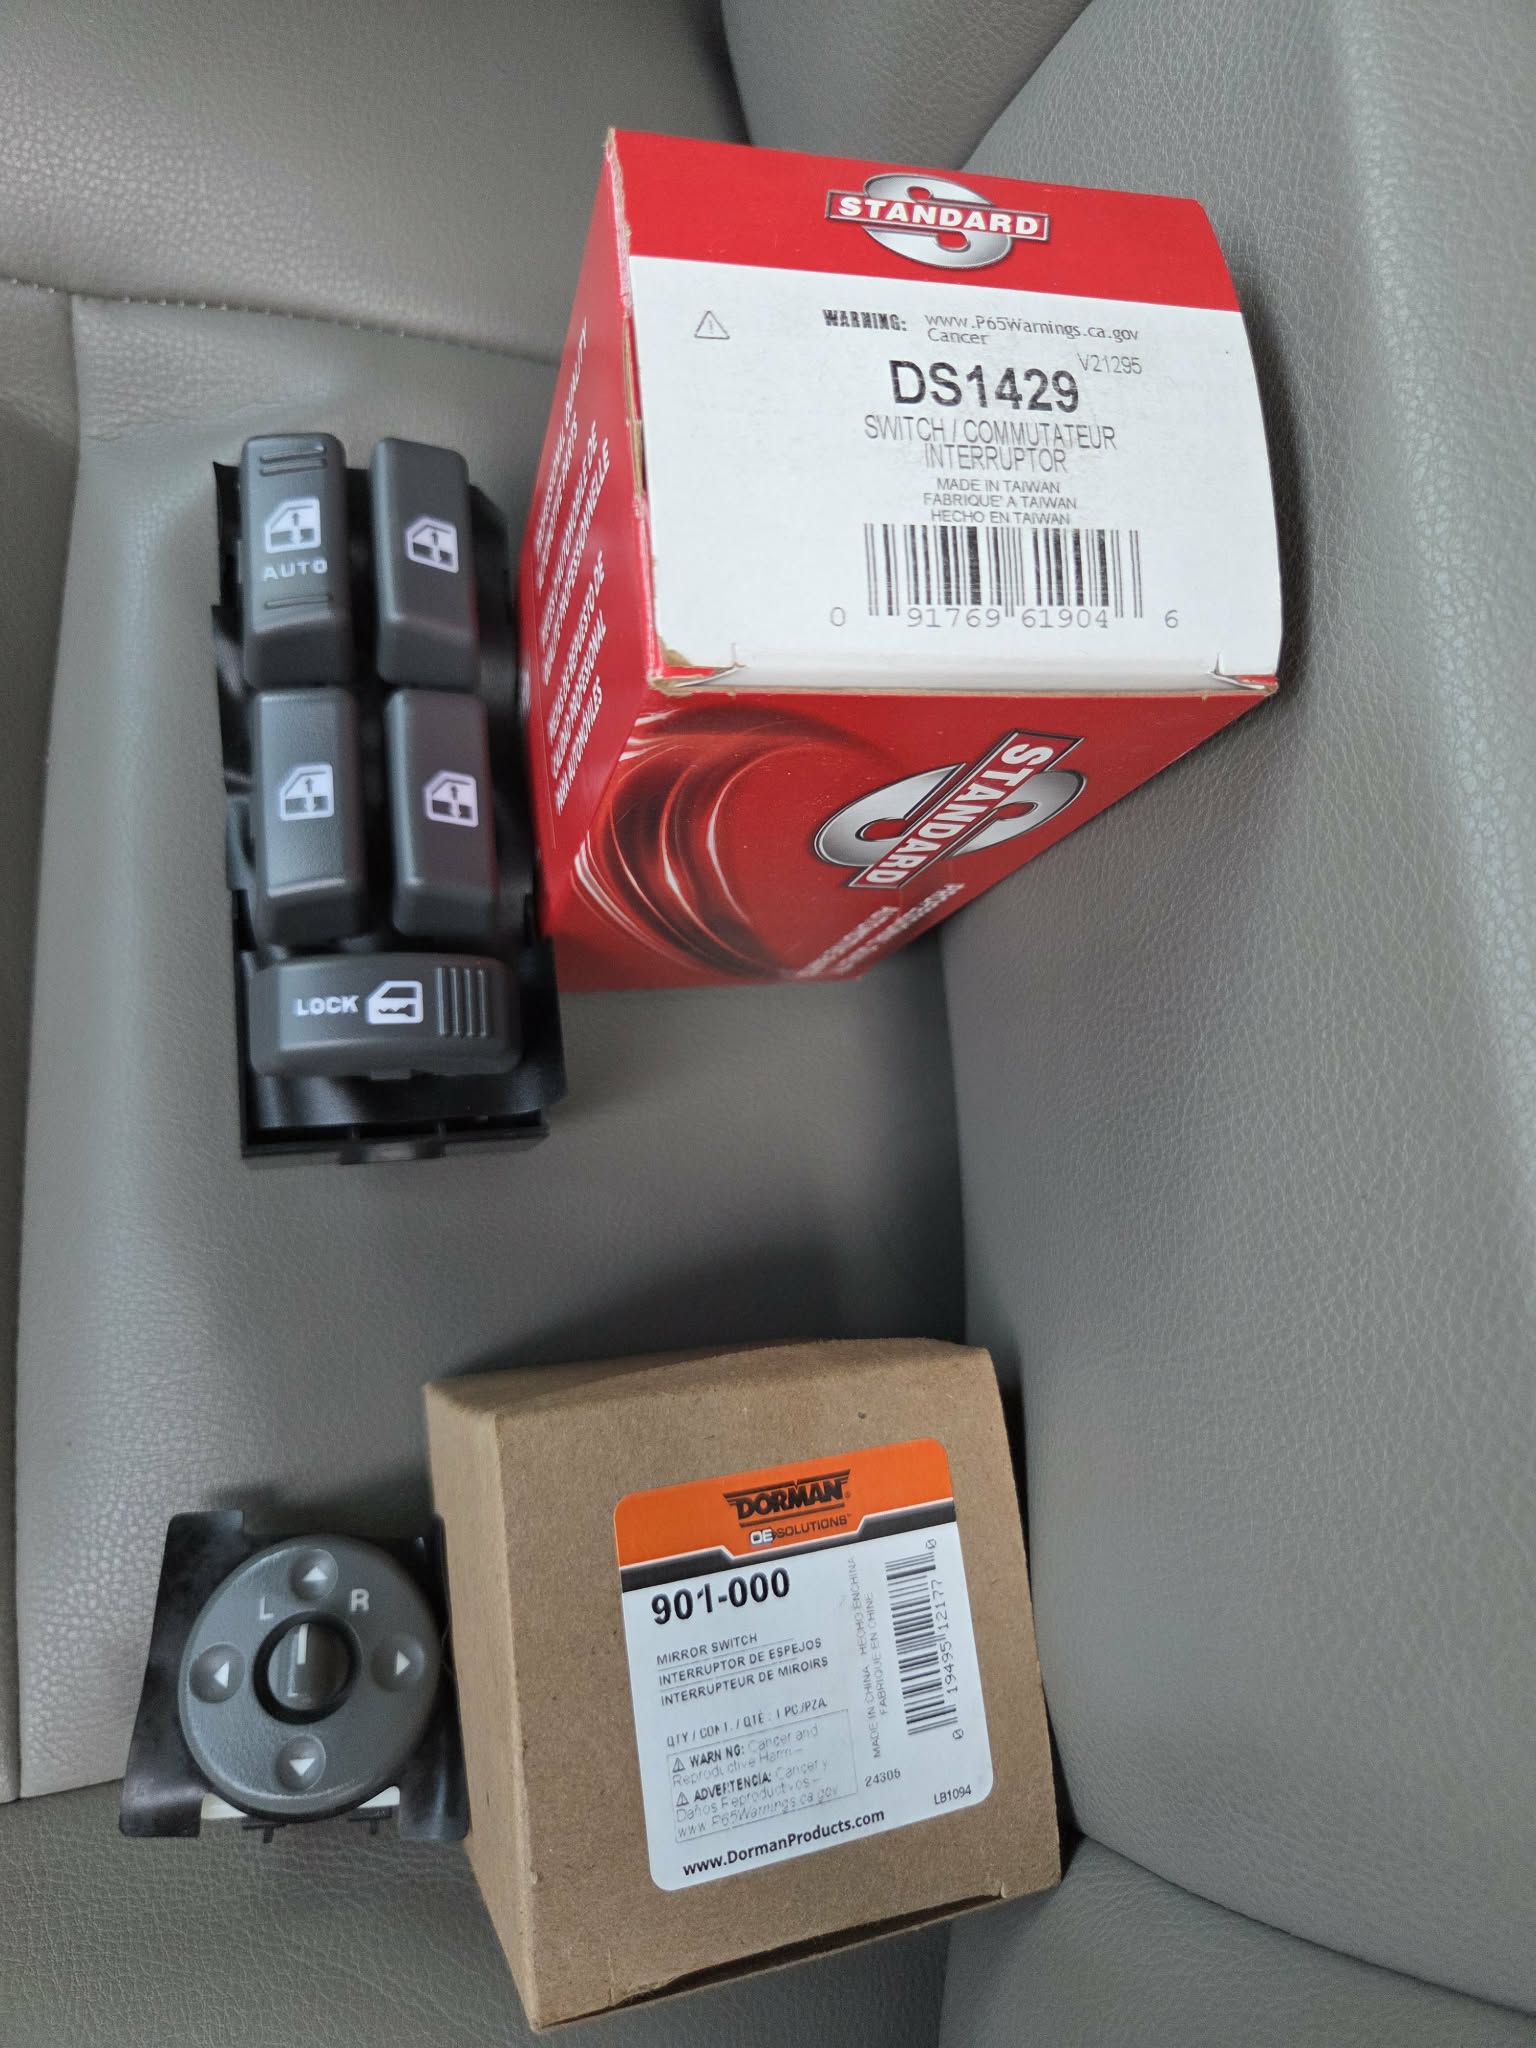
I realized after the trip to the exhaust shop that one of the rear window switches from the driver’s side wasn’t working and that the knob on the window switch wasn’t great. I figured I might as well do all of the driver’s side while at it! Unfortunately my local supplier couldn’t find ACDelco switches so we had to go with another route from a local supplier.
Standard DS1429 was used for the driver’s window switches.
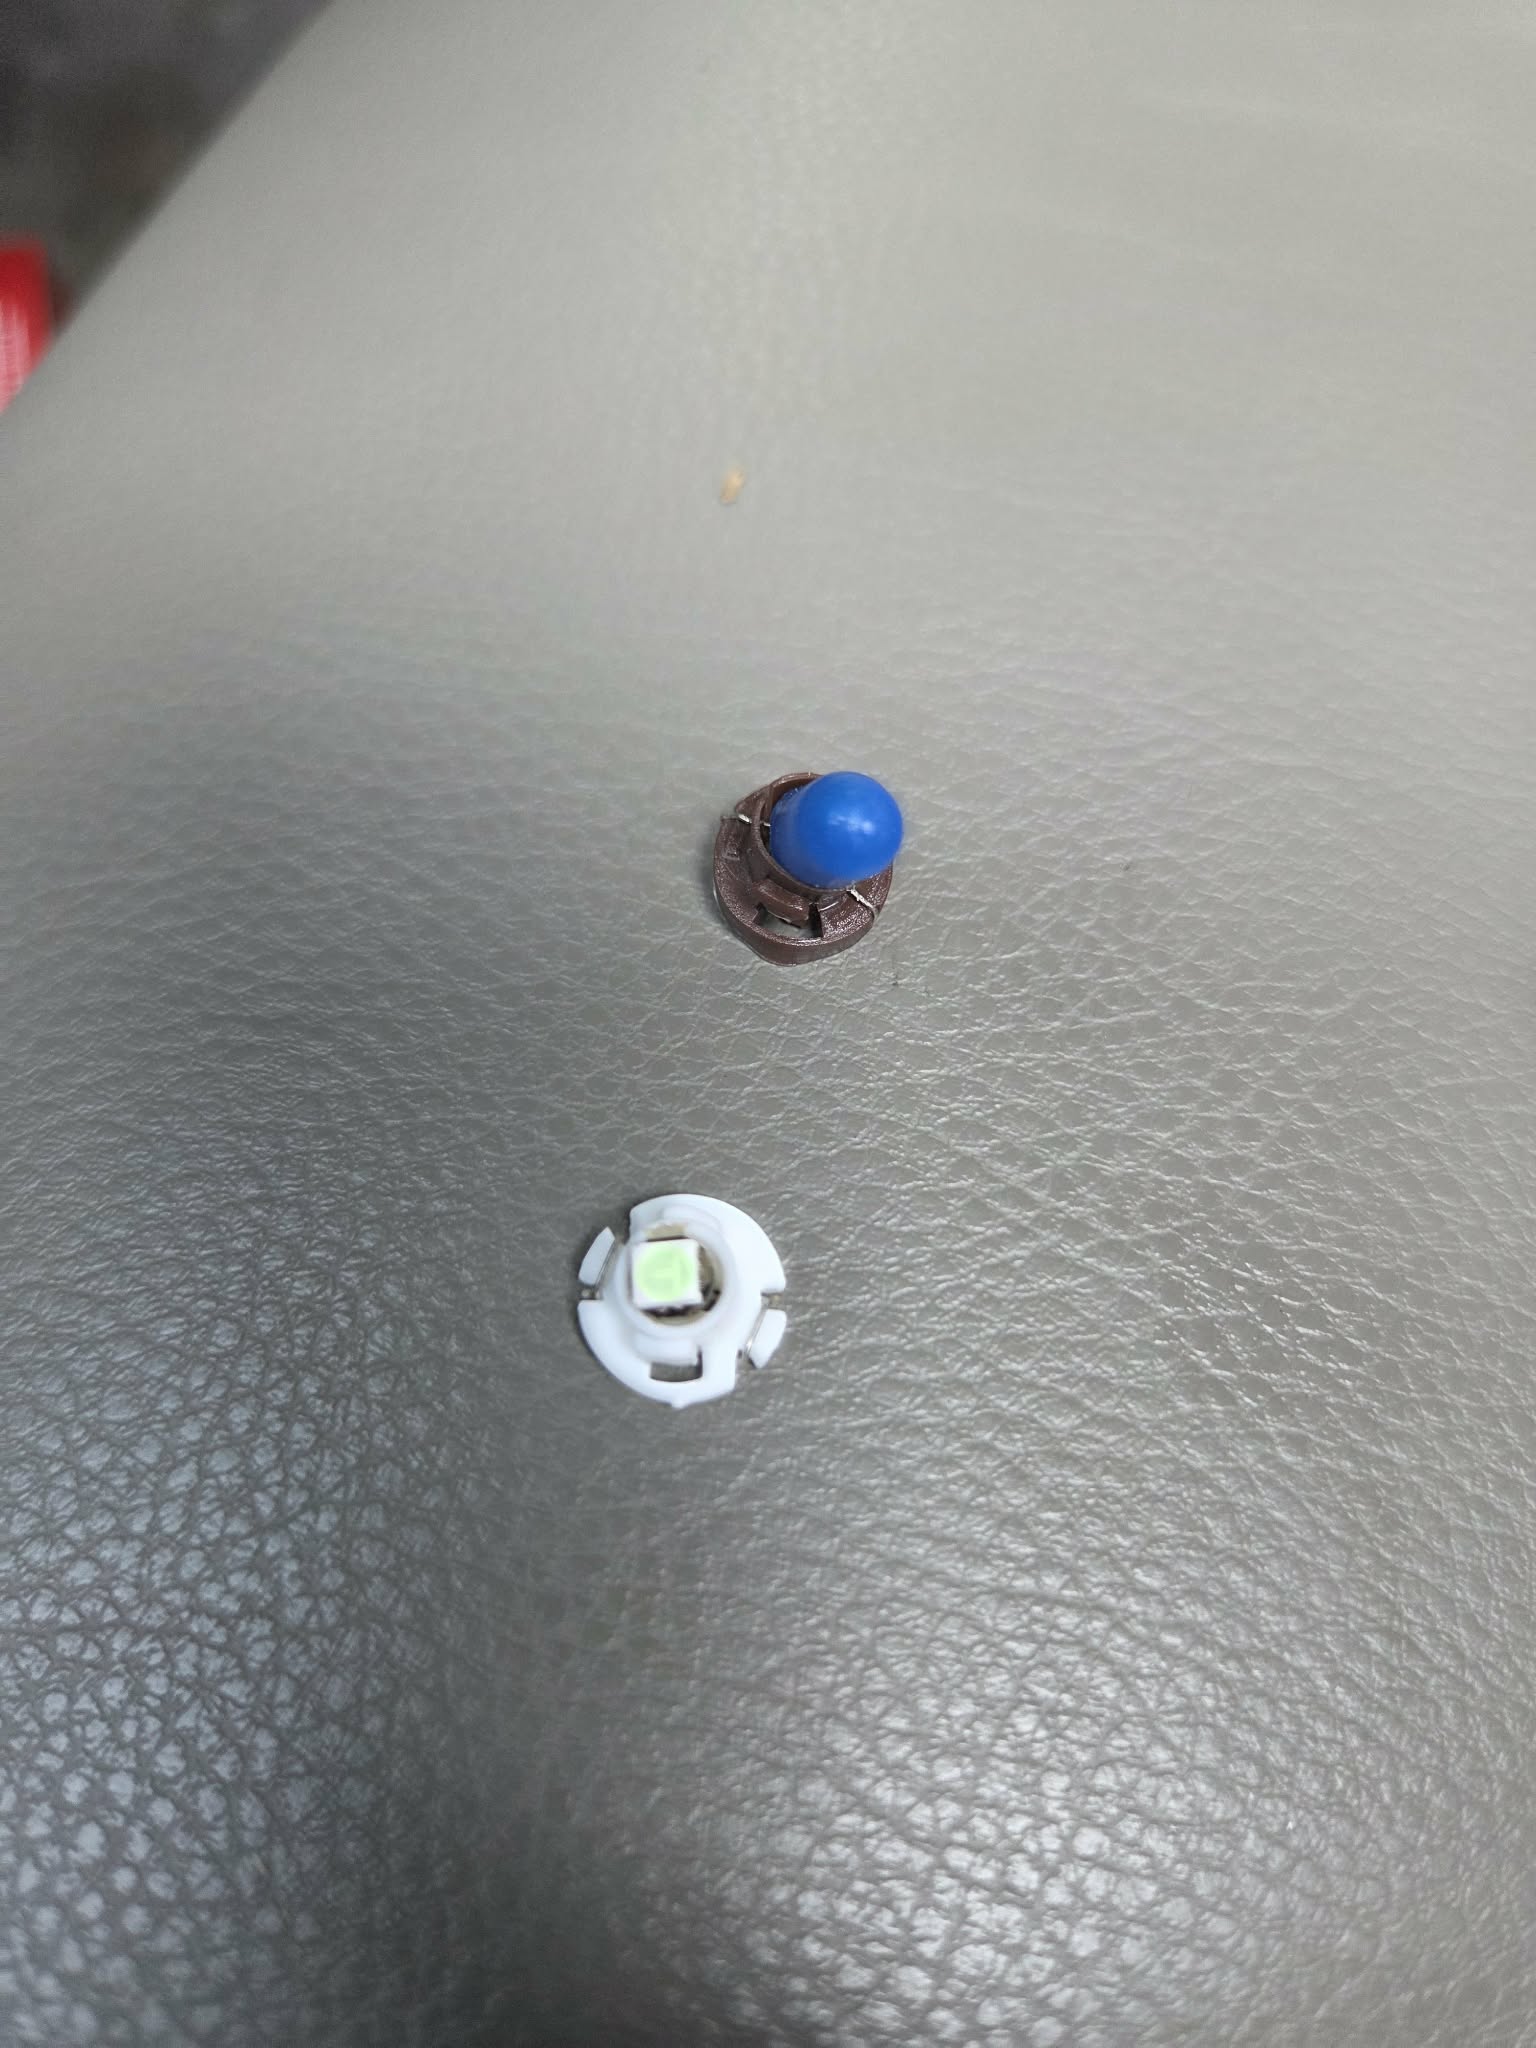
I used one of the leftover LED’s for the window switch.
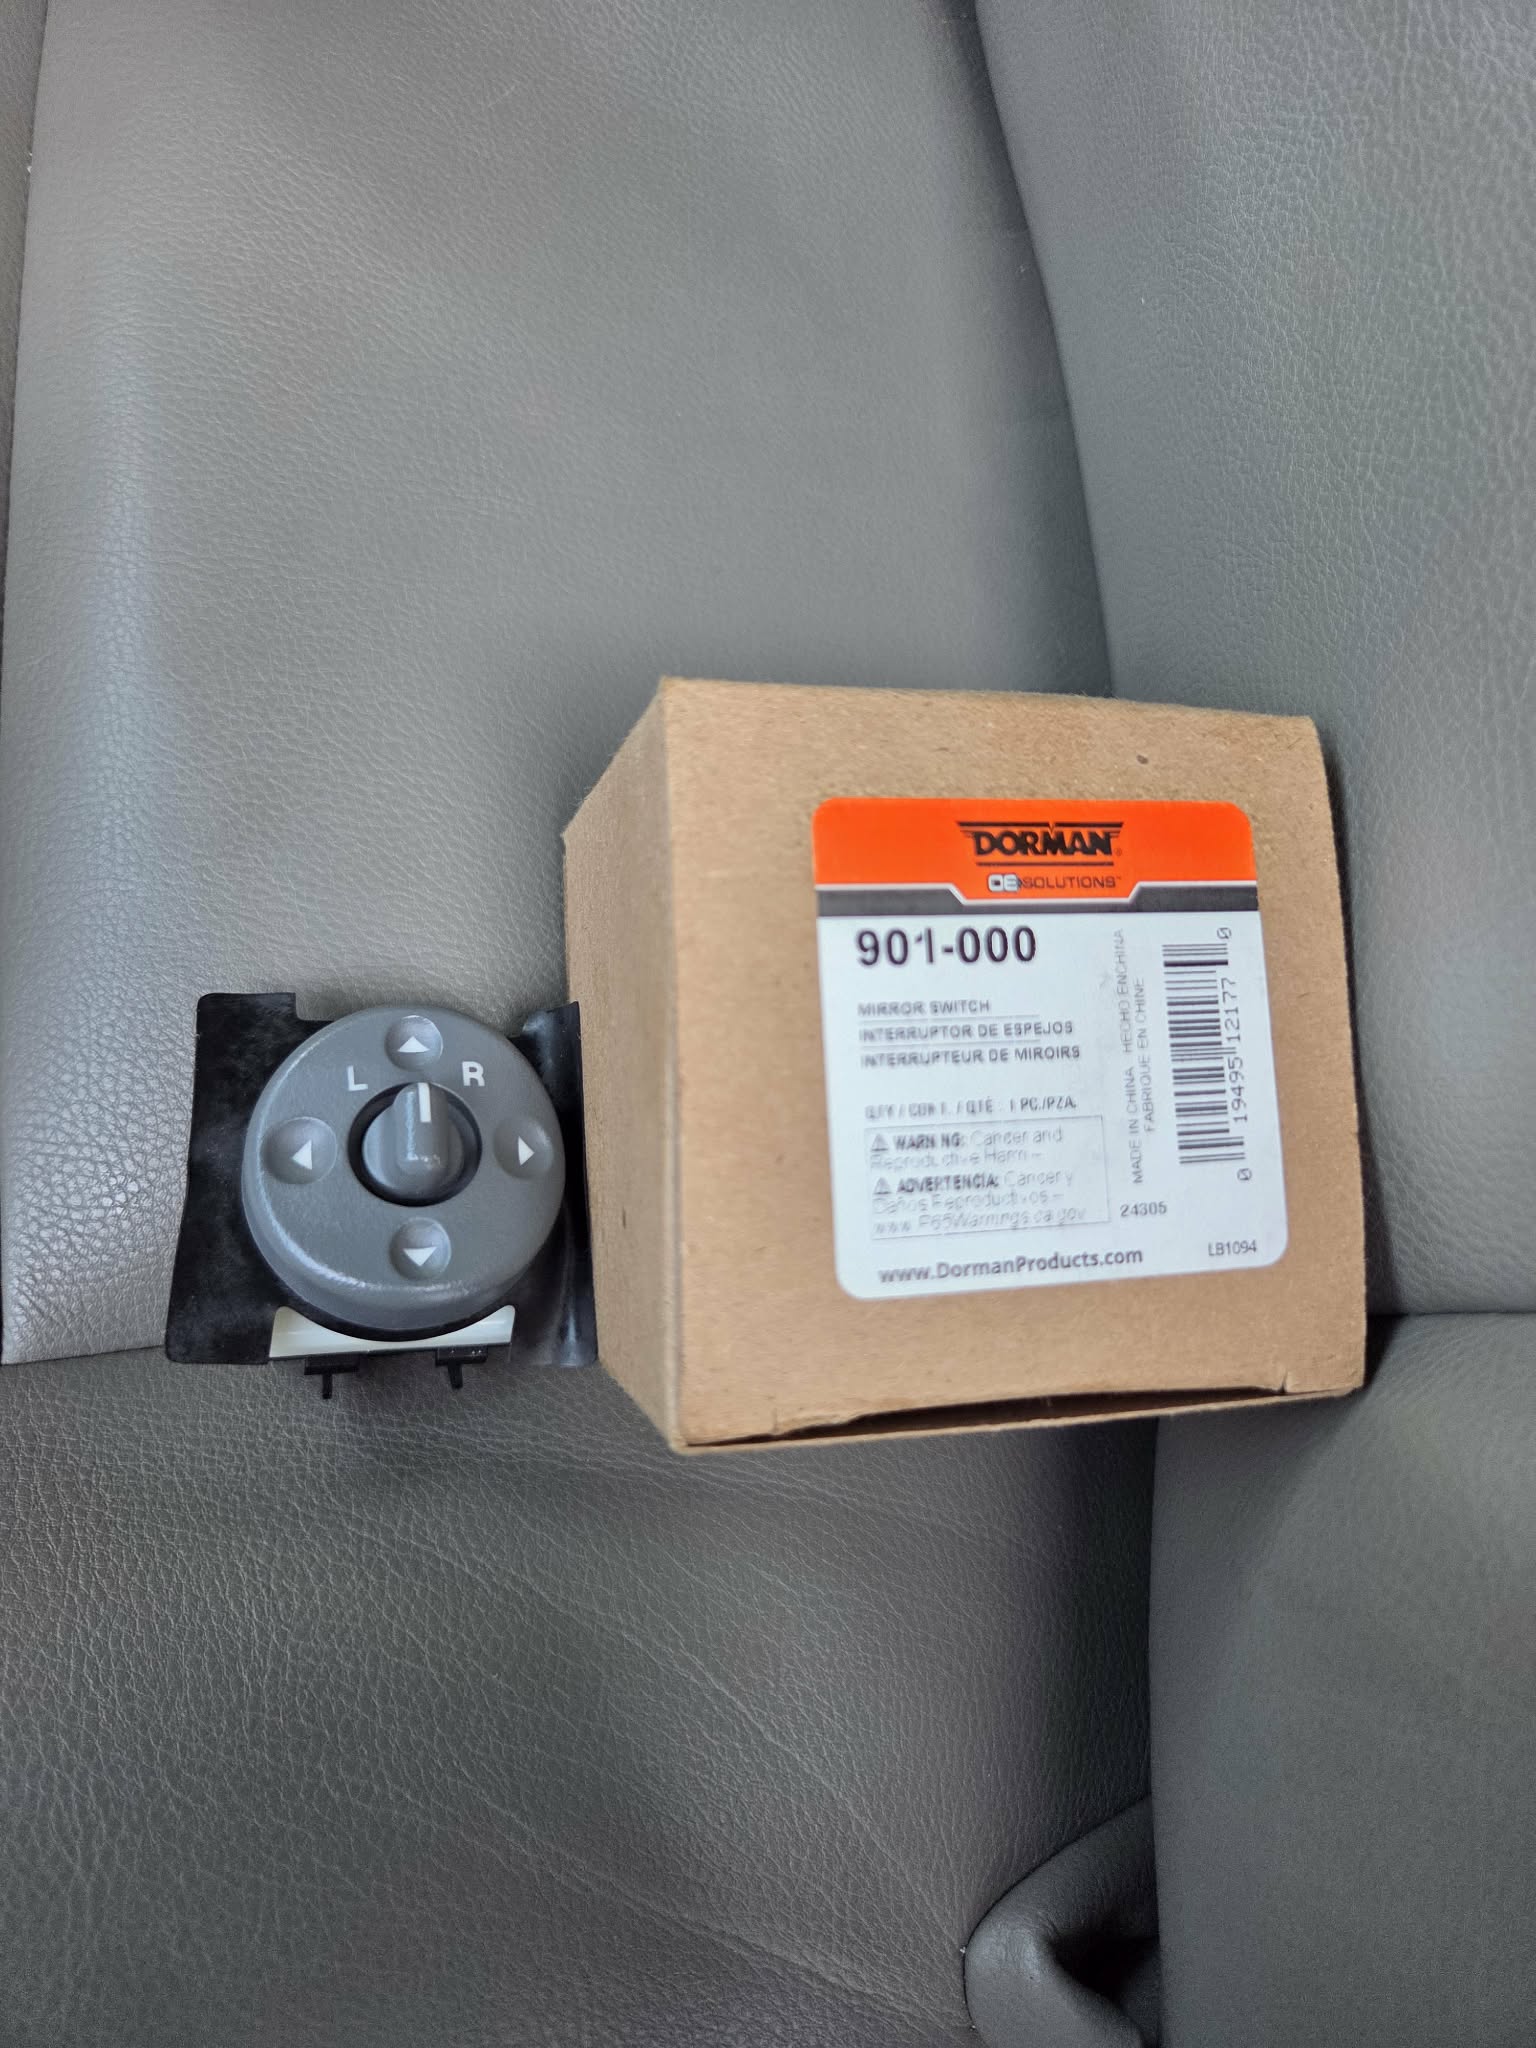
Dorman 901-000 had the driver’s mirror switch fixed up right quick.
The next item on the list was a top end SEAFOAM cleanse. 1/2 a can of Seafoam went down the vacuum brake booster (with a friend keeping it above 1100 rpm and from stalling). We kept it running the whole time of the cleanse as I don’t think the 5 minute soak is a good idea for an older motor. The other 1/2 went into the fuel tank. We let it clean itself up a bit in the yard and then took it for a burn. Even just the Seafoam soak seemed to help a ton for throttle response!
Cue the smoke video!

After the Seafoam cleanse I did Spark plugs and the fuel filter.
Plugs weren’t too bad.
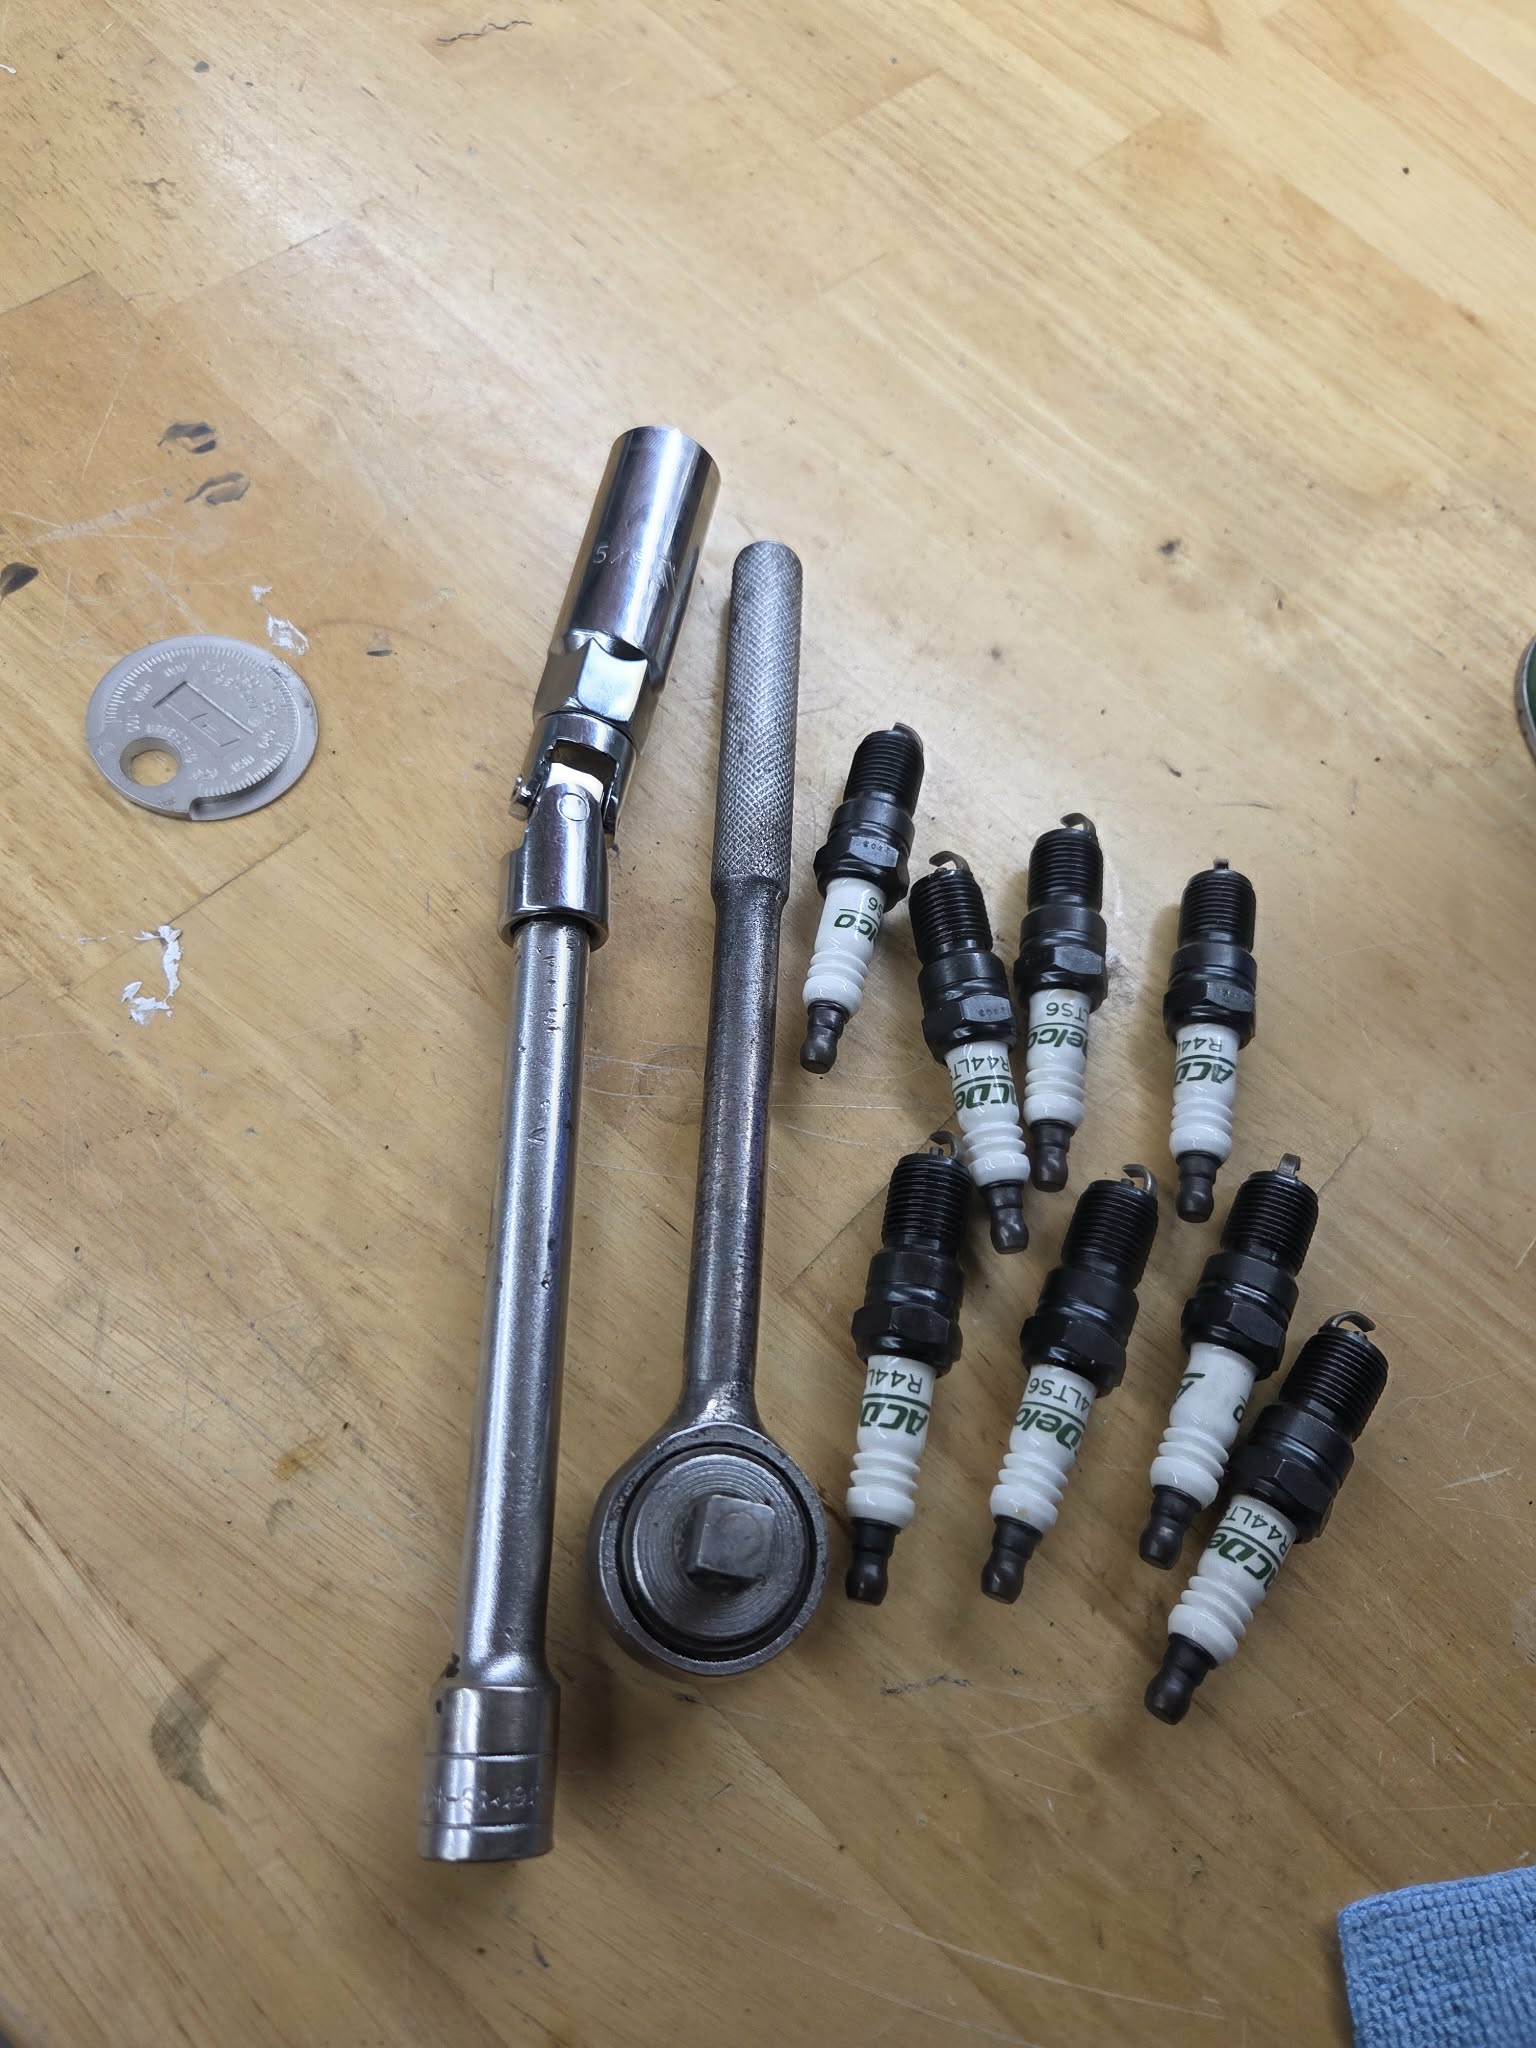
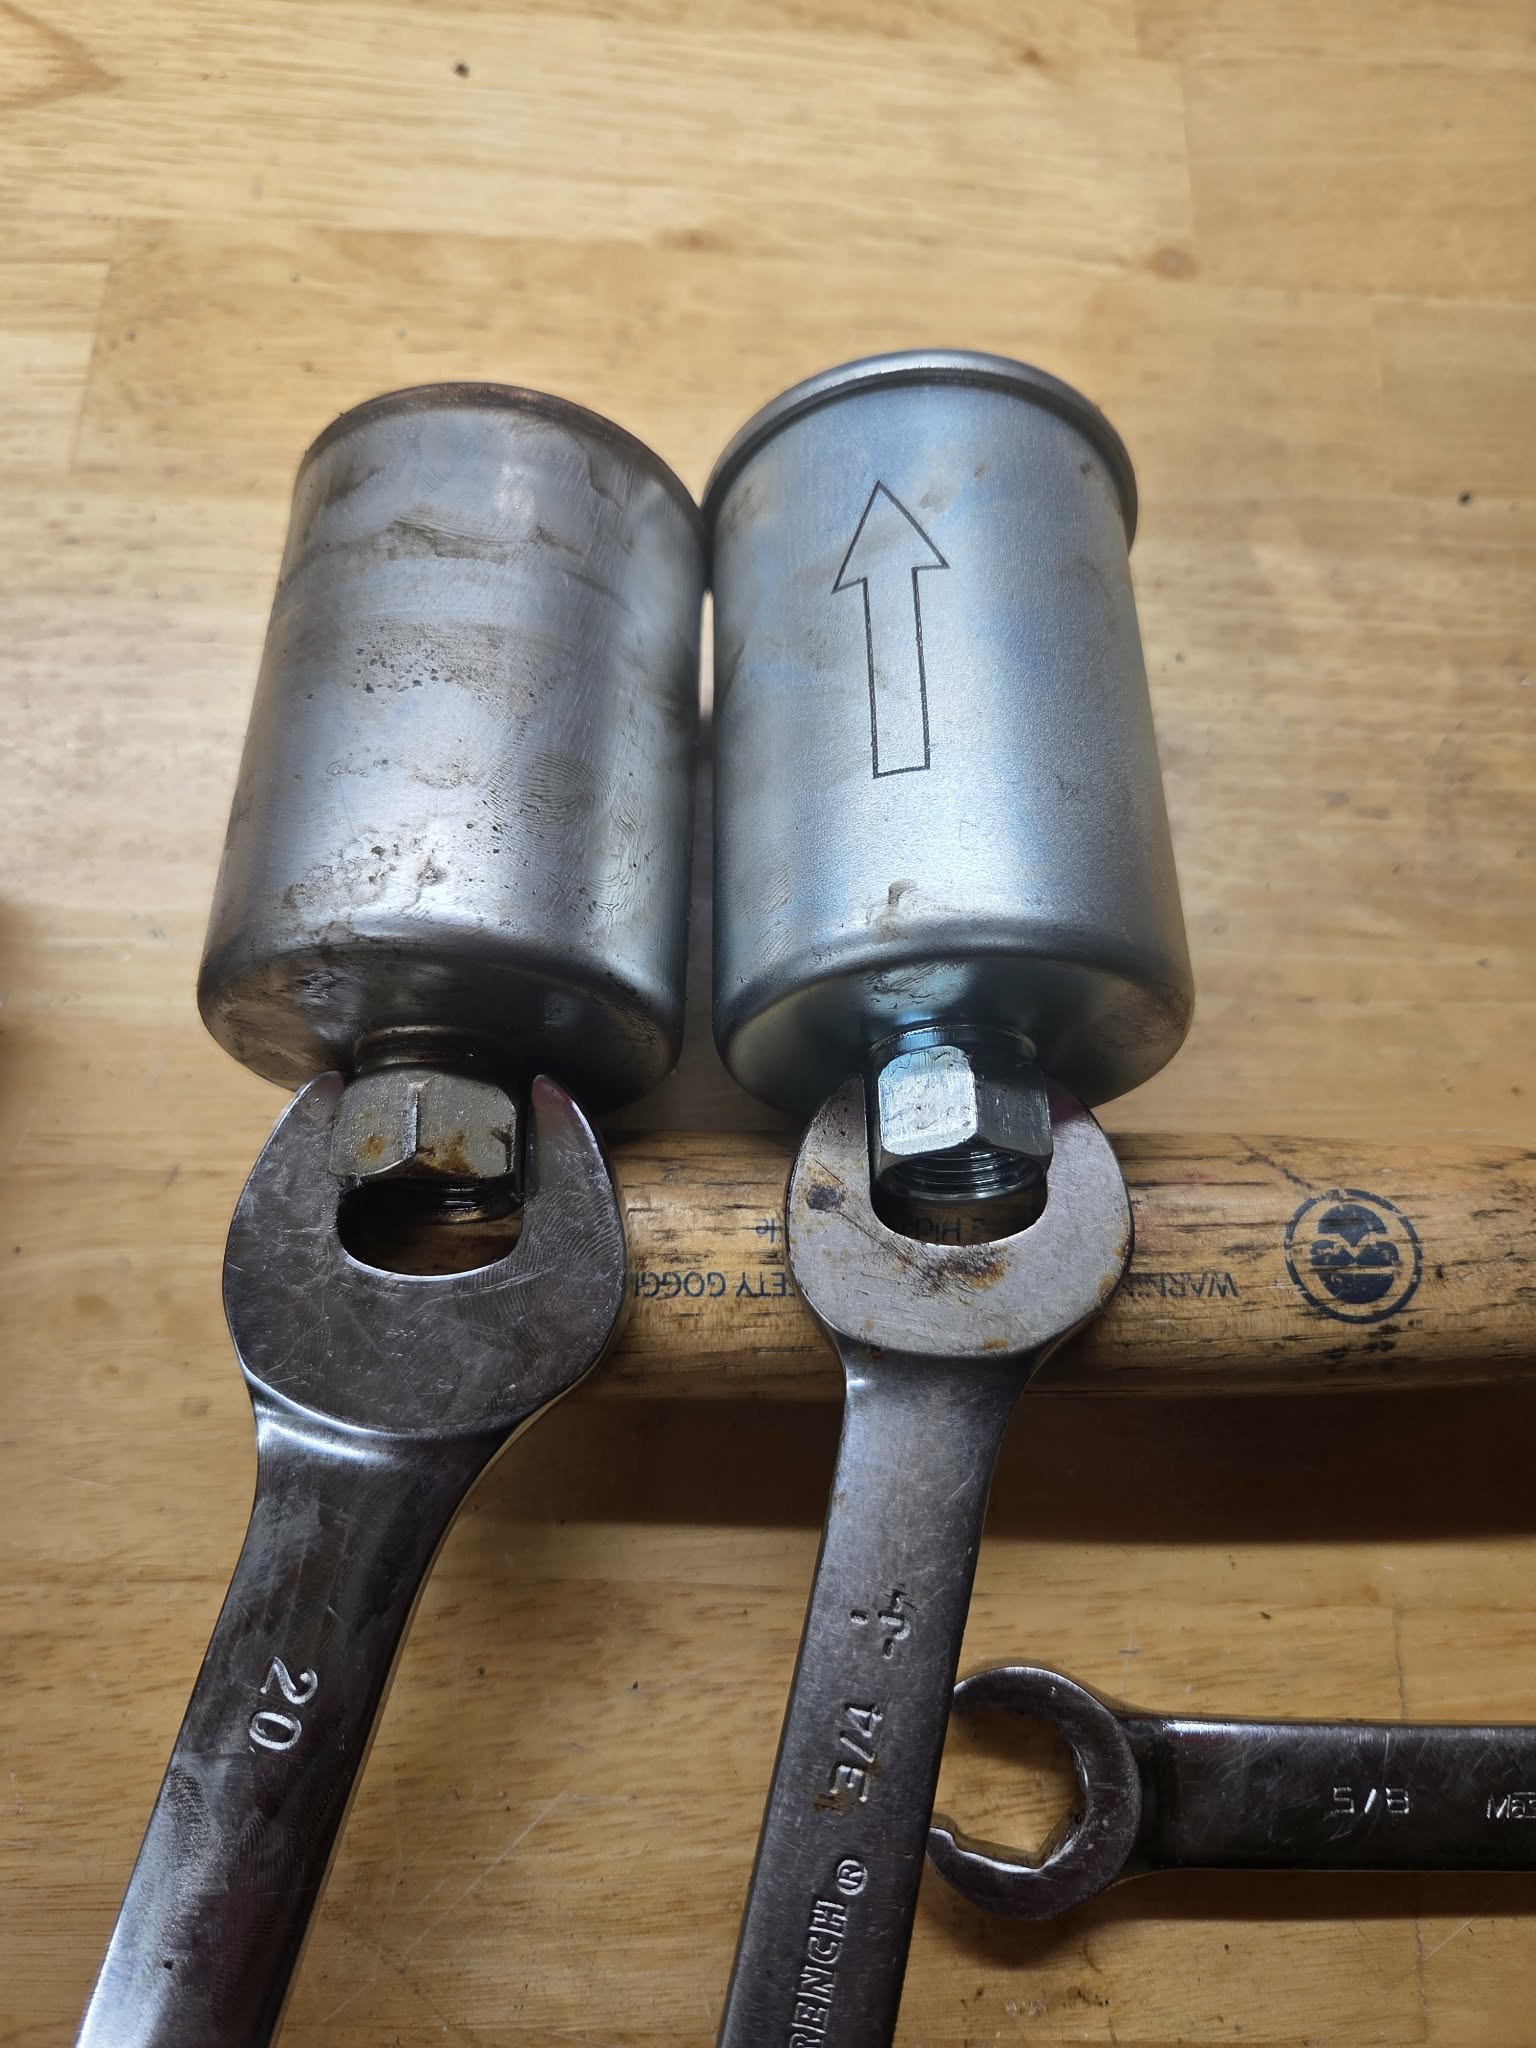
The old fuel filter was questionable. Could not see a brand or part number on it. I needed a 20mm wrench as a 3/4” wouldn’t fit. It had to go after the seafoam. Anyways, feel free to check out the fuel filter replacement here.
The FSC Built Not Bought plate showed up next, and so it became time to finish the front end. The plate went on, as well as the new valence.
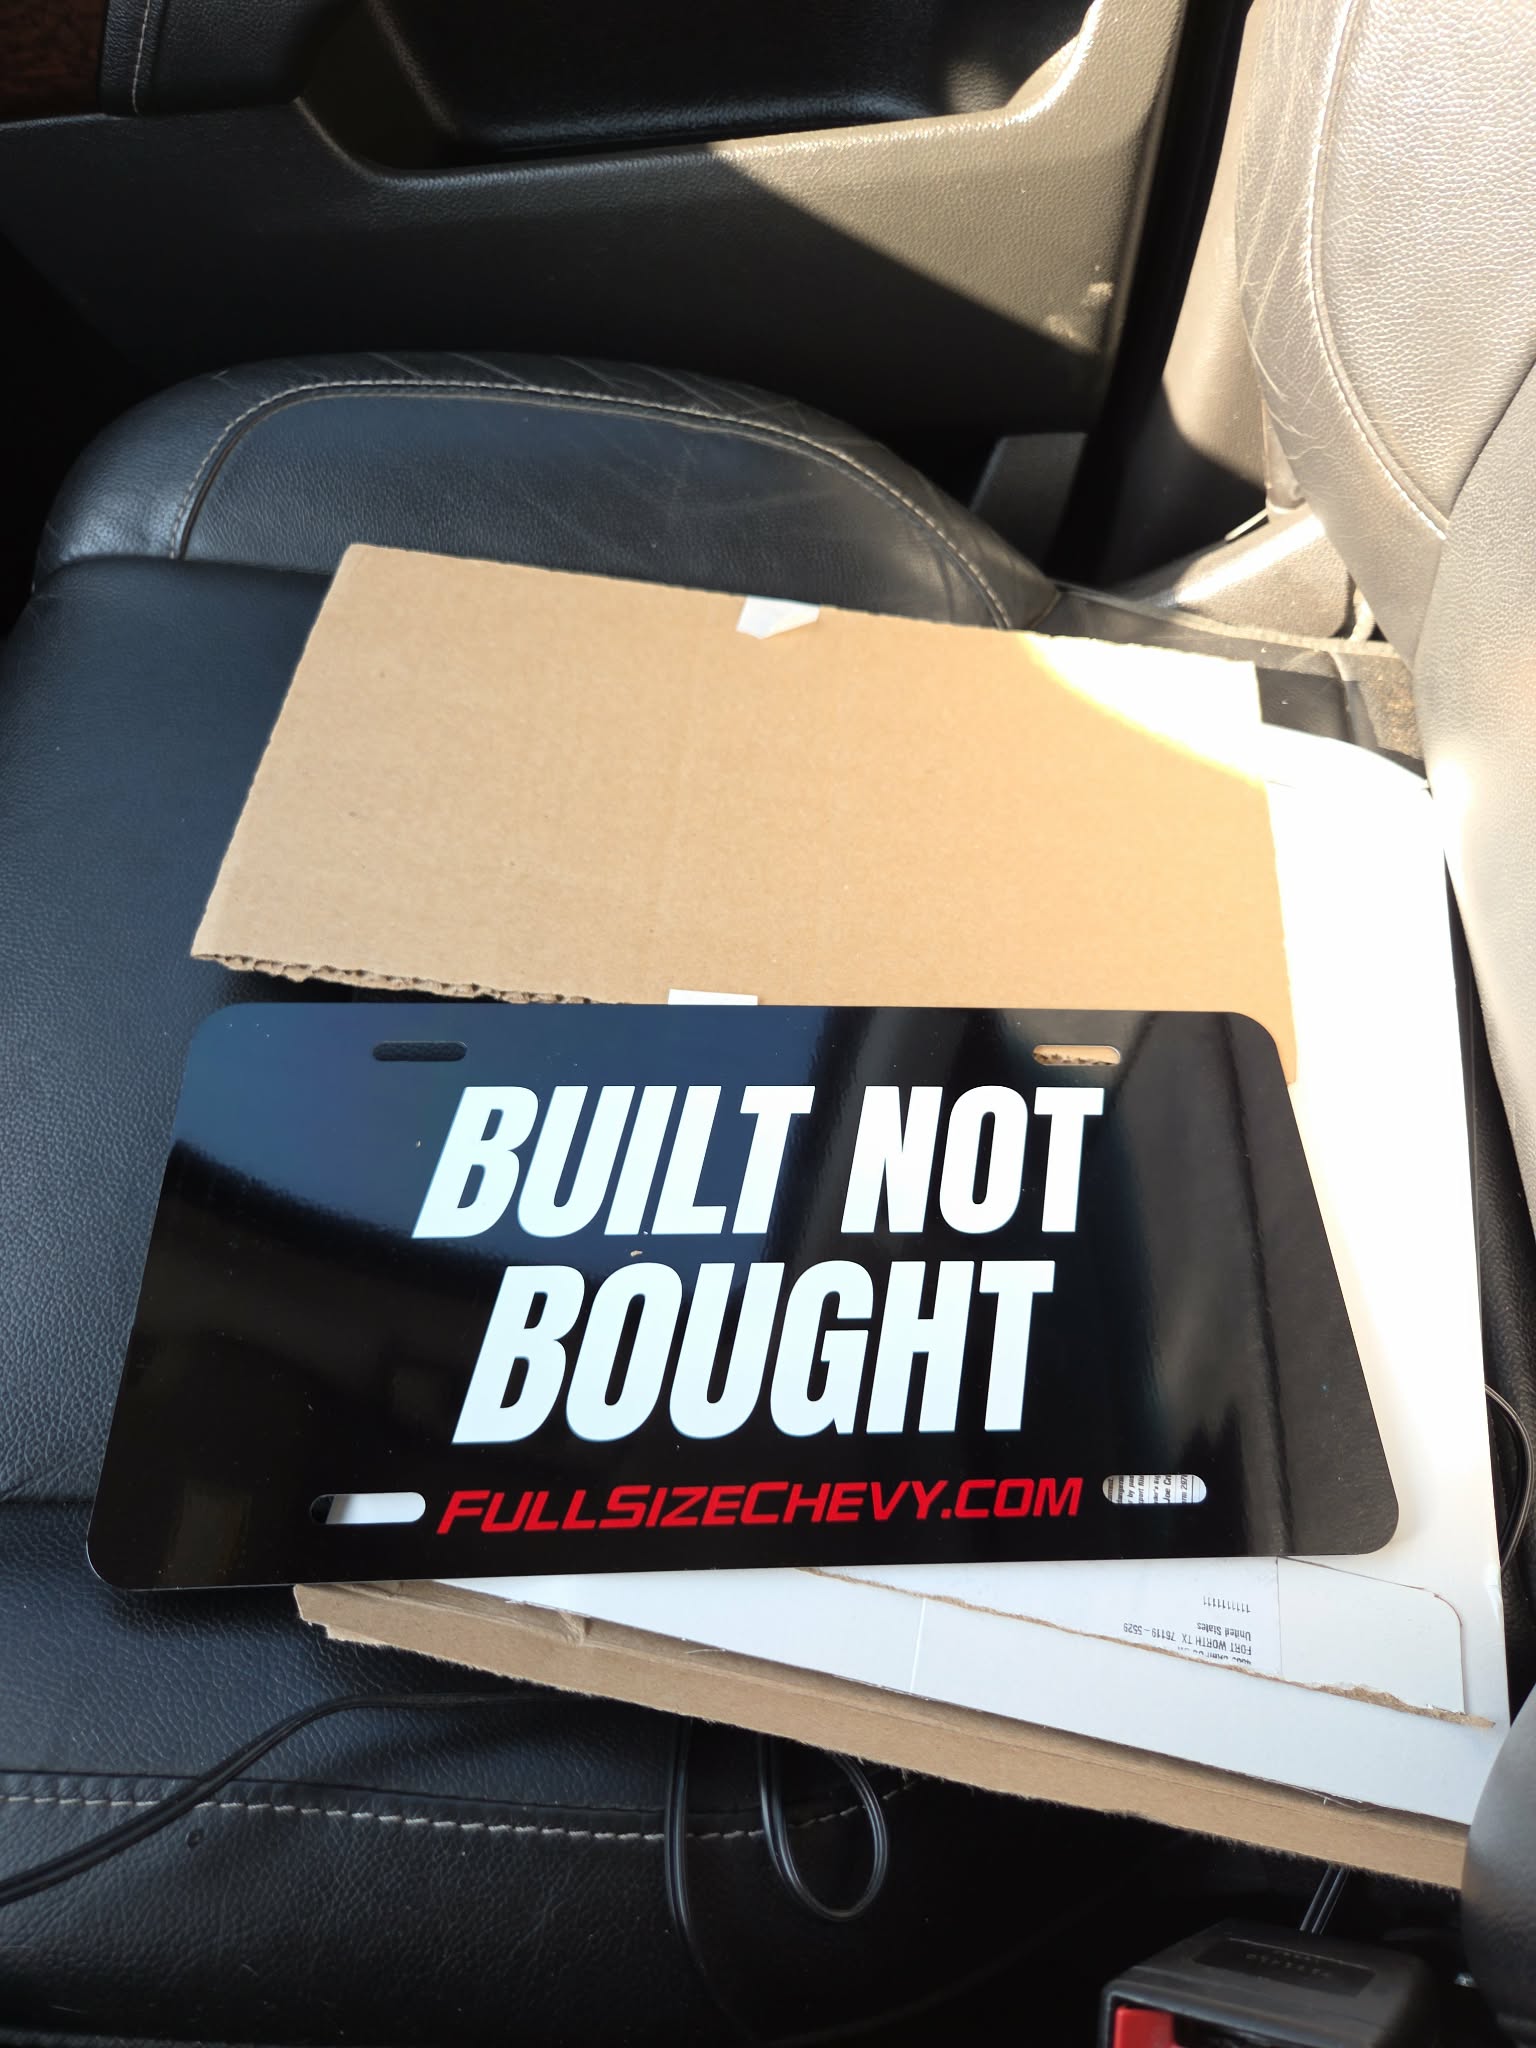
I was happy with the new front end look!
I added a sub, amp and wiring and drove it a few times recently. It drives so nice and definitely turns heads! I’ll definitely be sad to see this go down the road. But, as said before, the end goal is to rebuild the FullsizeChevy community and forum ![]()
I need to order an FSC “Built Not Bought” airfreshener for it as that would match the front plate.
I’m not done with the build just yet, but that’s it for now.
Don’t forget you can enter the giveaway here.
–> ENTER GIVEAWAY HERE ←-
Hope you’ve enjoyed the read.
Questions, comments, concerns?
Comment below!
Thanks!