Upgrading Storage and Comfort in Your 1988–1998 GMT400
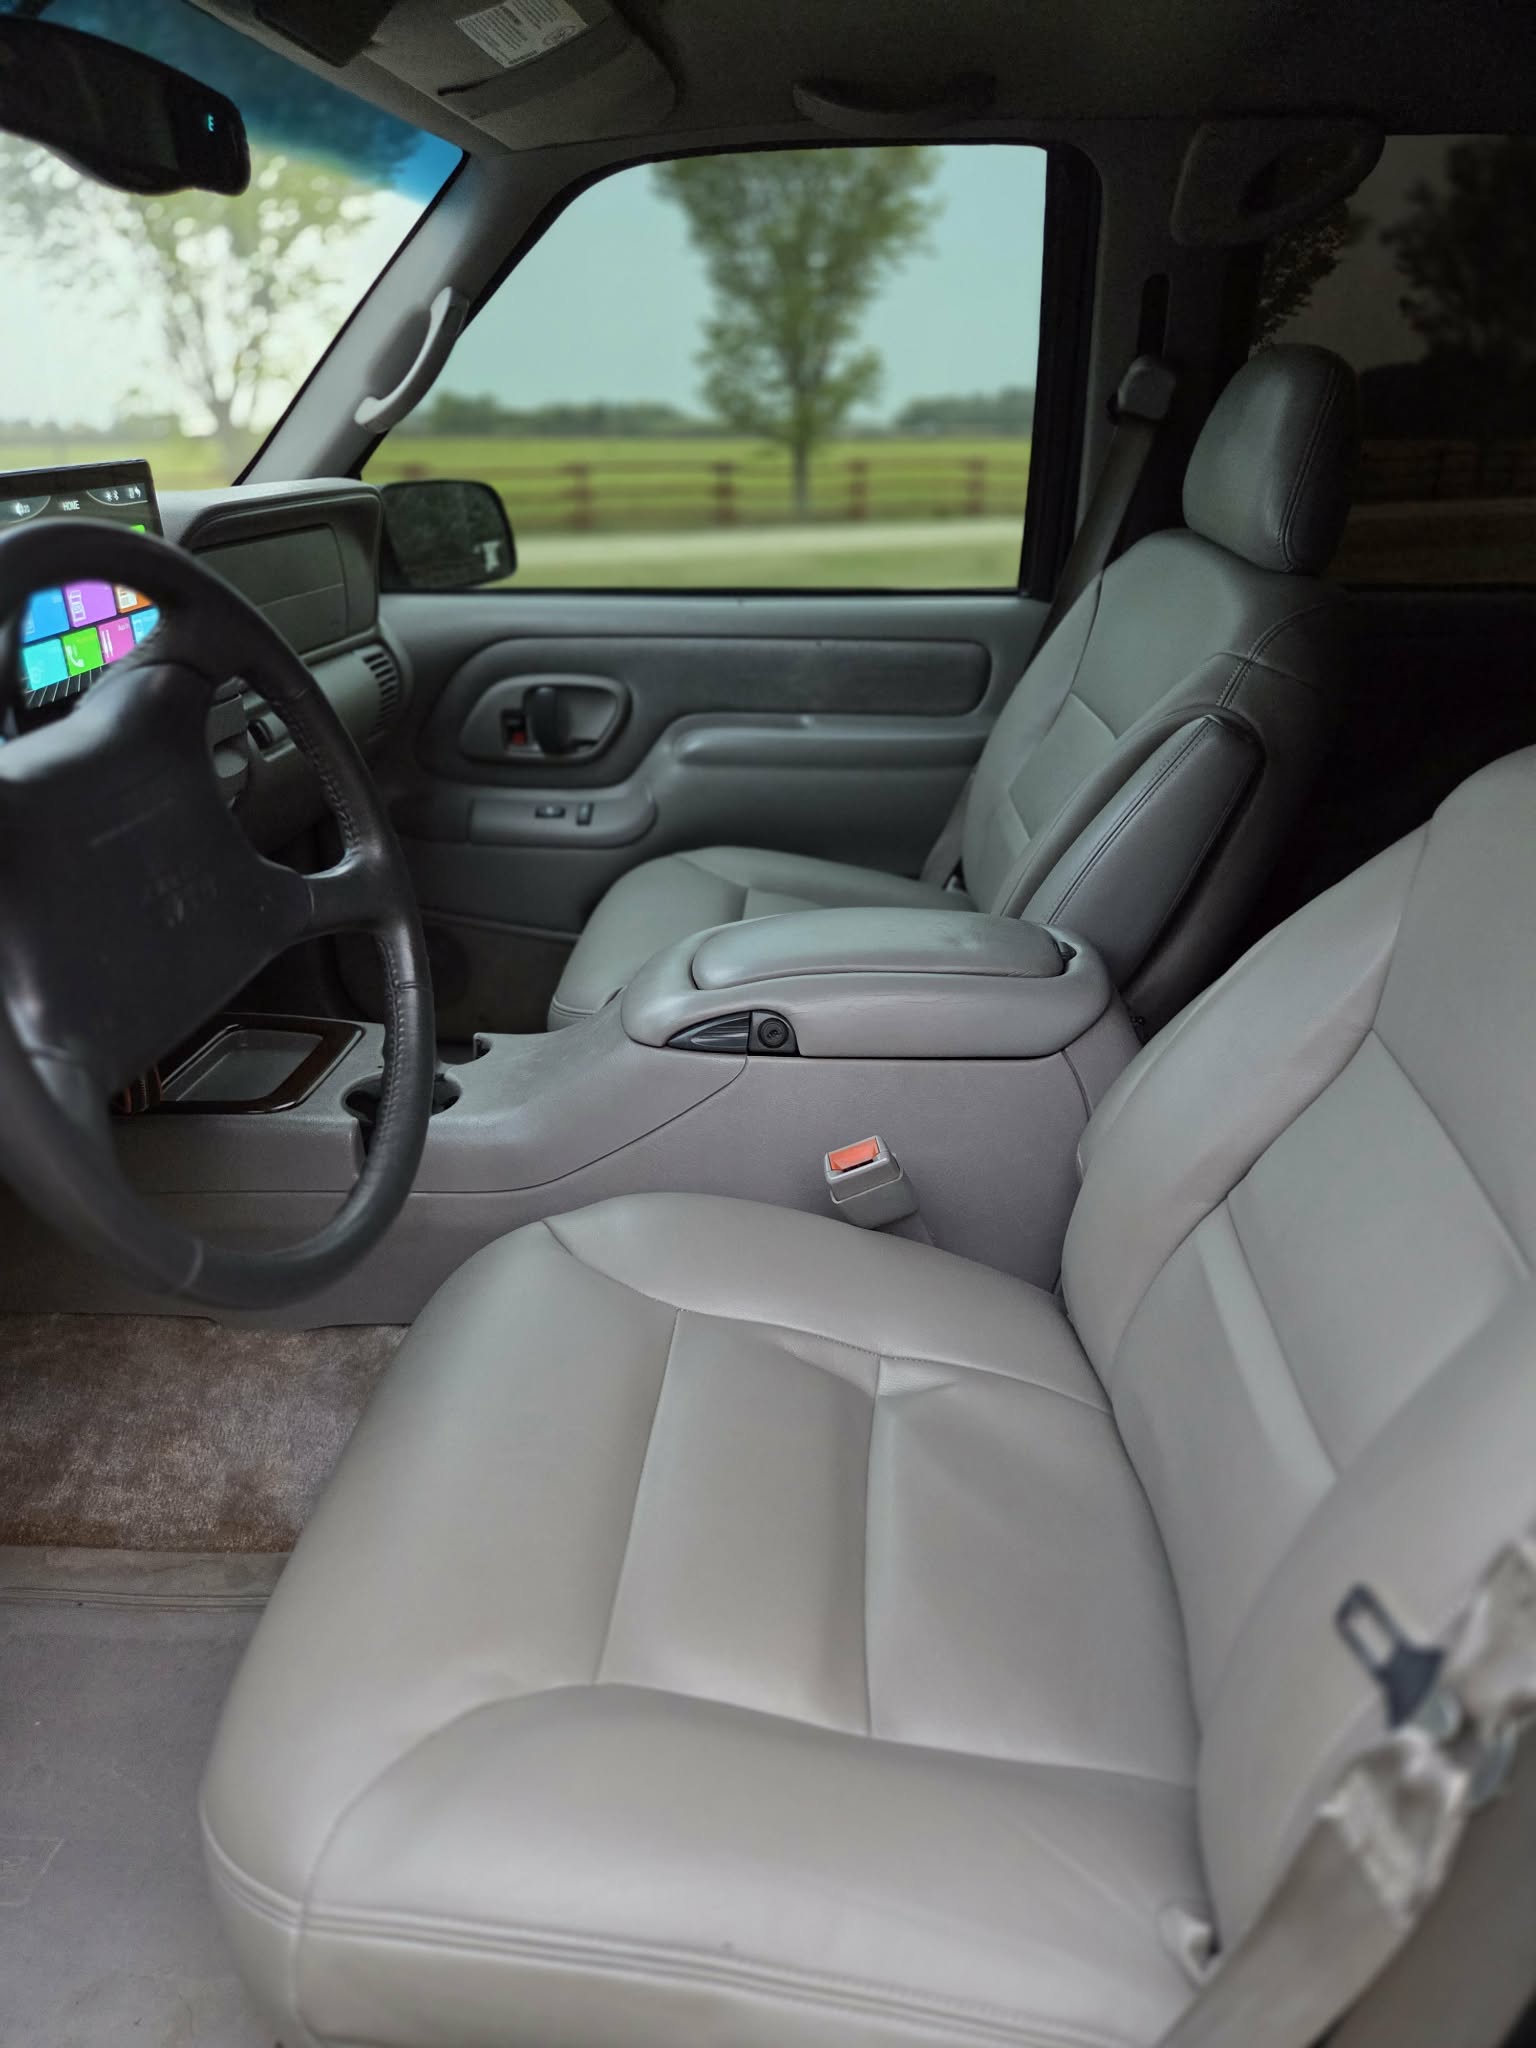
One of the cleanest interior upgrades you can do to an OBS truck is the Escalade or Denali full-length center console swap. The install is simple, requires zero fabrication, and dramatically improves storage, comfort, and daily usability. If you spend any real time driving your truck, the added organization, cupholders and armrest space alone make this swap worth doing.
Why Do the Swap
The factory OBS console works, but it lacks usable storage and modern functionality. The Escalade/Denali console gives you:
-
Full-length console
-
Increased storage space
-
Rear passenger usability (added 12V outlet)
-
OEM-style appearance that still looks factory correct
This is one of those upgrades that feels like GM should have done it from the start.
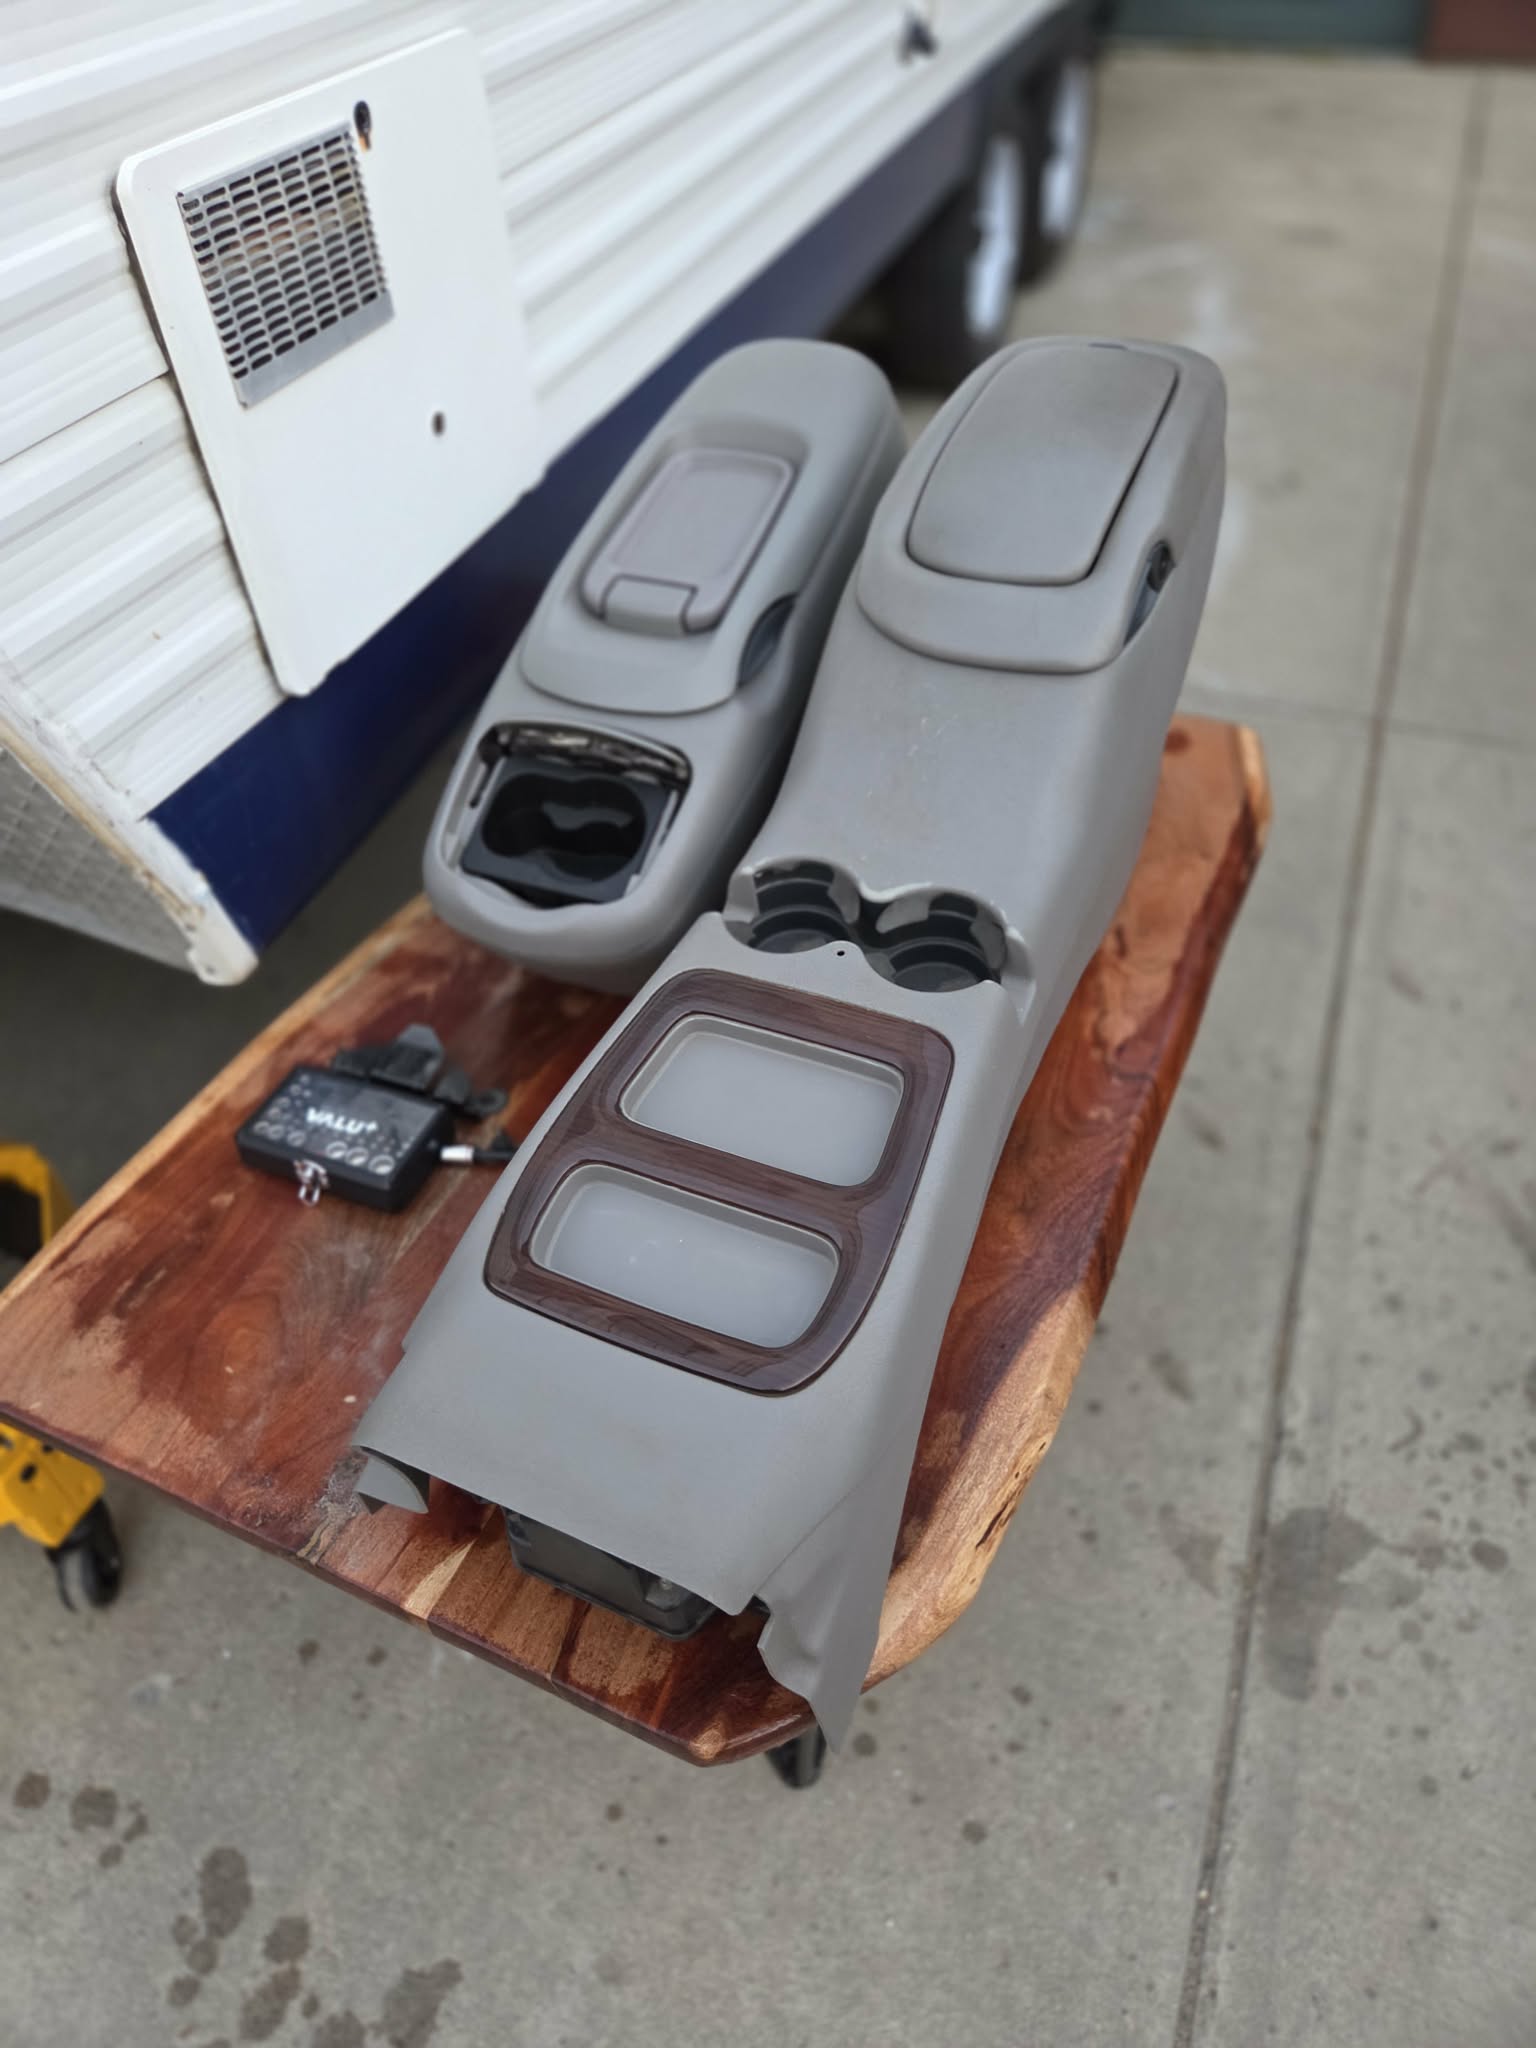
Factory console next to the Escalade console for size reference.
Fitment Notes (Important)
These consoles fit best in:
-
2WD OBS trucks
-
4x4 trucks with Electronic Transfer Cases
They can be installed in manual-shift 4x4 trucks, but additional work is required.
Because the Escalade console occupies significantly more floor space, the factory OBS manual transfer case shifter interferes with installation. To make it work you must:
-
Remove the OBS manual floor shift
-
Convert to a floor shifter and angled cover from an NBS truck
-
Address relocation or replacement of the manual transfer case indicator lights.
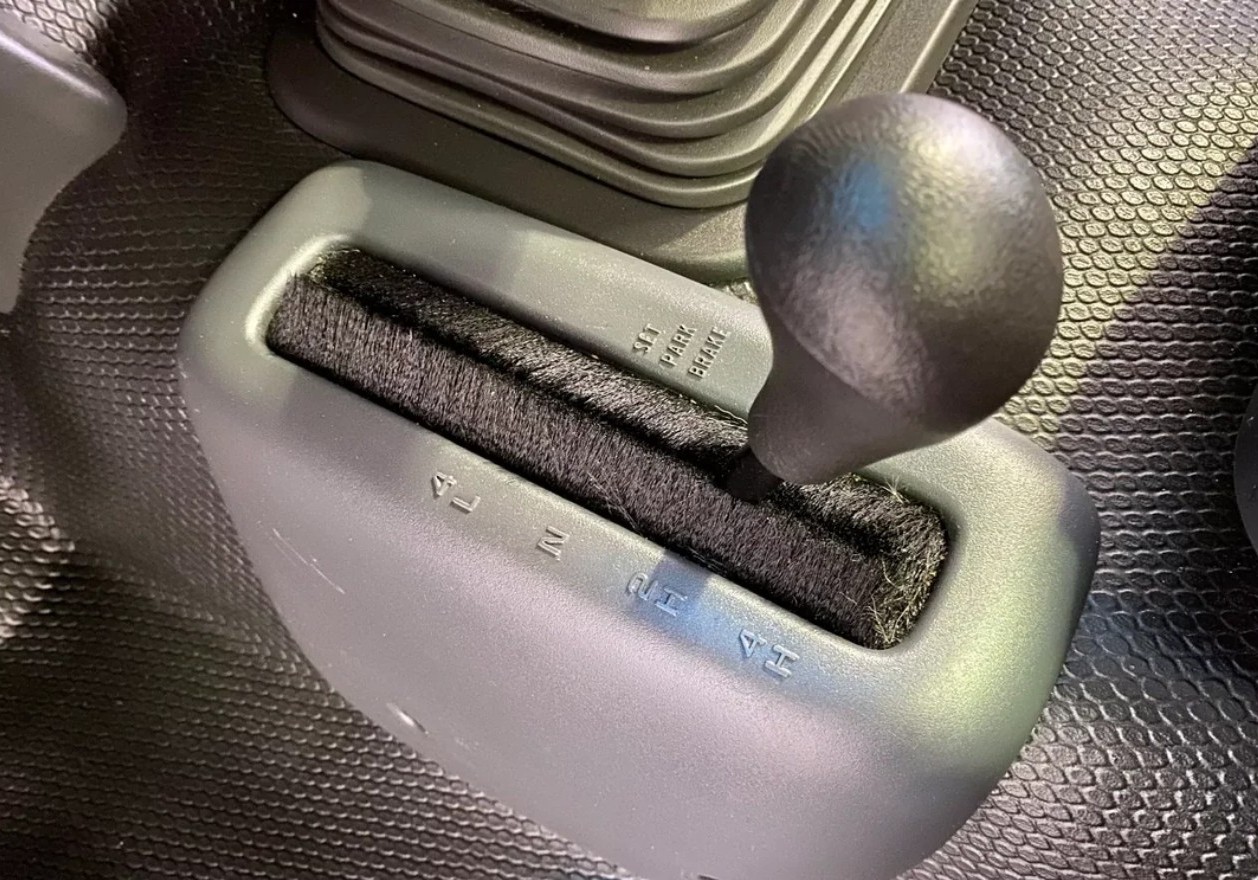
This is purely a space issue — the Escalade console uses a lot of real estate.
Finding a Good Console
Good originals are becoming harder to locate. Expect to spend some time searching.
Common sources:
-
eBay
-
Facebook Marketplace
-
Craigslist
-
Local part-outs
Things to watch for:
-
Rear cupholder mounts commonly crack with age
-
Leather condition varies widely
-
Paint wear on high-touch areas
-
Front cupholder rubber may or may not be there
Color differences:
-
Escalade: lighter grey interior tone
-
Denali: darker grey tone
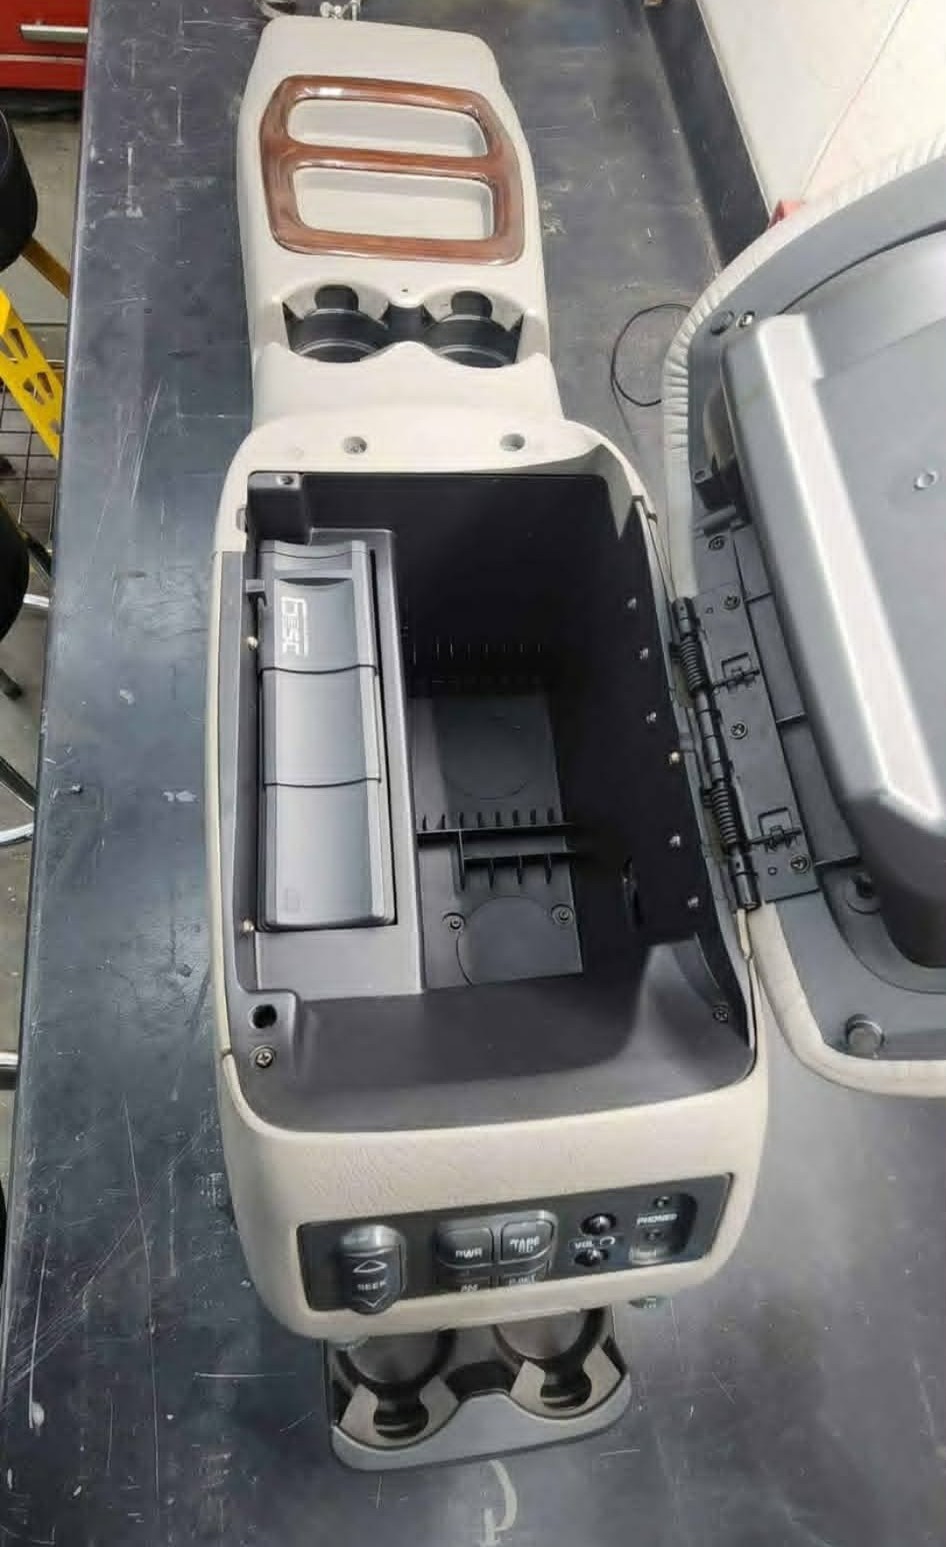
CD Player Delete / Storage Pocket
The factory CD/cassette unit inside the console can be removed.
A storage pocket fits perfectly in its place. A 3D-printed pocket works well and modernizes the console storage. Files are available and easy to print if you want a cleaner setup. Comment below if you’d like the file for a 3D printed pocket!
The rear Audio can be deleted with a blank off plate as well, or left as-is.
Interior Color Matching
If the console color does not match your interior, it can easily be corrected.
SEM interior products work extremely well for:
-
Leather refresh
-
Plastic recolor
-
Console repainting
Proper prep makes the swap look factory-installed.
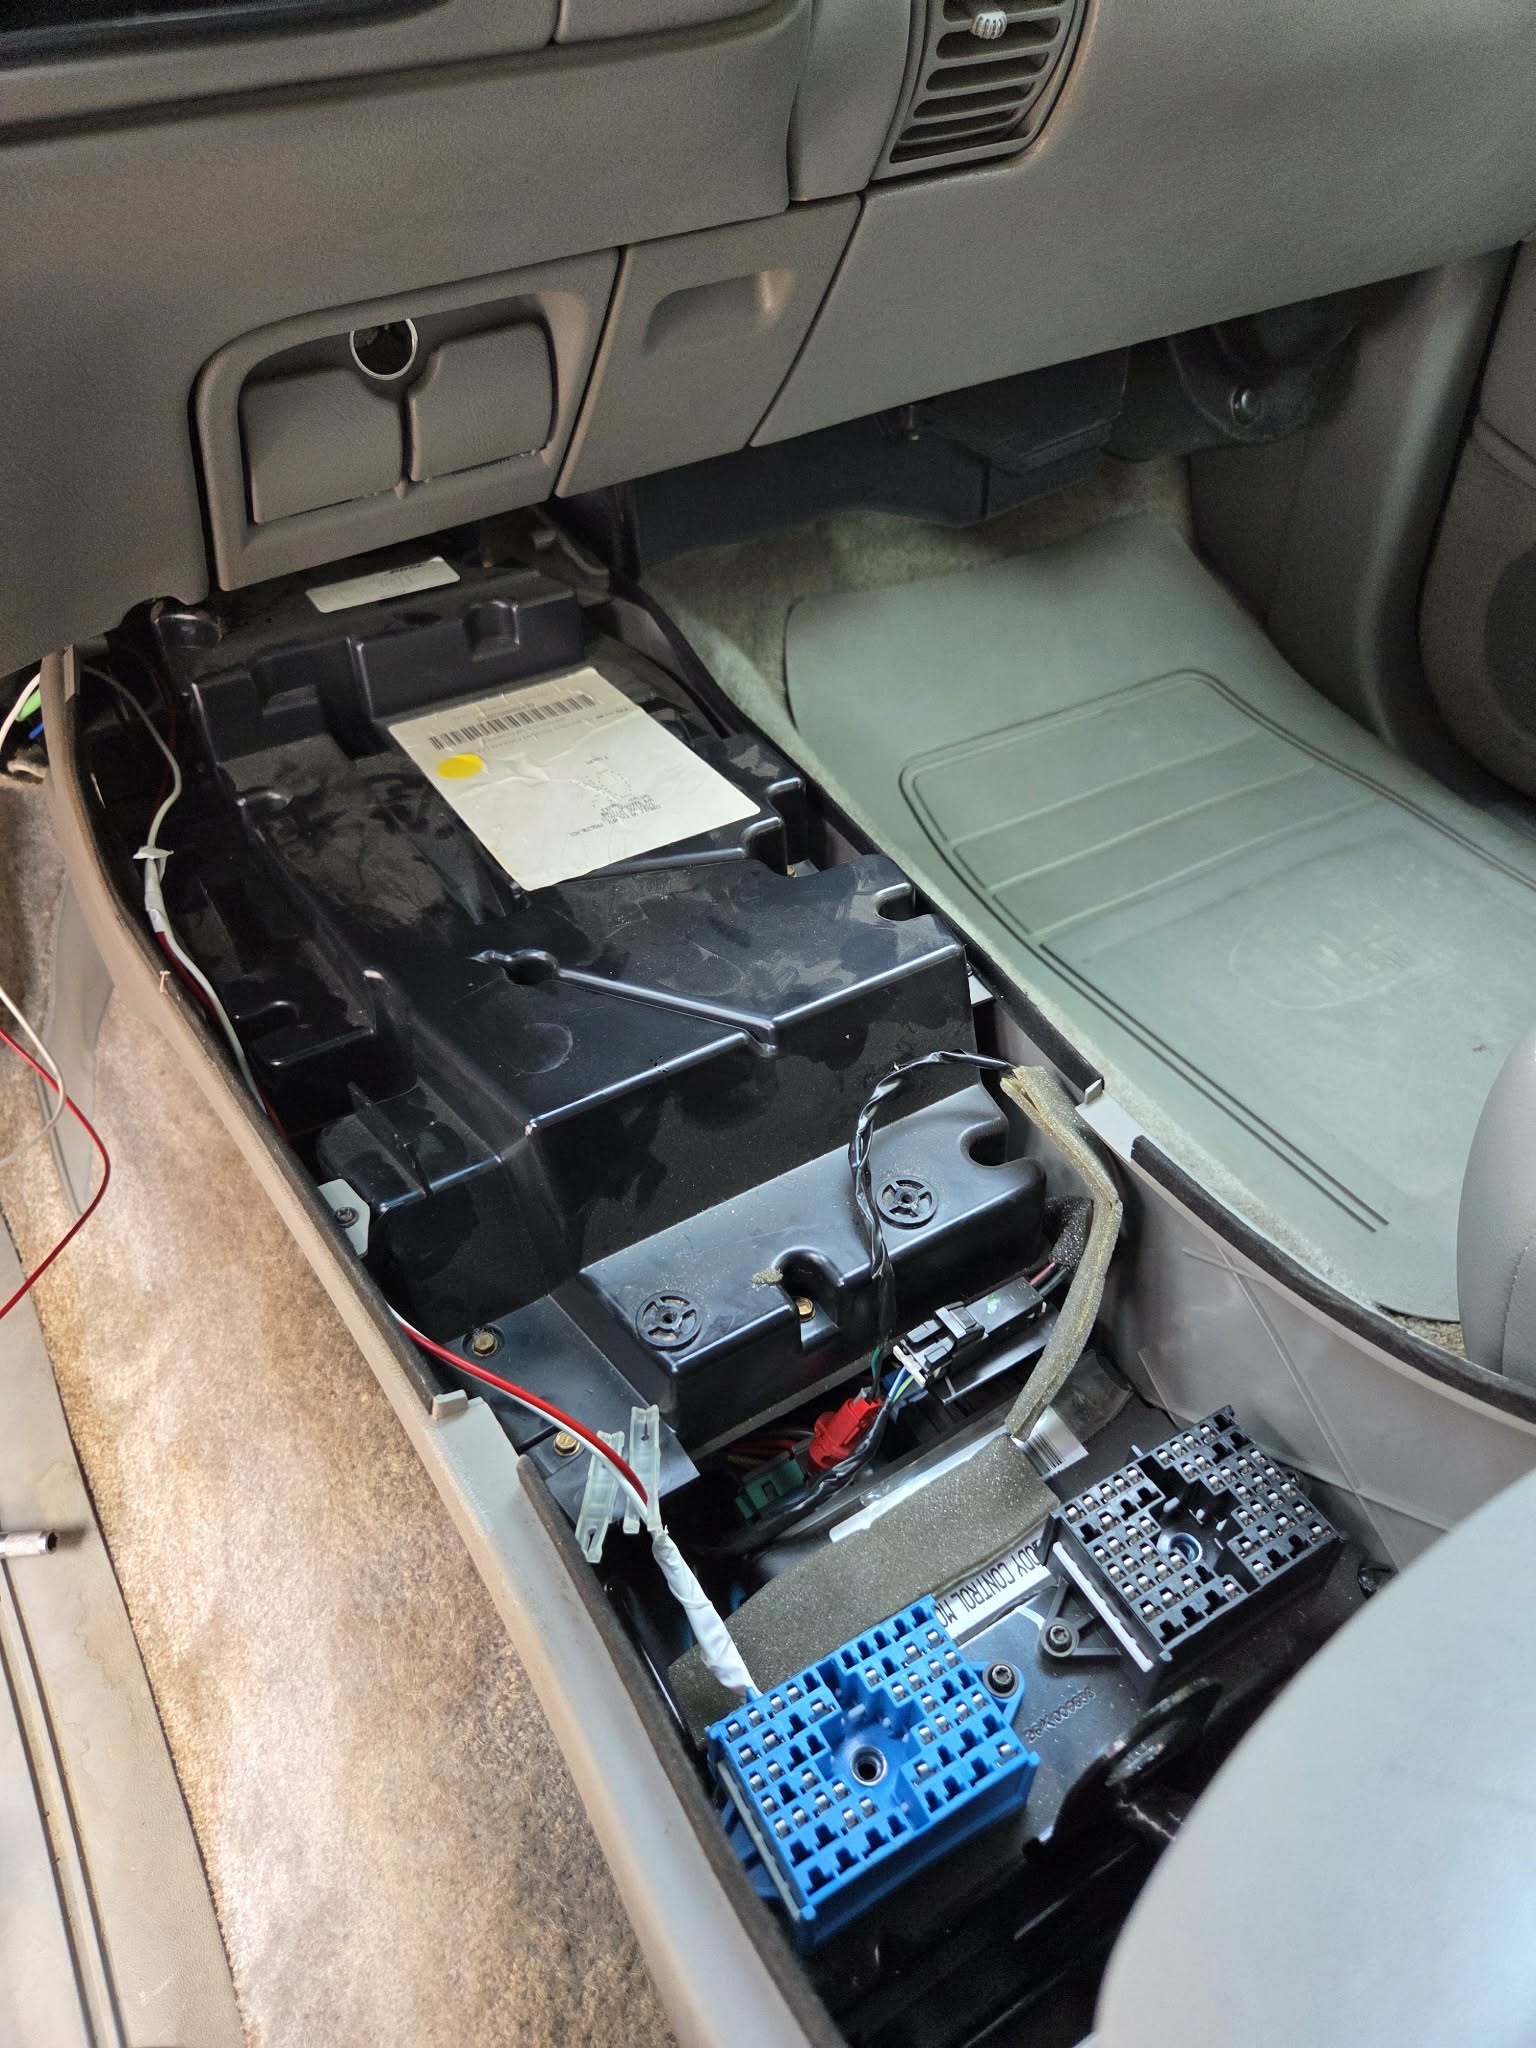
Wiring the Rear 12V Outlet
You can keep it simple or fully integrate the wiring depending on how far you want to take the retrofit.
Keeping most of the factory harness intact and simply splicing into the rear 12V wires makes things easier.
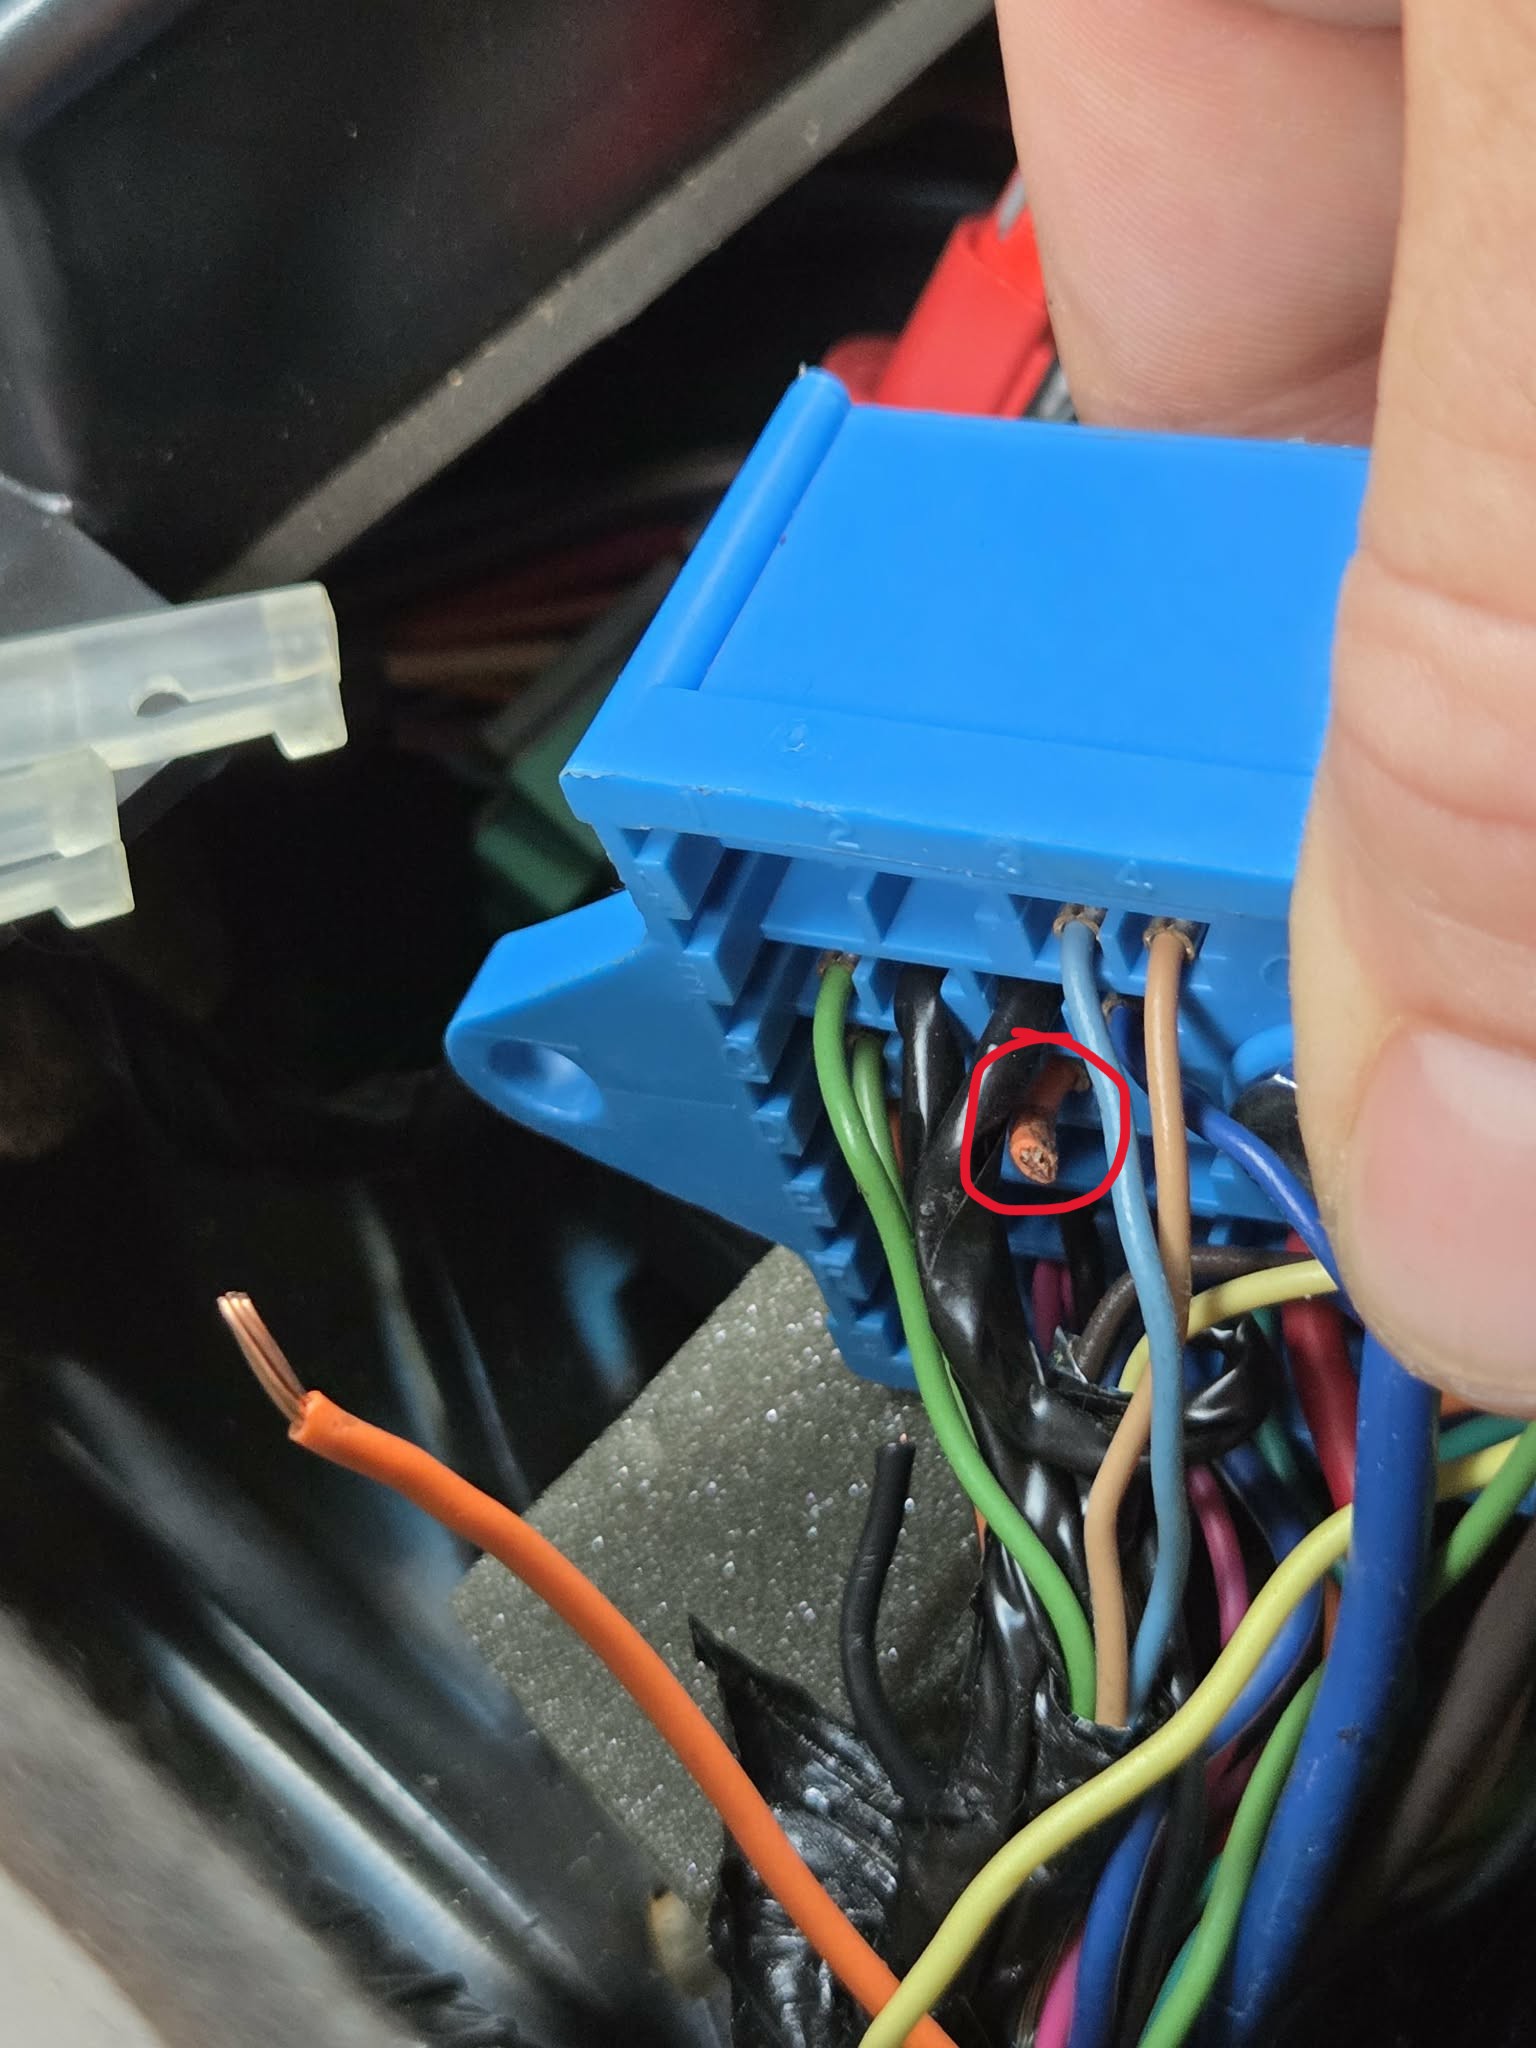
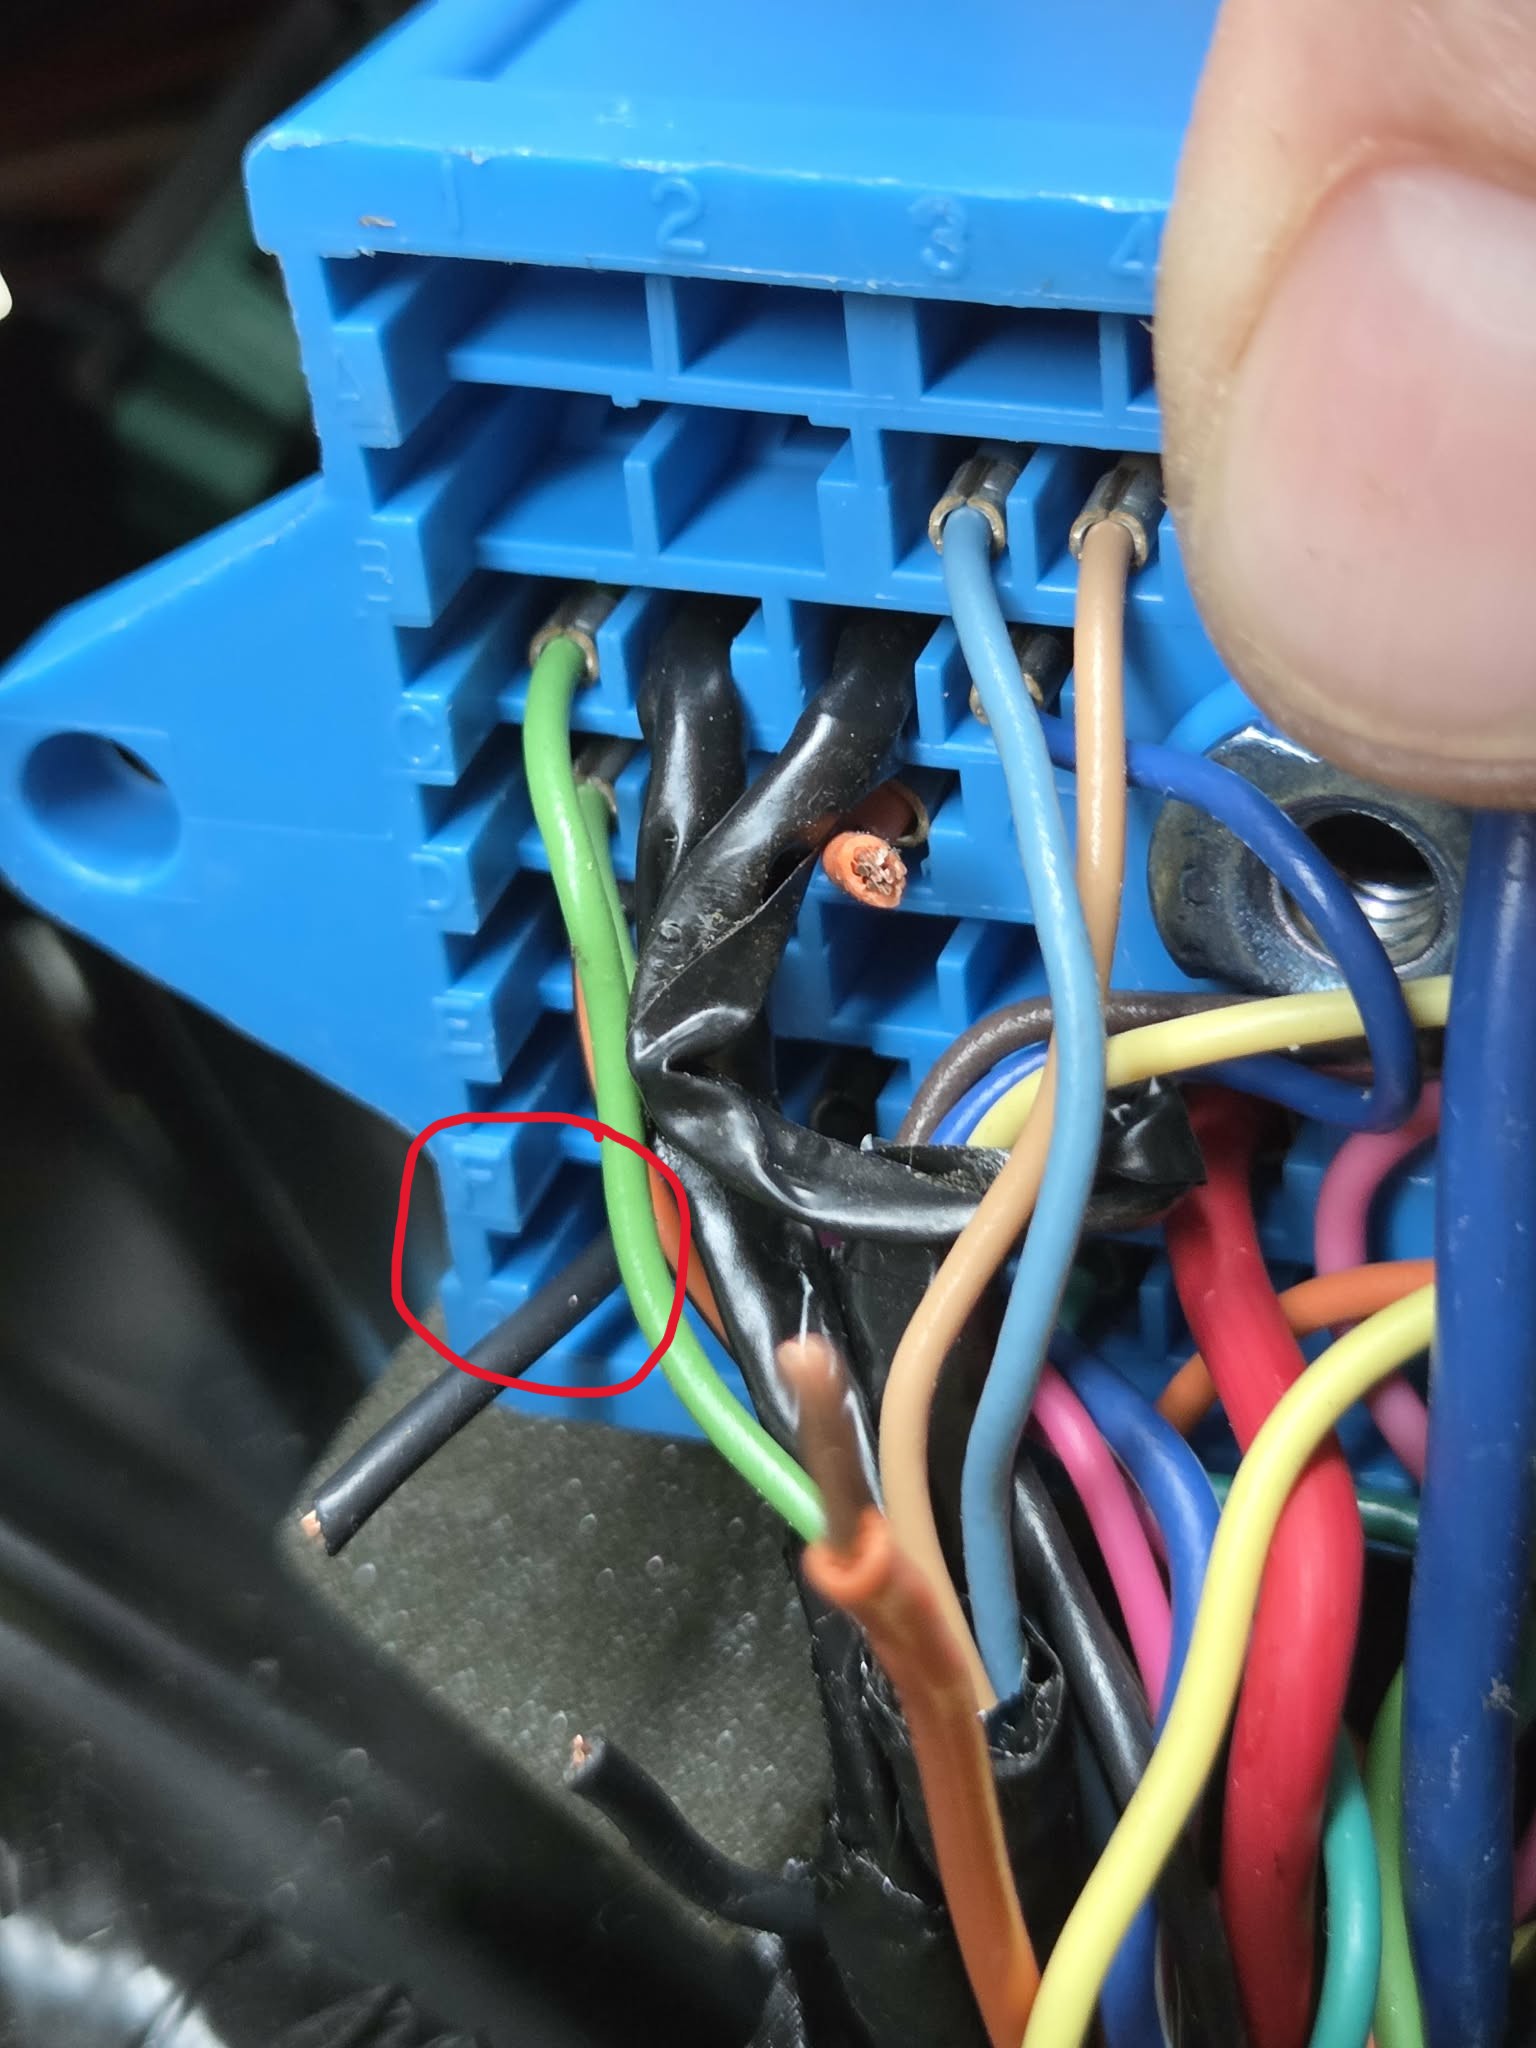
Rear 12V wiring is found under the Blue harness.
-
D3 Orange — 12V Positive (+)
-
F1 Black — Ground (−)
Recommended method:
-
Leave harness intact.
-
Splice with console lid removed for easier access.
-
Route wiring forward.
-
Install an add-a-fuse at the driver-side fuse box tied into the front 12V outlets.
If unsure, verify continuity using a multimeter before final connection.
Console Installation Process
Installation is straightforward and mostly bolt-in.
Removal
-
Remove inner console “tub”, and remove the two bolts from the original console.
-
Pull console forward and lift out.
P.S: This is the perfect time to deep clean the carpet while everything is apart!
Install
-
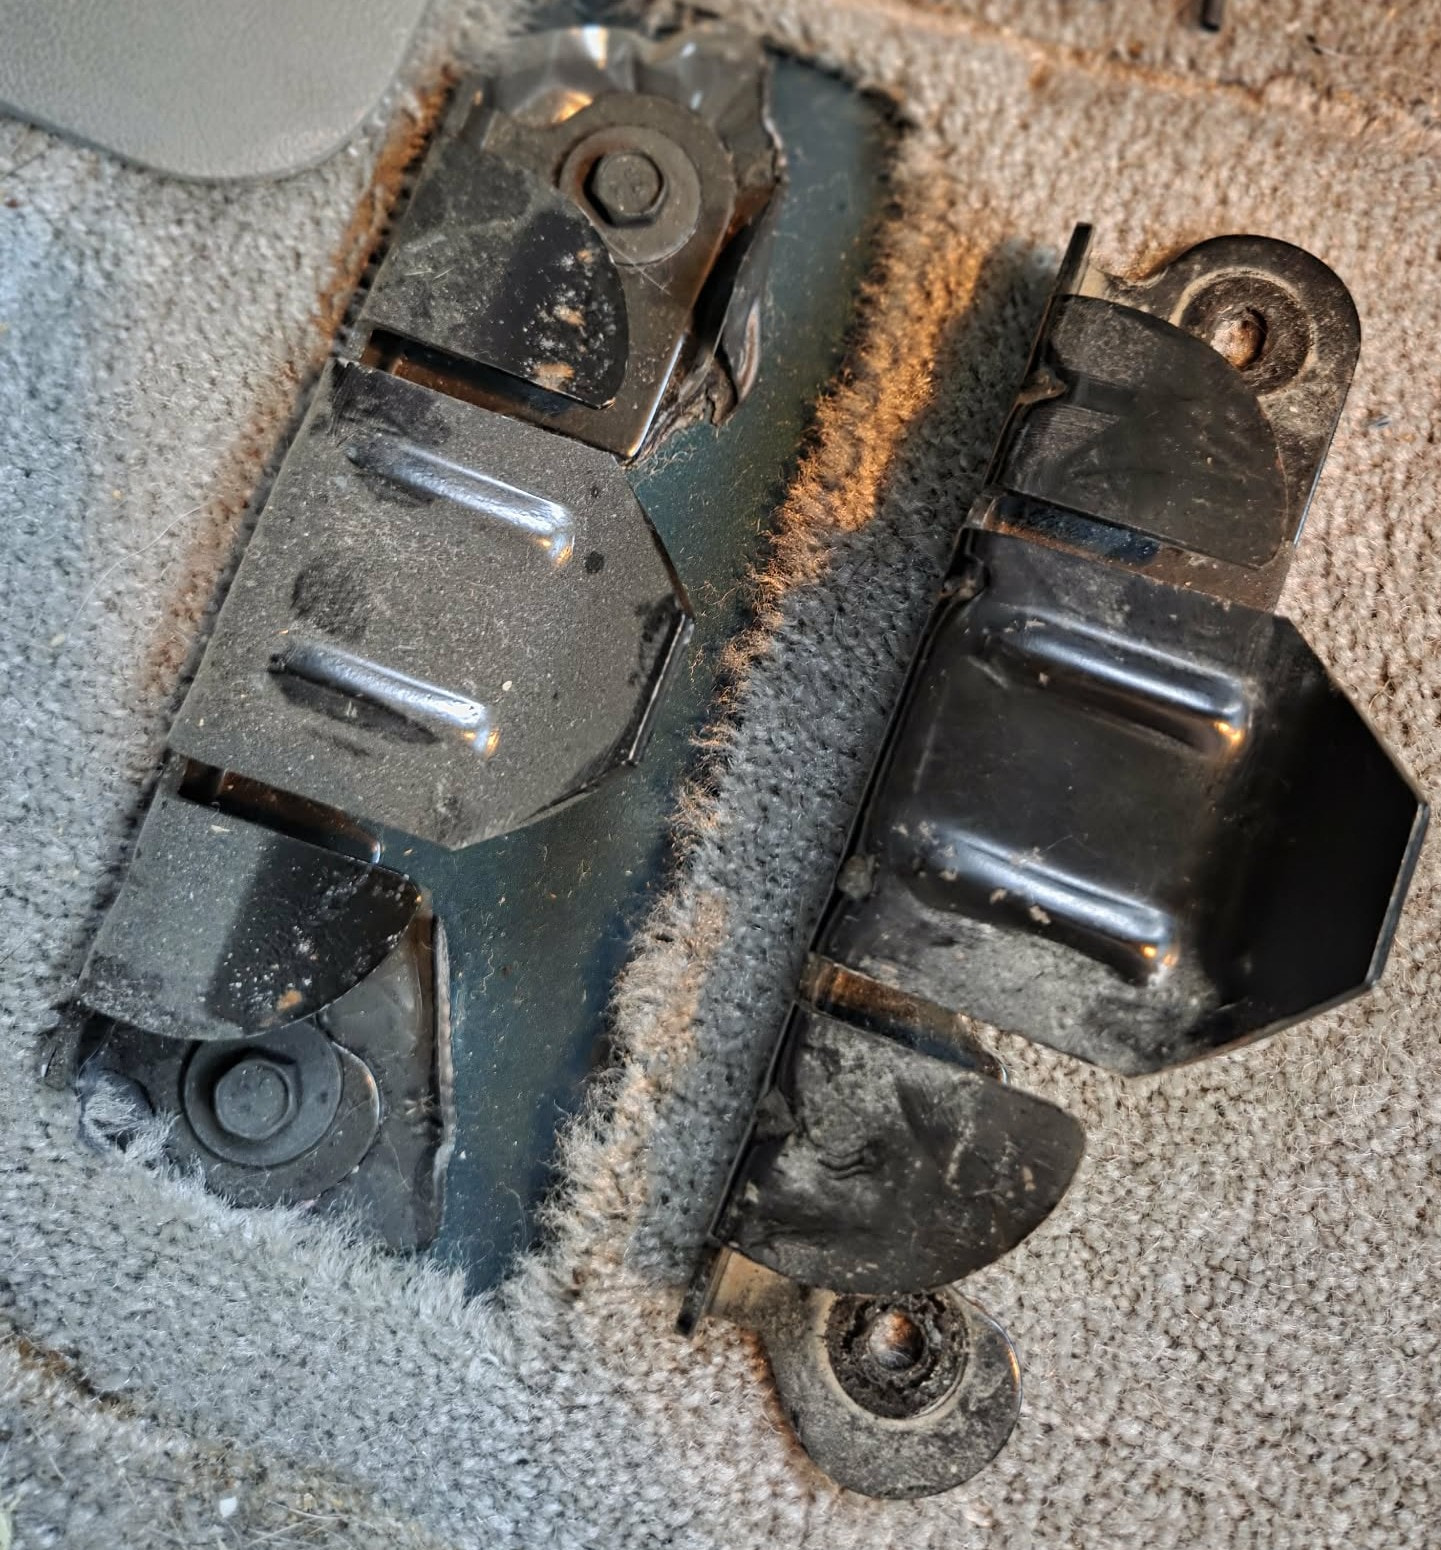
Position Escalade/Denali console. Use the Escalade mounts, if it came with them. The mounts are basically the same, however the Escalade one appears to have a larger contact area.
-
Alignment can take a few attempts. I found tape on the carpet helped to get the bolt holes positioned correctly.
-
Install mounting bolts once lined up.
Console shown bolted in, and with the rear 12V wiring extended, spliced into the blue harness.
The front portion of the console sits “floating” after retrofit. Keeping the factory subwoofer/amp in the front helps stabilize weight distribution and works well with the layout.
Once aligned:
-
Install the two mounting bolts
-
Tighten down
-
Reinstall the console top
-
Done

Final Thoughts
Mint Escalade console chevy")
This swap is one of the highest-impact interior upgrades you can do to a GMT400. It looks OEM, adds real usability, and requires very little modification compared to most interior conversions.
Finding a clean console is the hardest part. Installation itself is simple and completely achievable in a driveway.
I would recommend running the rear 12V wiring as it opens up possibilities for adding additional items in the future (such as wireless chargers, etc.)
If completed cleanly, the result feels like a factory luxury trim upgrade rather than an aftermarket modification.
