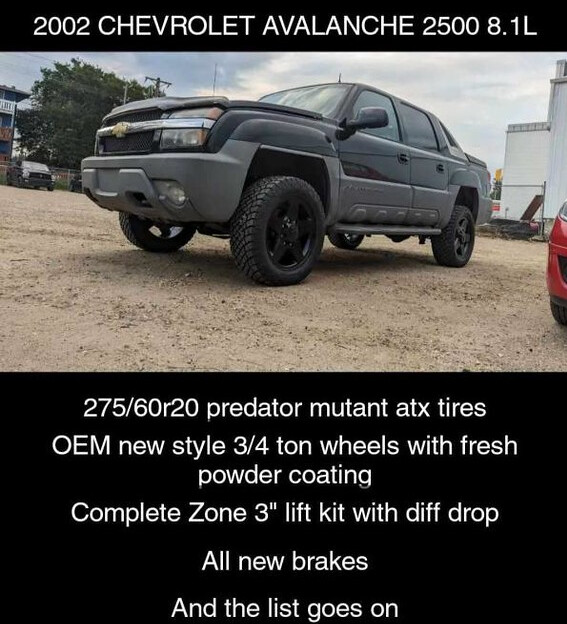
This is my 2002 Avalanche 2500. 8.1 Vortec, 4L80E.
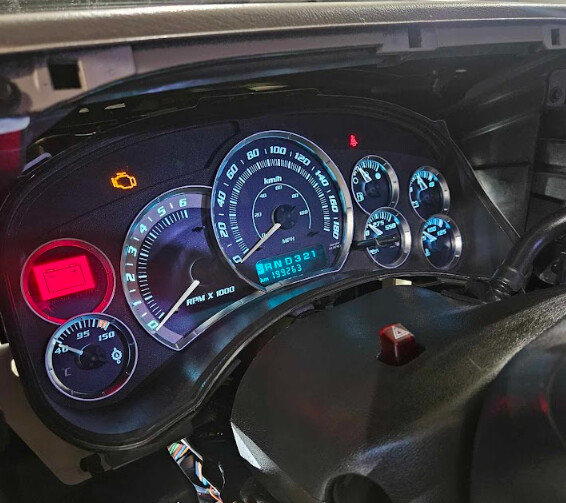
I got it with fairly low mileage (196,000KM) after it had been sitting for a year.
It kept getting broken into - theives had gutted the cats, punched the ignition cylinder out, stole the stereo out of it, etc. Thankfully they left the power wires though!
I was able to get a screwdriver in the ignition and hear it FIRE - but not run. The Security light was active as there was no key; so it would just shut down after it fired. I bought it after a few starts and able to verify it had good oil pressure. Once I verified the oil pressure was good, we hauled it onto my flatdeck with the Warn PullzAll 120V winch and took it home.
The goal was (and still is) to just use it as a tow rig when needed, and to replace my Duramax which I had sold during Covid.
The first order of business was getting it running. A new ignition and lock cylinder was ordered and installed, as well as a driver’s door handle.
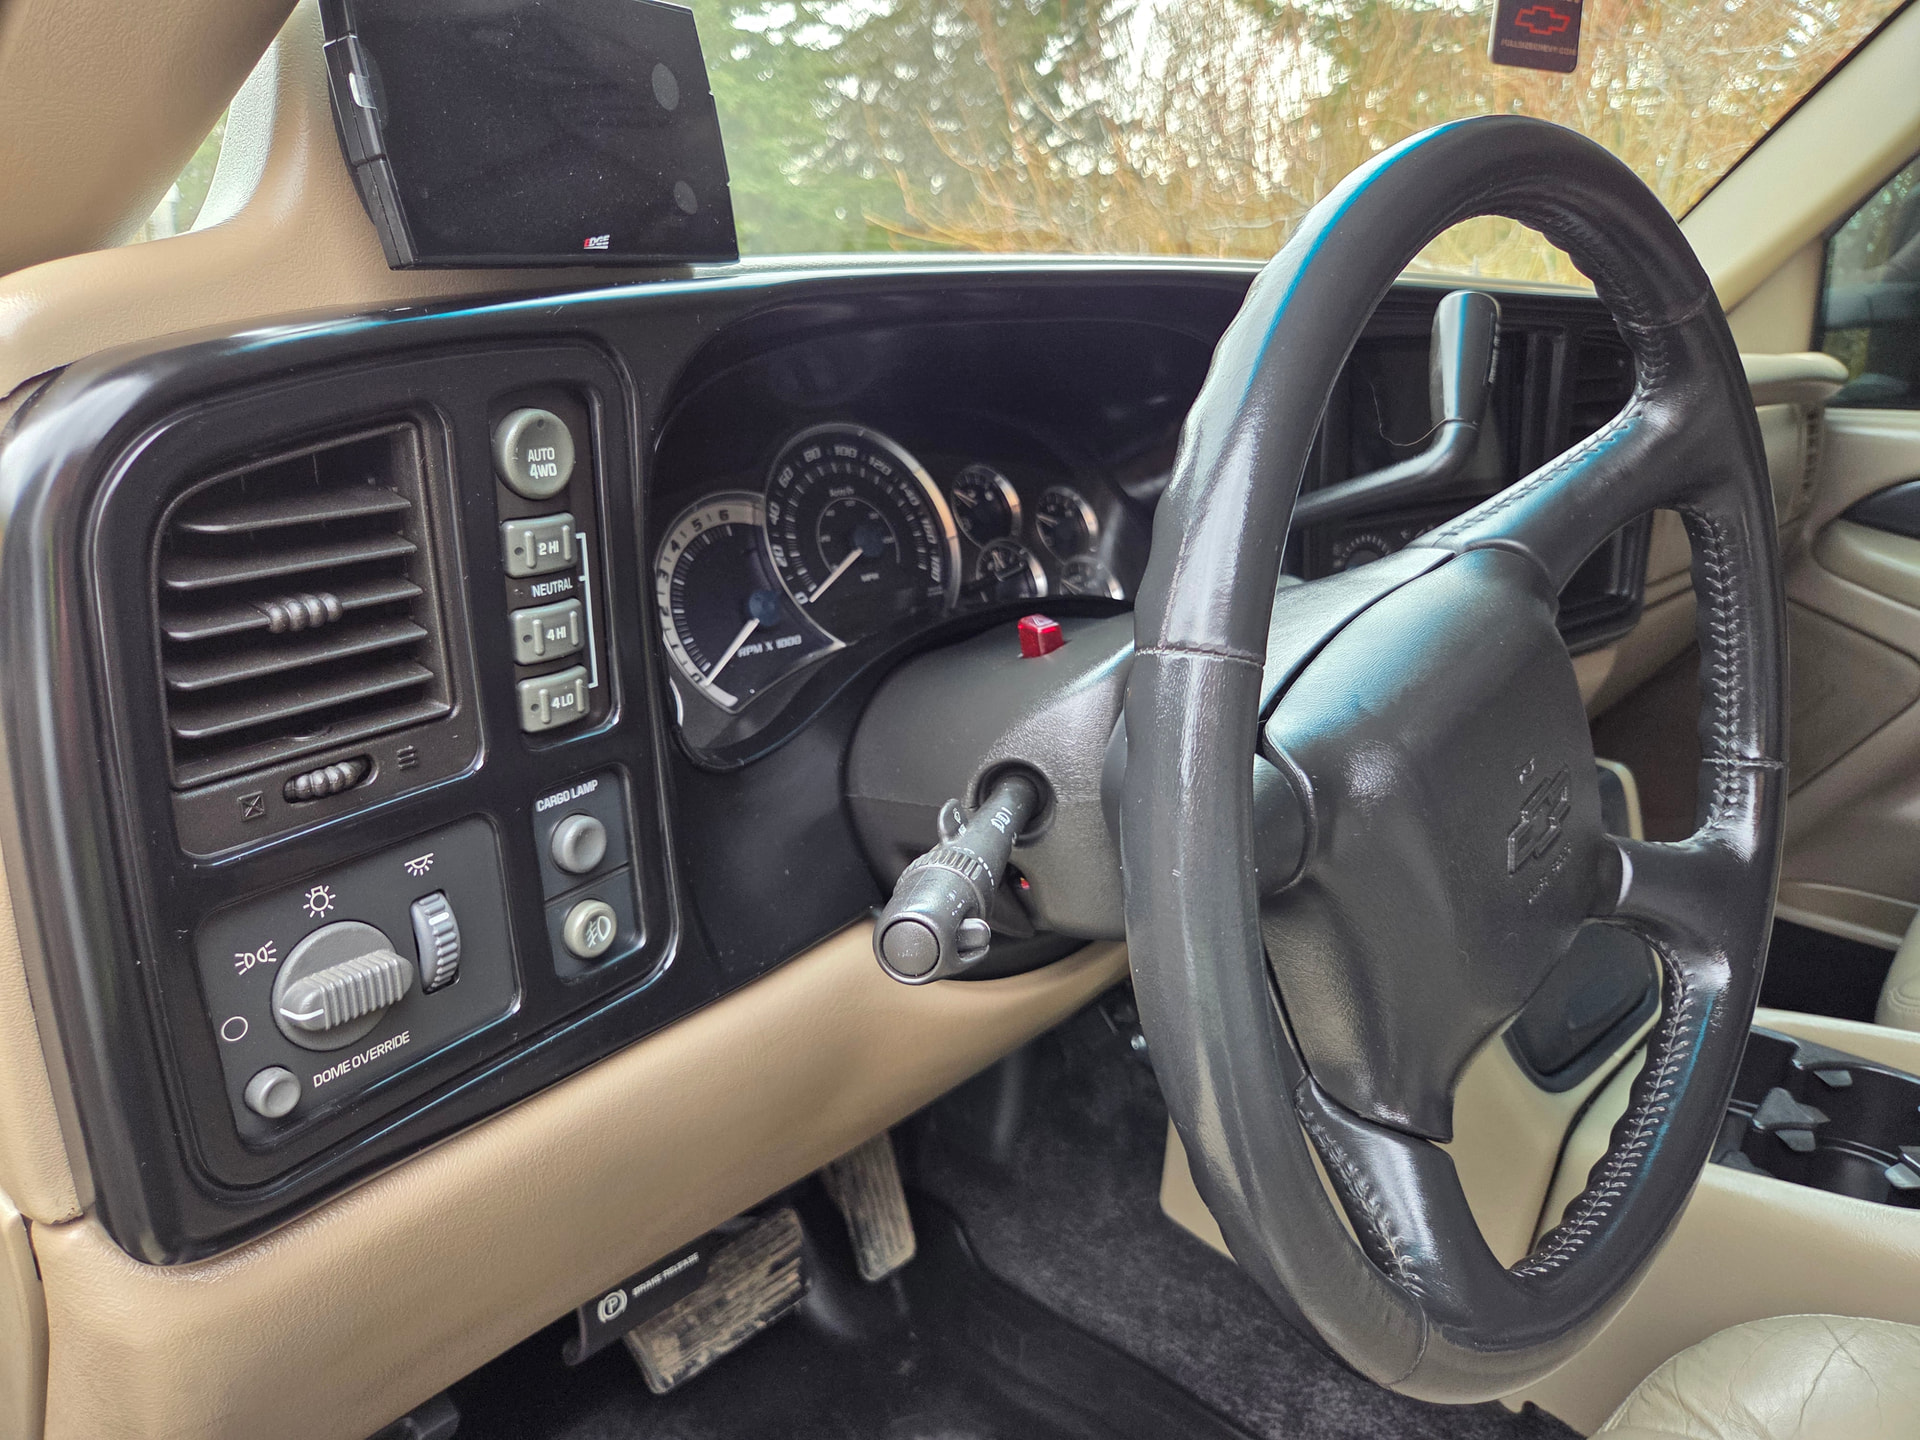
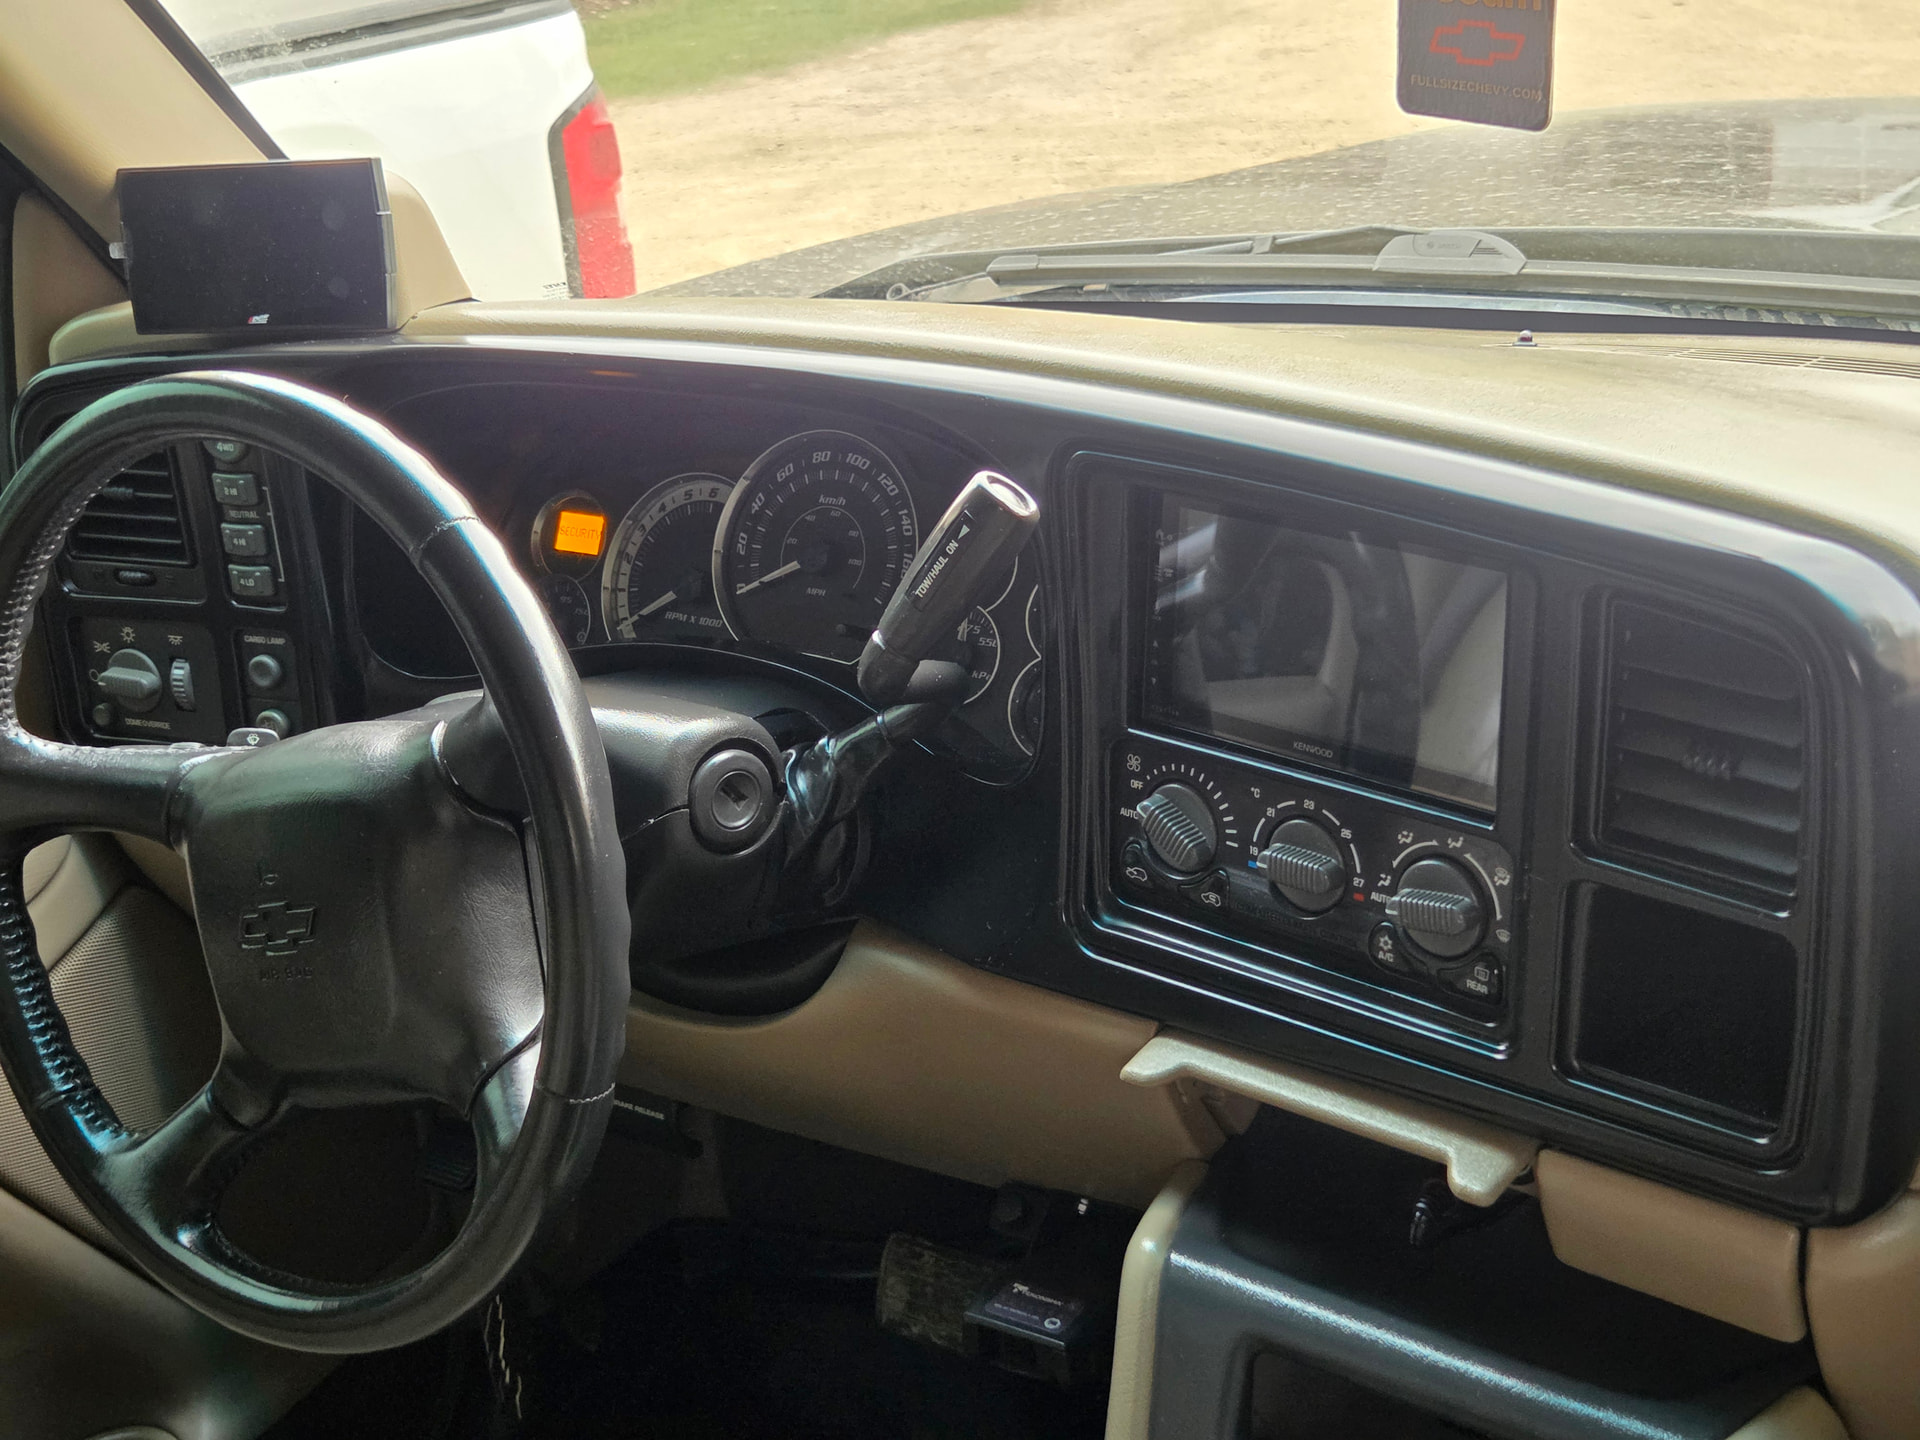
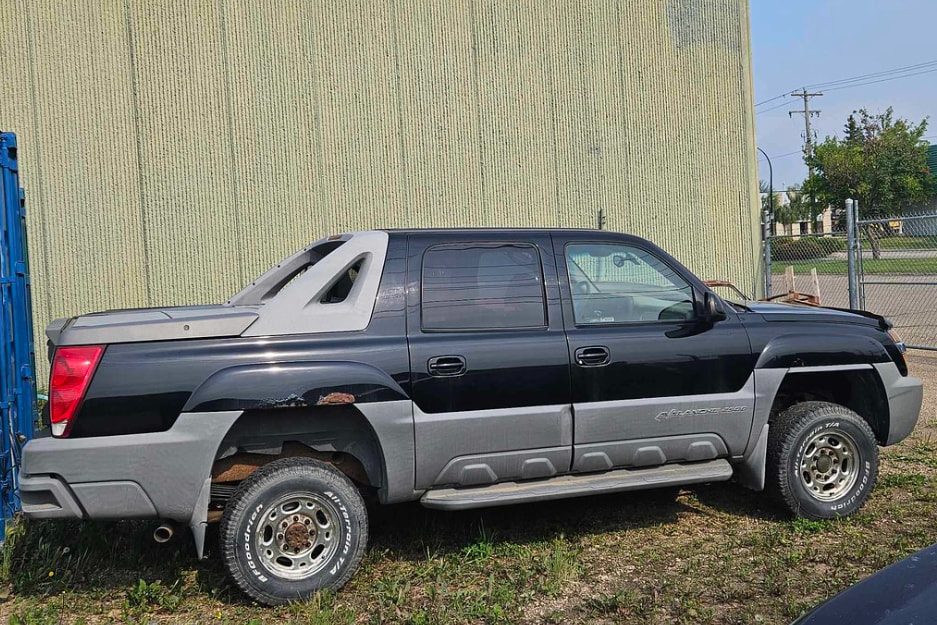
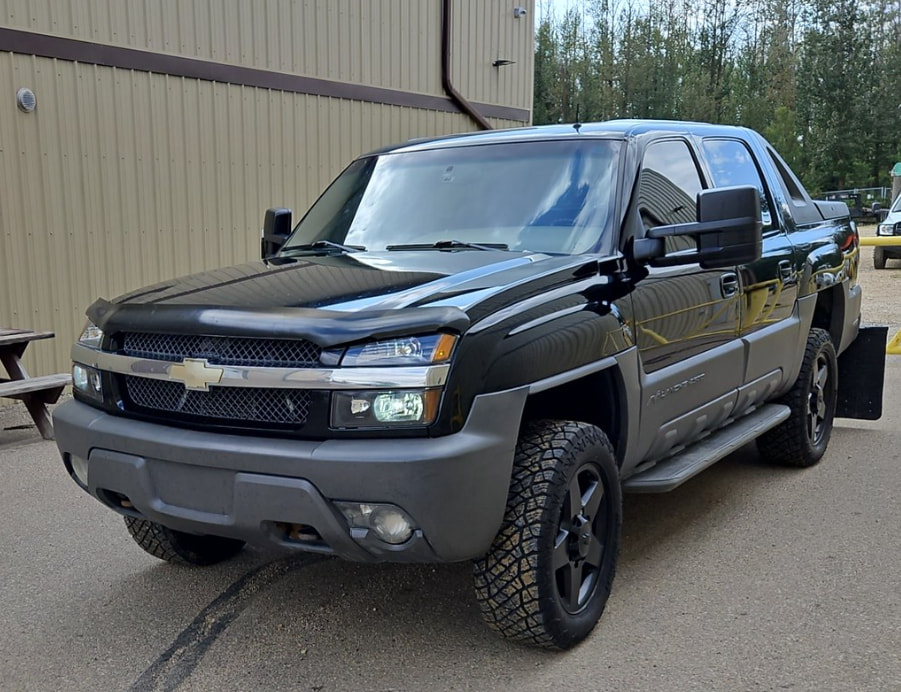
Here is what it looked like when I first got it.

I really liked the interior colors.

The next step after getting it running involved basic maintenance, a new exhaust (magnaflow 12590 + black tip), and some newer 8 bolt GM 20’s to go on it.
I should have kept the PY0’s but the lip was not good on them.
Here was the first day it came back from the exhaust shop!!!

After it was running, I decided that I wanted to lift it a touch. After doing some research, I went with the 3" Zone kit PN ZONC31. This was the only lift that had a front differential drop bracket, that claimed to keep close to stock geometry.
While we were at it I threw the same year suburban 2500 springs in as the one side spring was broken. The springs added a leaf, some rear lift and an extra 250 lb payload per side.
I was still deciding on wheels at this point; but eventually just decided to go with newer 8 bolt Gm wheels and have them powdercoated black to match. They are LTZ/Denali factory take-offs (had a 2015 with them and liked them).
I had to get wheel adapters that were hub/lug centric. They were not cheap but I wanted to make sure that I spent the money as I planned on using it to tow here and there. I believe the wheel adapters came from uswheeladapter.com and it took a little bit for them to get to me.
This was the first rendition of the 2500 fresh out the tire shop; just with 275s to fit. While we were at it, we also did all new brakes. I had to trim the front bumper a touch but other than that all the big stuff is done.
The suburban springs helped a ton in the back, as the back end hardly moves when you jump on it or hook a trailer up to it.
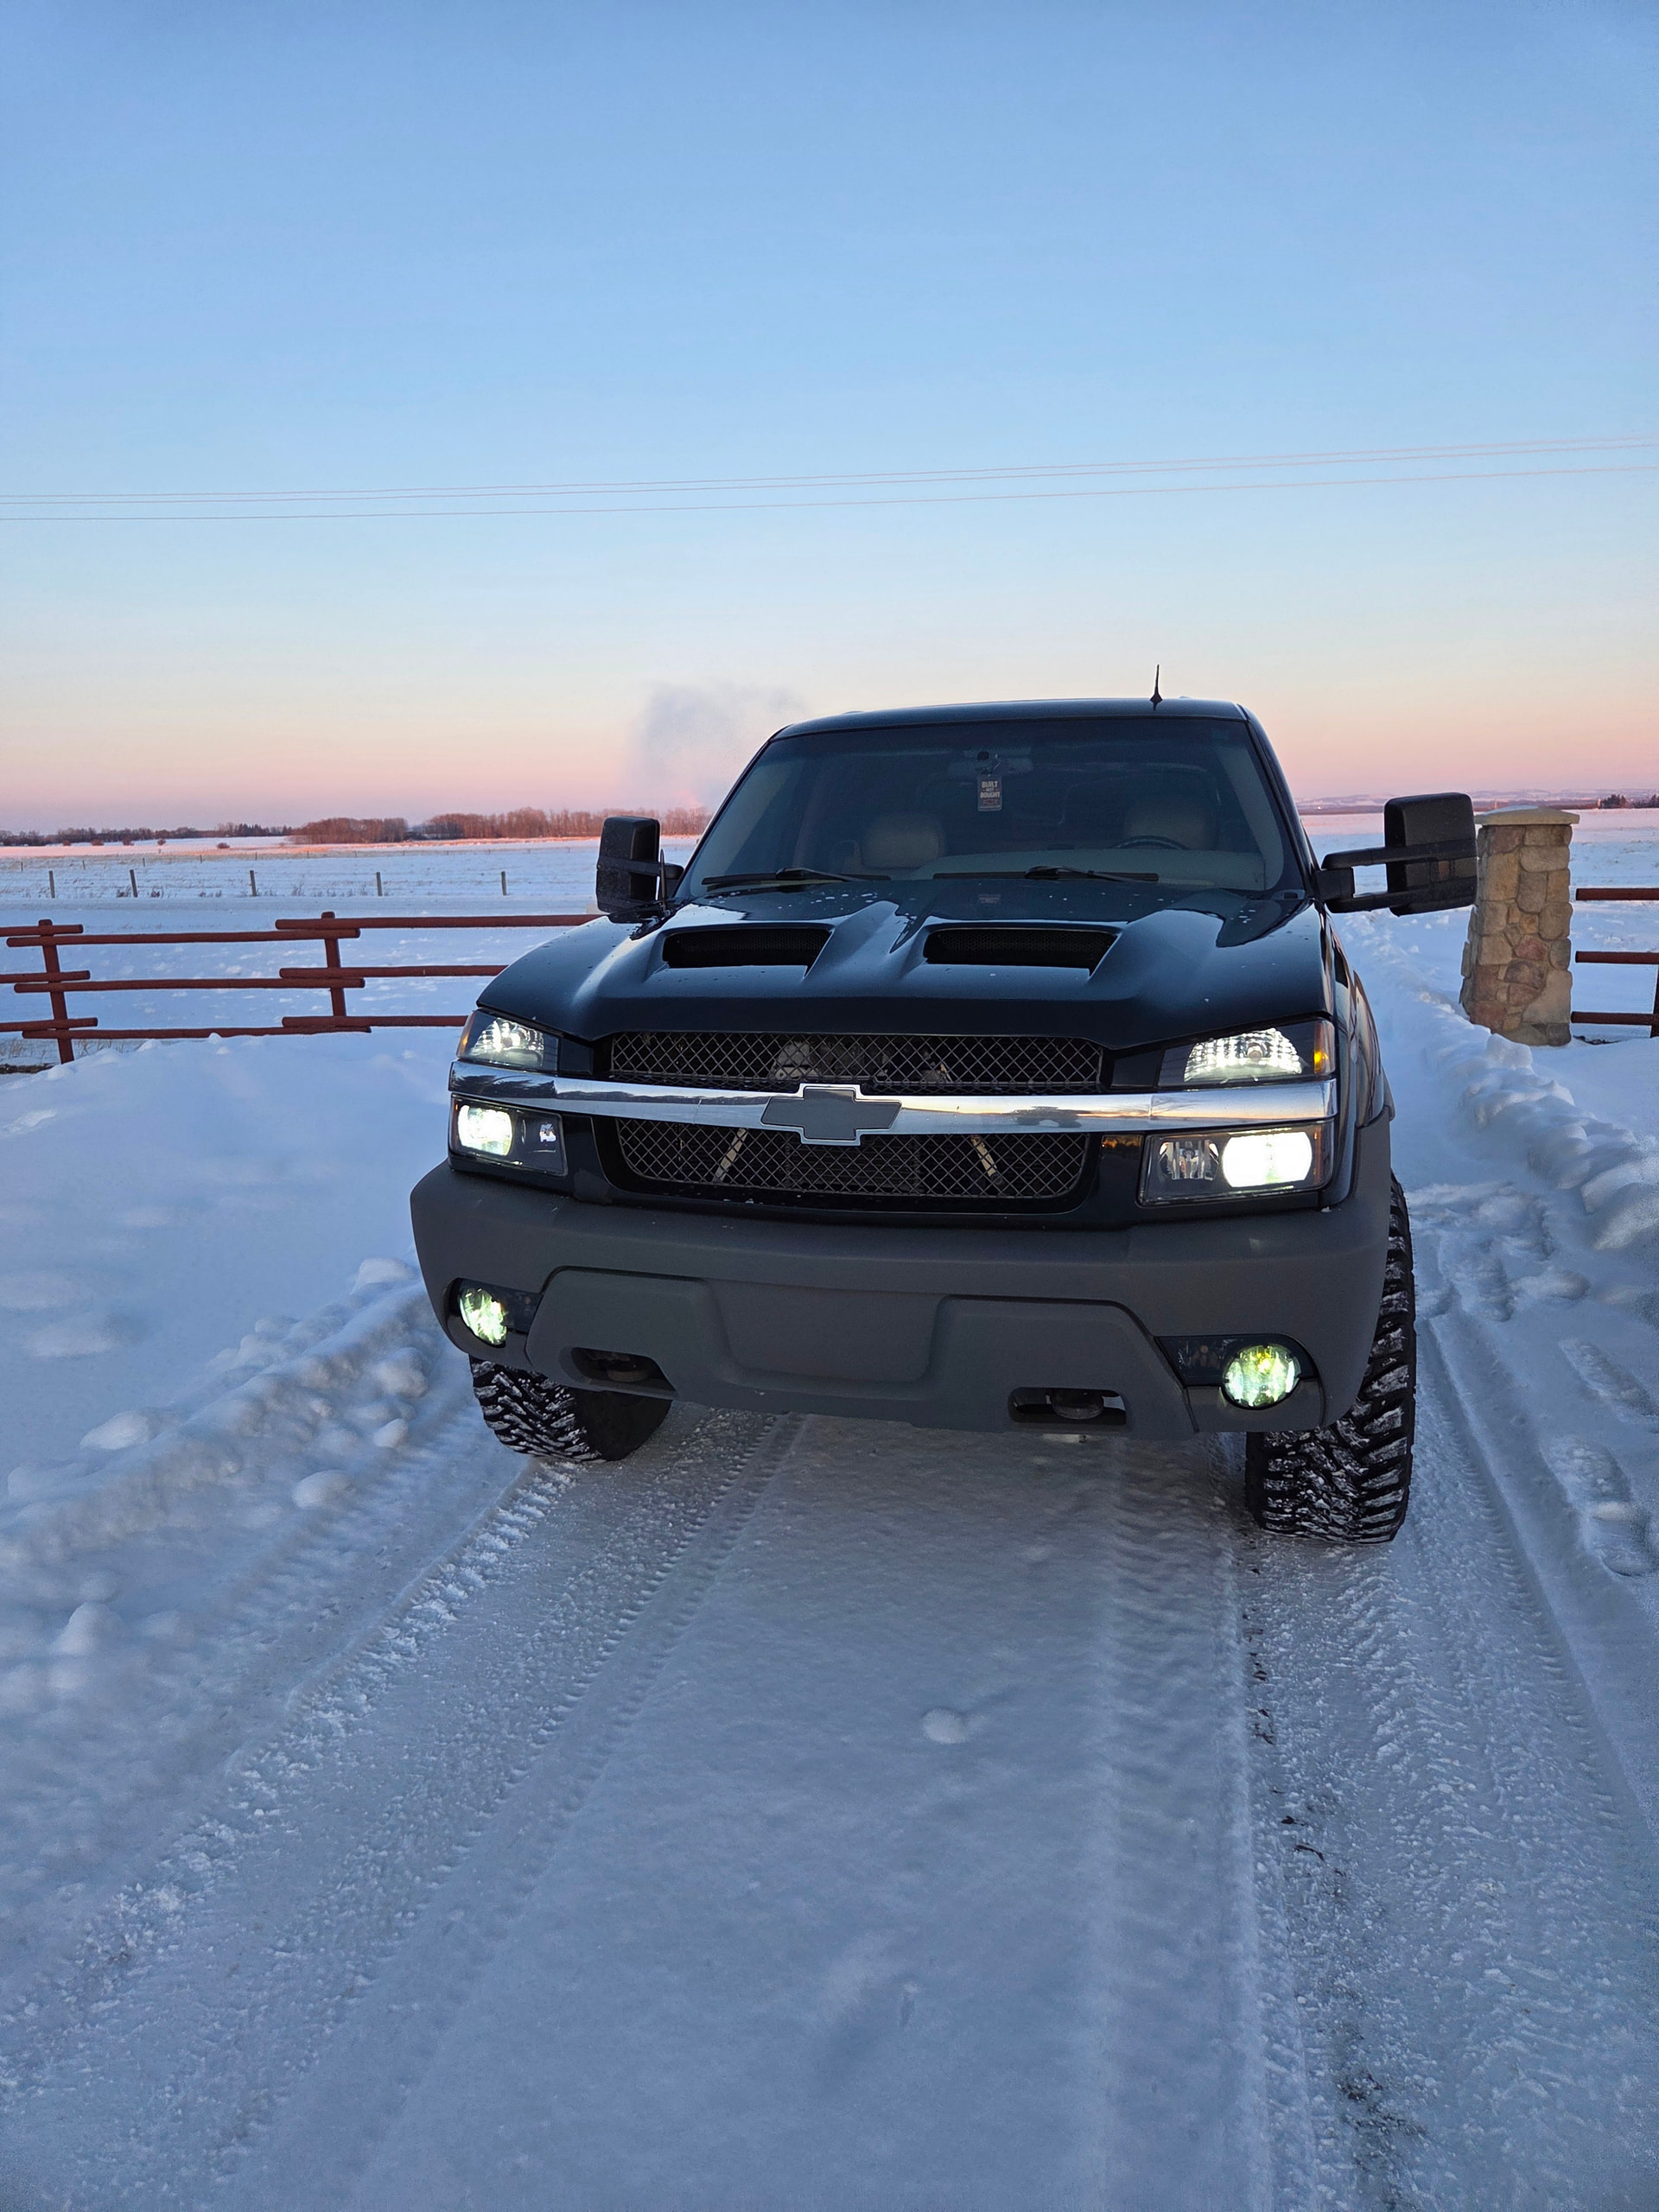
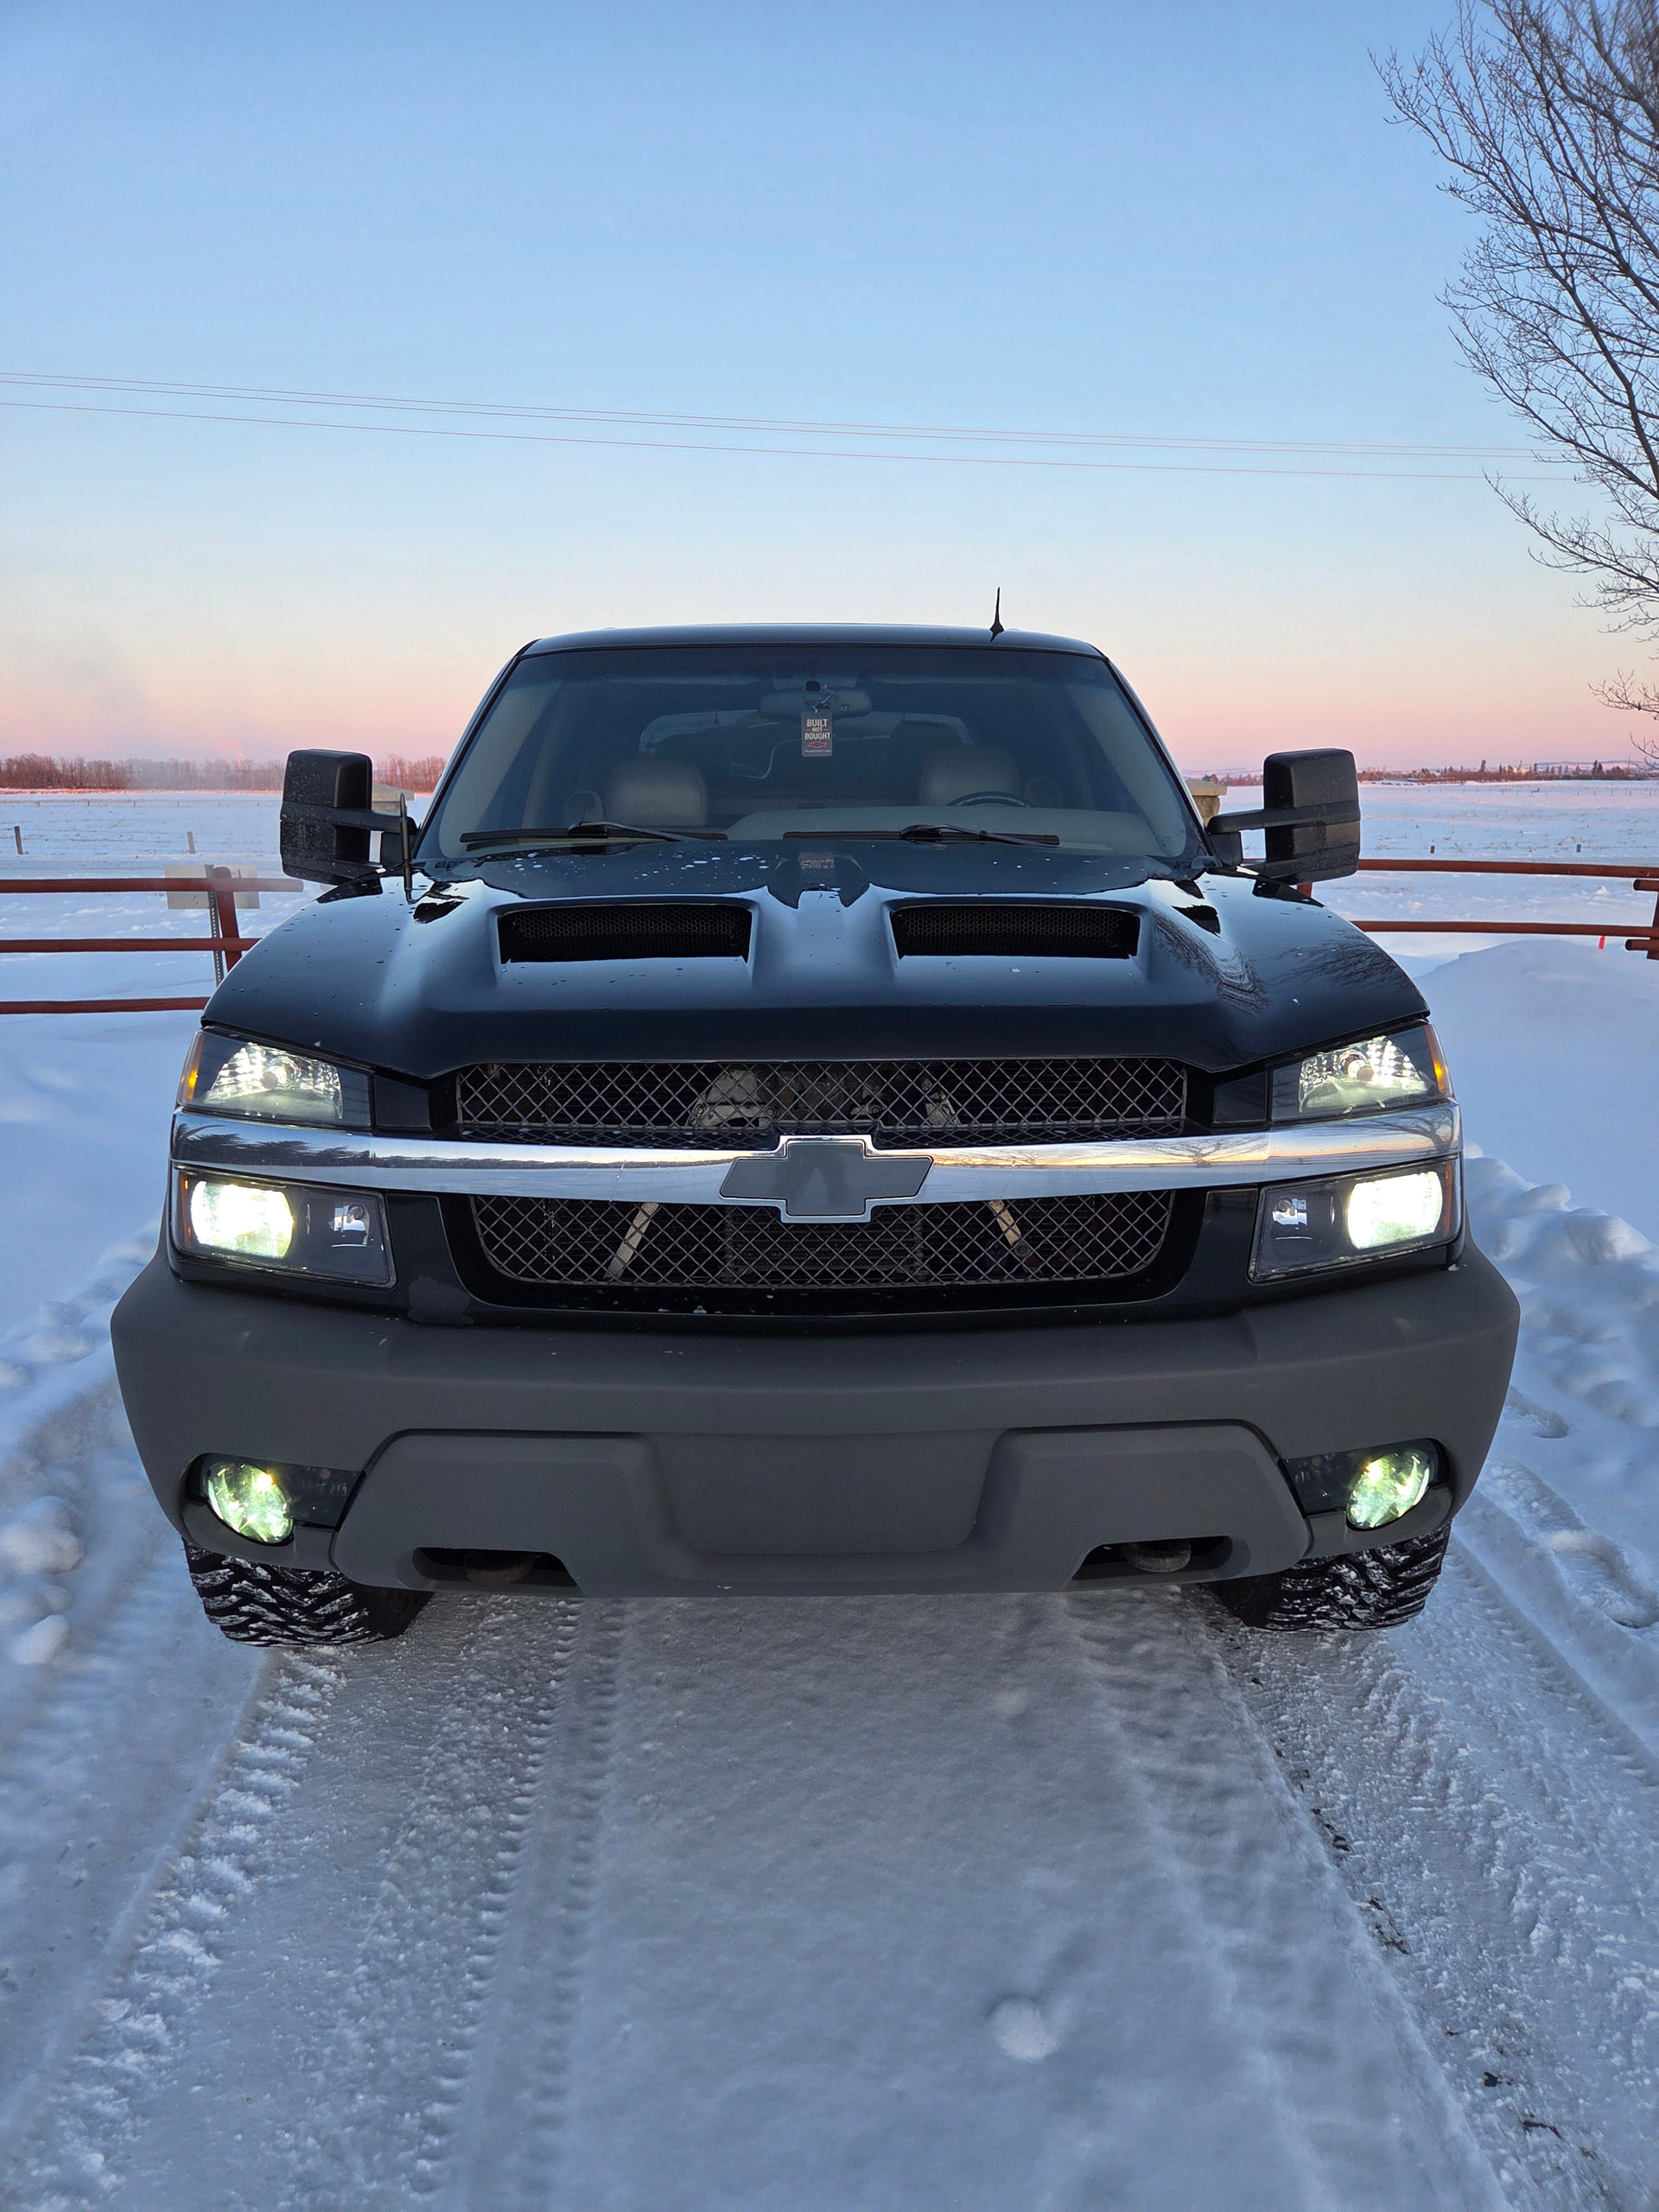
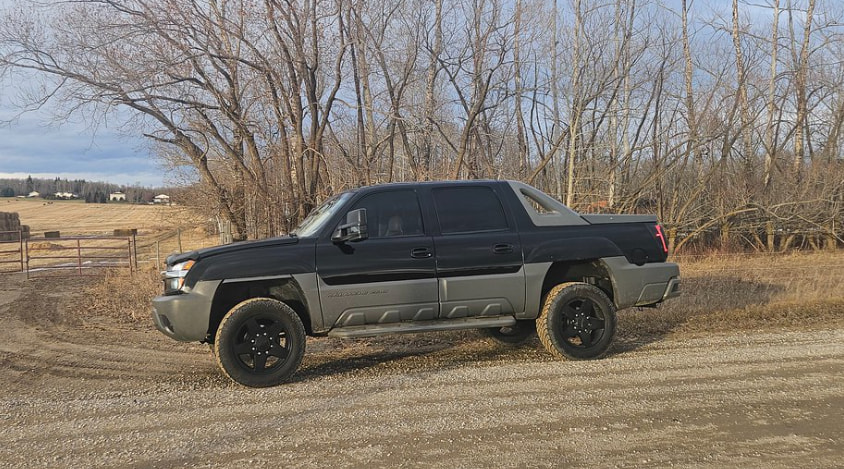
The next order of business was some small details: black headlights, fogs/taillights, interior LEDs and newer style towing mirrors. I went with the Sealight 9005/9006 bulbs as I have had good luck with them in the past and they are supposed to last 7 years.
I did also use CERAKOTE Trim restorer on the cladding. It seems to last about a year. I initially thought I would paint the cladding, but for now I am keeping it as I like the black/grey look.
I went with the 16+ tow mirrors (Amazon specials) with the black smoke running LED, however they are still not wired up. Most likely will grab power for the mirror lights from the underhood fuse block for trailer lights, or I may tap into the BCM. I plan on doing the mirror wiring once I do the speakers.
After this I was onto maintenance and other items at this point. The existing K&N was kept (which was installed by the previous owner) - but I used a dry filter to avoid the MAF plugging up. The filter part number is K&N RU-3101HBK. I did a tuneup as well, which included a bottle of seafoam in the gas, new fuel filter (which was a PITA had to use crowsfeet to change it) and finally New delco iridums gapped at @ 0.045. I used NGK wires as well, and would recommend doing wires when doing plugs.
I truthfully think if you own an 8.1 Vortec you need to do plugs and wires each year, as they are known to eat plugs.
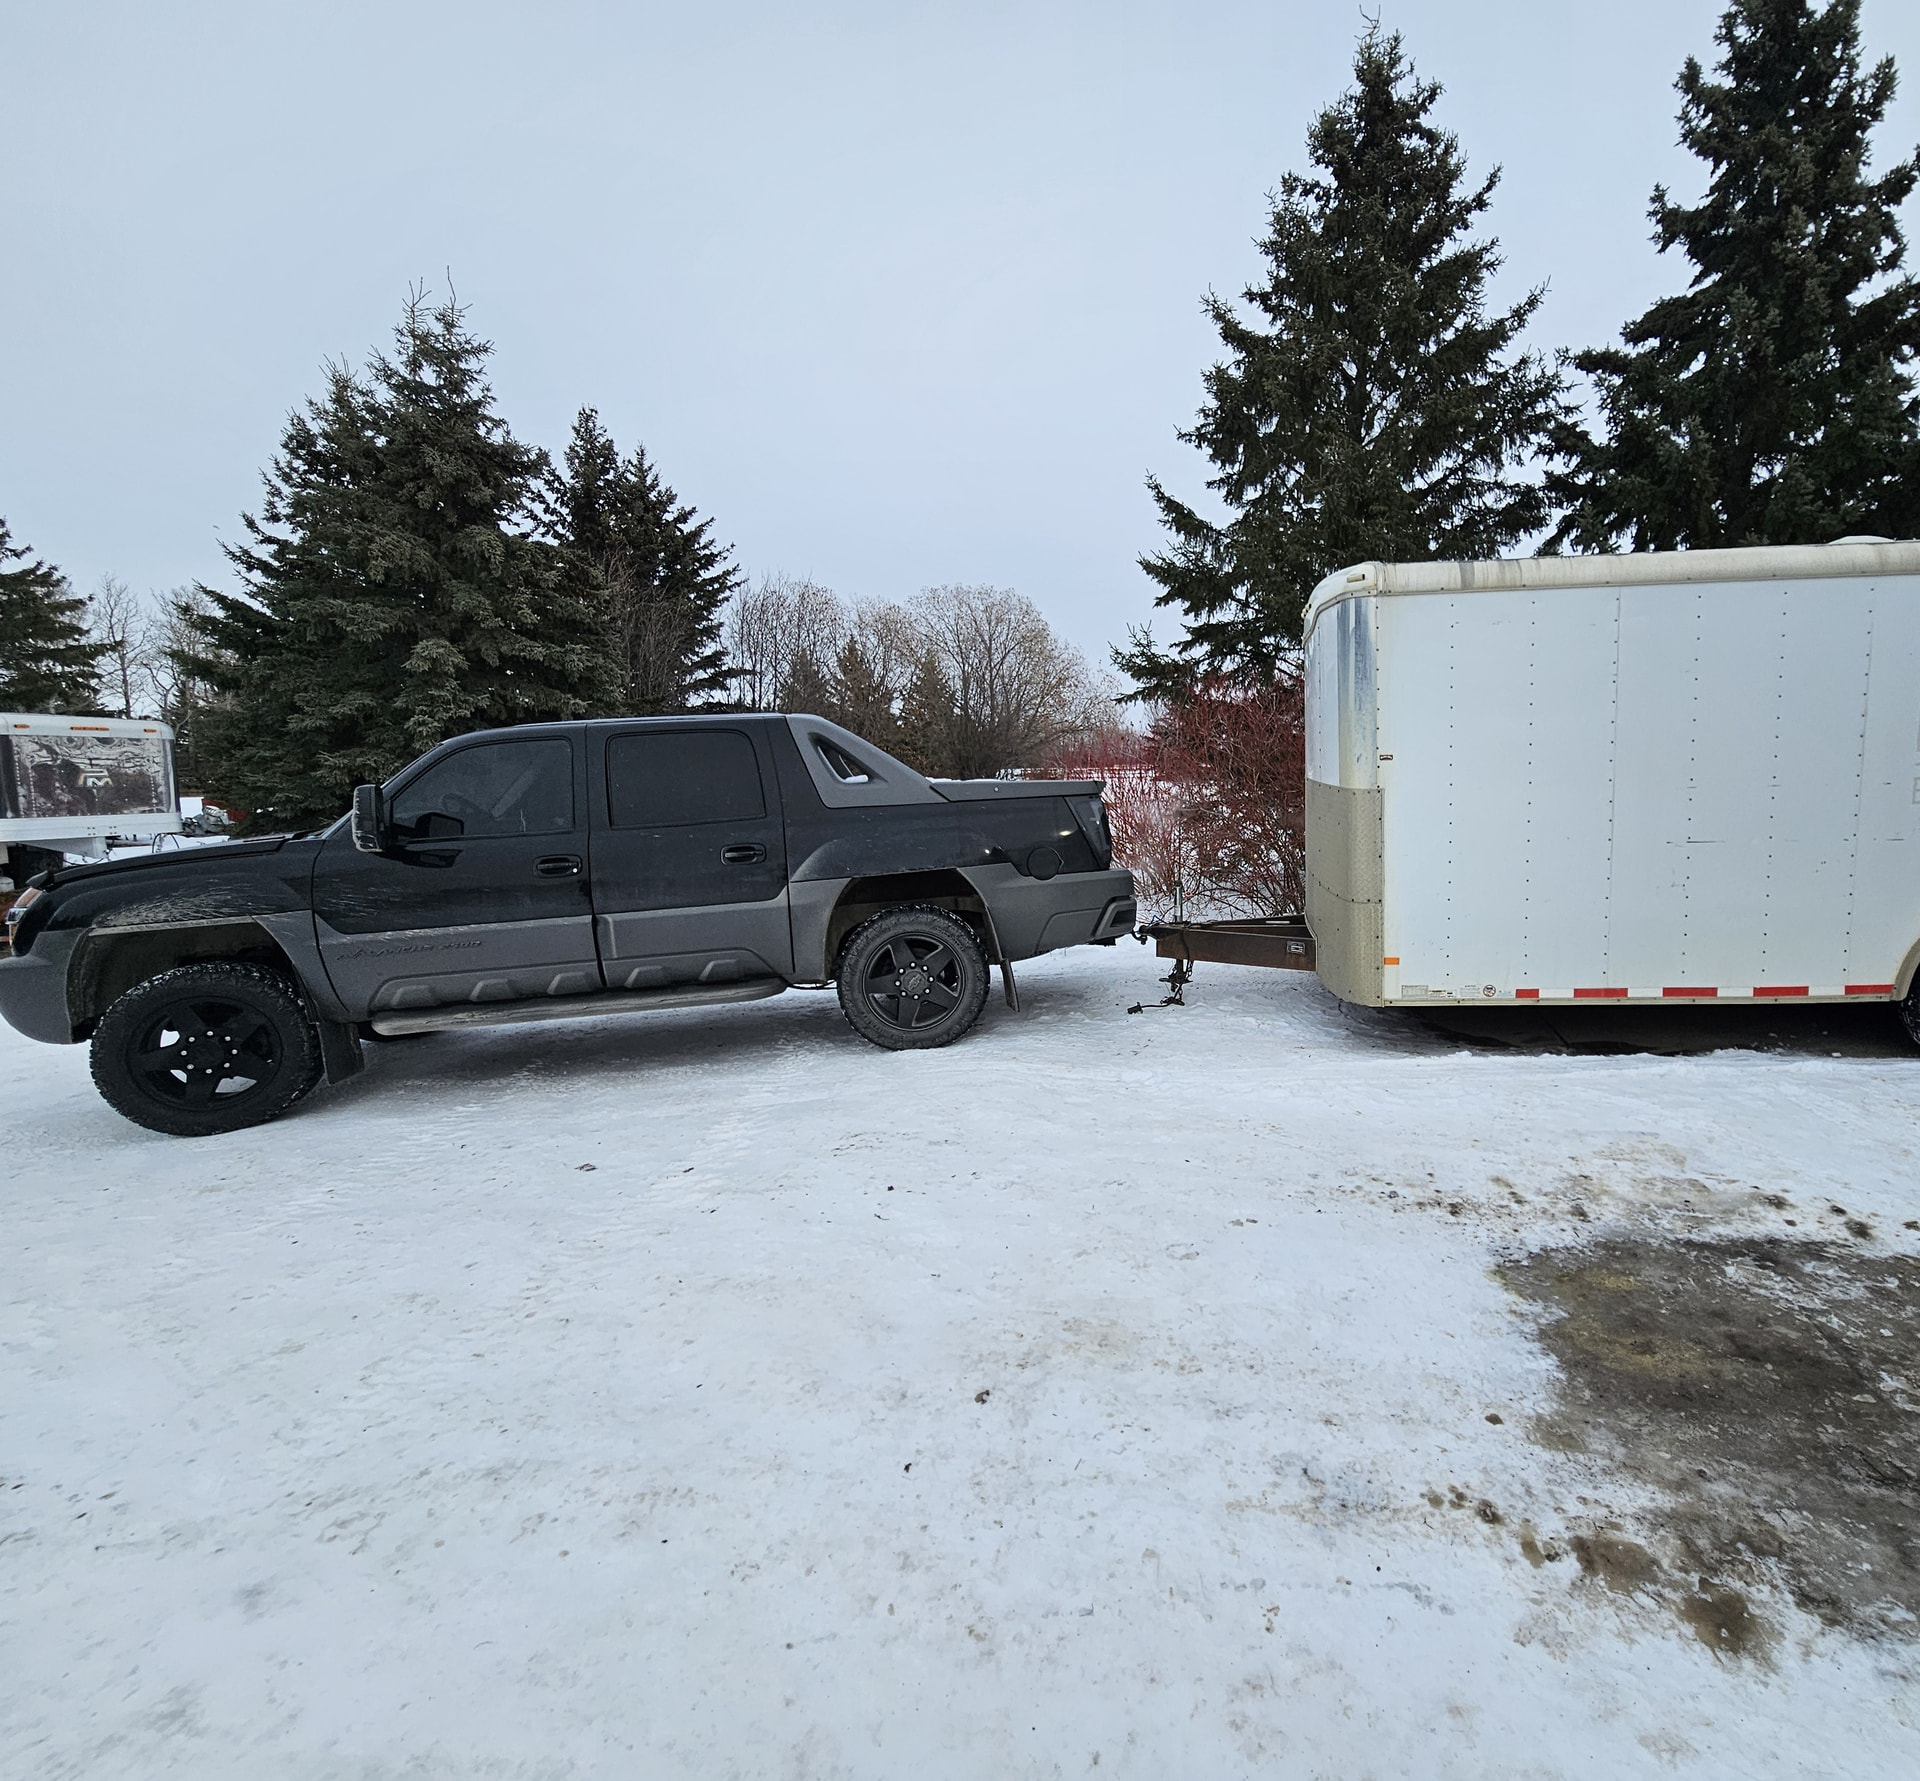
I then proceeded to do the hitch upgrade. You can read more on that here.
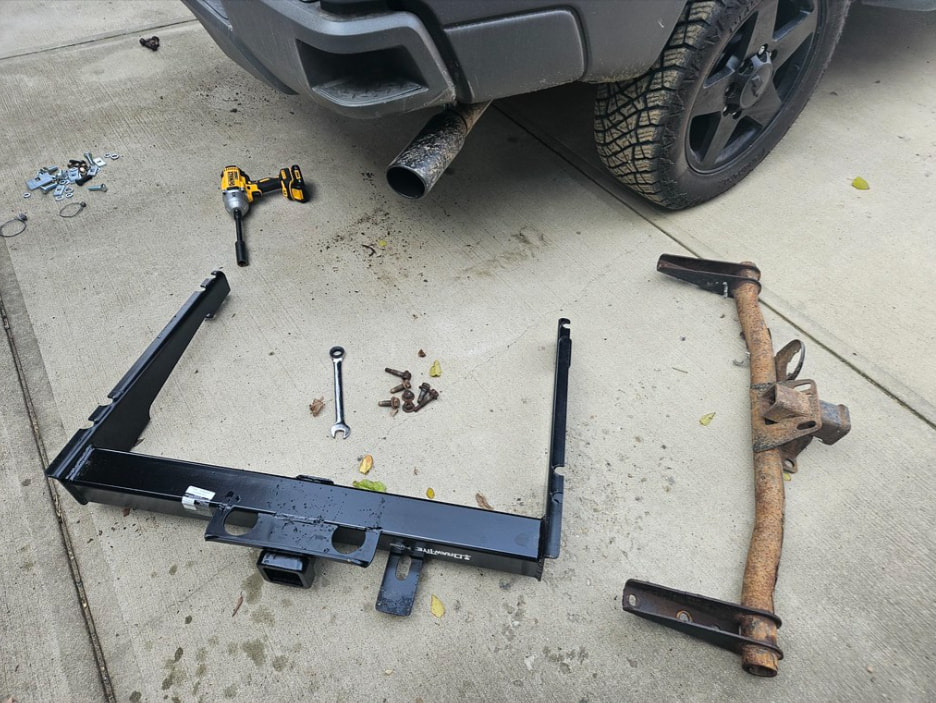
It cleaned up pretty good!
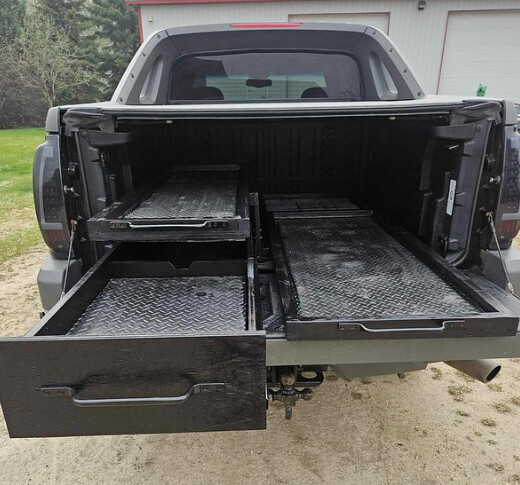
I then started on building a “drawer/slider” combo for the box. I really wanted a drawer + slider combo for some tool/belt/part storage etc.
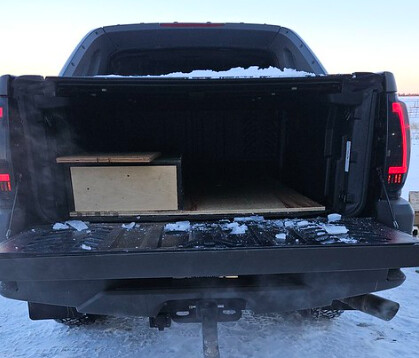
This slider/drawer combo actually worked out pretty good! I built it using puckboard and treated plywood with 2x2s and stained it black. I also added kickback mudflaps as well around this time. I was planning on using the truck for camping here and there as well, so it was good to knock this drawer/slider off.
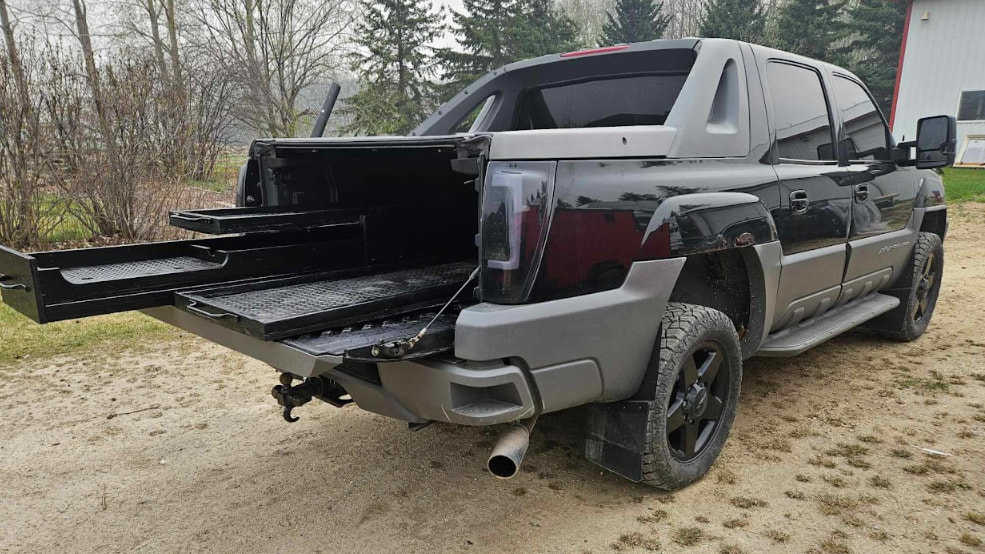
The last step was the black “plastic checkerplate” that I found at a local Princess Auto. I was able to glue it down and silicone the edges so that the plywood underneath would not get wet.