Installed this into my '02 Avalanche 2500 8.1L a while back, mainly for road trips and towing. Wasn’t something the truck needed, but cord-free phone charging on long hauls is genuinely nice — and on the 99–02 console it ends up looking like it came from the factory.
The Product
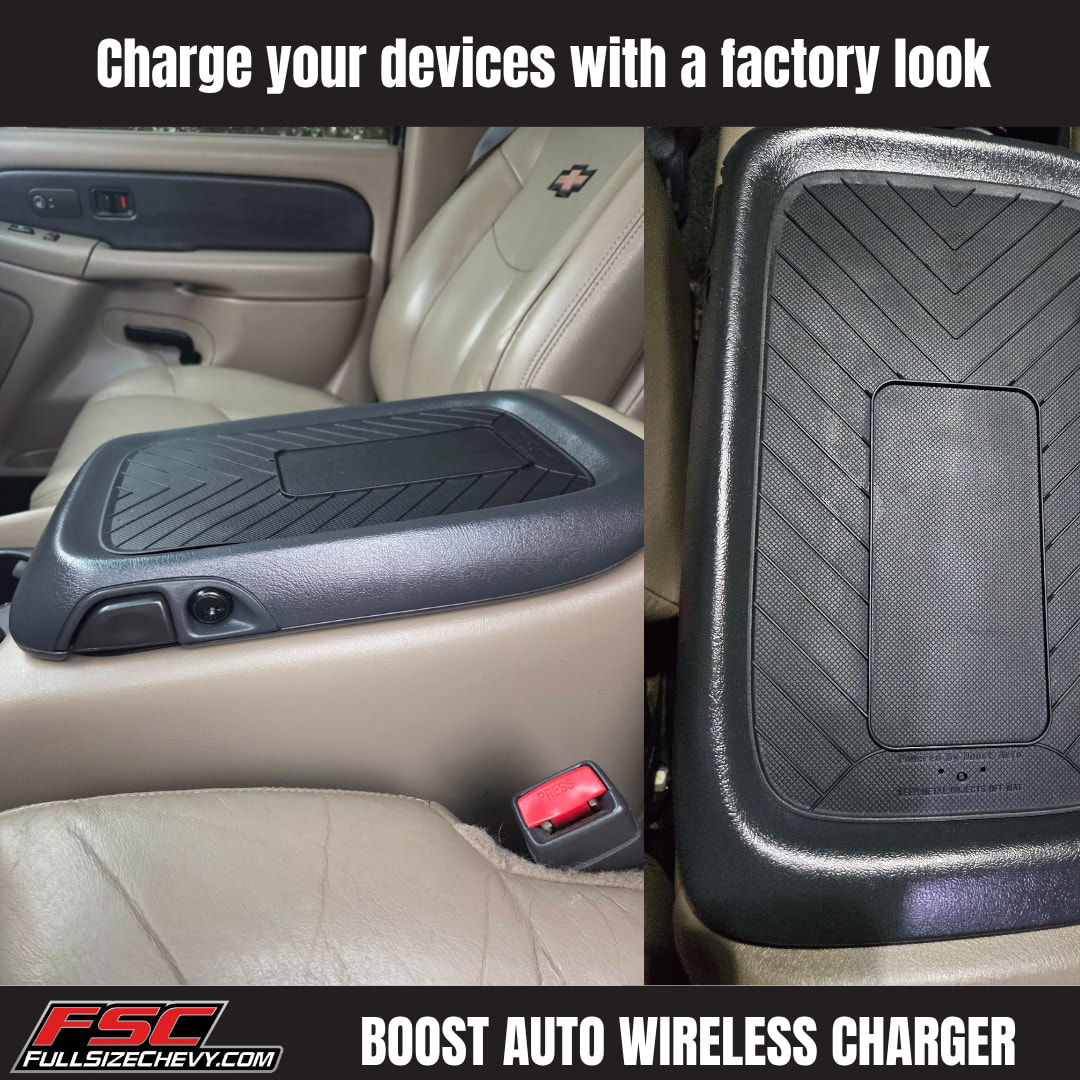
Boost Auto makes a wireless charging pad designed specifically for GMT800 center consoles. Works across the whole family — Suburbans, Yukons, Tahoes, Silverados, Avalanches. It replaces the factory upper console lid with a 15W Qi pad and comes with a custom wiring harness. Fits large phones no problem — I’ve been running it with a Samsung S25+ in a case.
Important: The 99–02 and 03–07 trucks use different console designs and are listed as separate parts. Make sure you order the right one for your year:
The Easy Part: Mounting the Charger
Honestly the pad itself is easy. Pop off the factory upper console lid and the new charging pad slides right into place. You’ll need to drill two small holes to route the wiring down into the console compartment — that’s about it for the physical mount. You could glue it down for a hard install; I left mine floating in case I ever want to pull it for cleaning. The mount itself takes maybe 20 minutes.
The Annoying Part: Wiring
This is where your life gets easier or harder depending on your truck.
If your rig has a rear 12V outlet — you’re probably laughing right now. The kit includes a connector that piggybacks right off the rear outlet’s harness. Clean, hidden, no dash work needed. Lucky you.
If you don’t have the rear outlet (like my '02 Avy) — you’re running the harness forward to the front dash outlets. Plan for a couple hours, not 20 minutes.
Either way, you have to pull the console bucket out. No shortcut around it — the wiring has to route through the console interior. Not a huge job, but it’s the price of admission.
Console bucket pulled — wiring routed down through the storage pocket before running forward toward the dash.
Routing to the Front Dash
With the bucket out, I fished the charger harness forward toward the front 12V outlets. I chose the left (driver’s side) outlet figuring it’d be easiest to access.
Pulled the lower dash bezel and got under there to see what I was working with. The factory harness on the 12V outlet has almost no slack — like, barely enough to work with. My first move was trying to make the connection from underneath the dash. Big mistake. You’re working blind, there’s no room to maneuver, and the connectors don’t have enough play. Wasted a solid amount of time on that before I figured out the right approach.
The Move: Pull the Outlet, Don’t Fight It From Underneath
Here’s the tip that made this install actually work: use an outlet puller (or carefully pry with a trim tool) to pull the 12V outlet out of the bezel face. Once it’s pulled forward, fish the new charger harness through that same outlet hole and make the connection right there in the opening. Way more room, way easier to see what you’re doing.
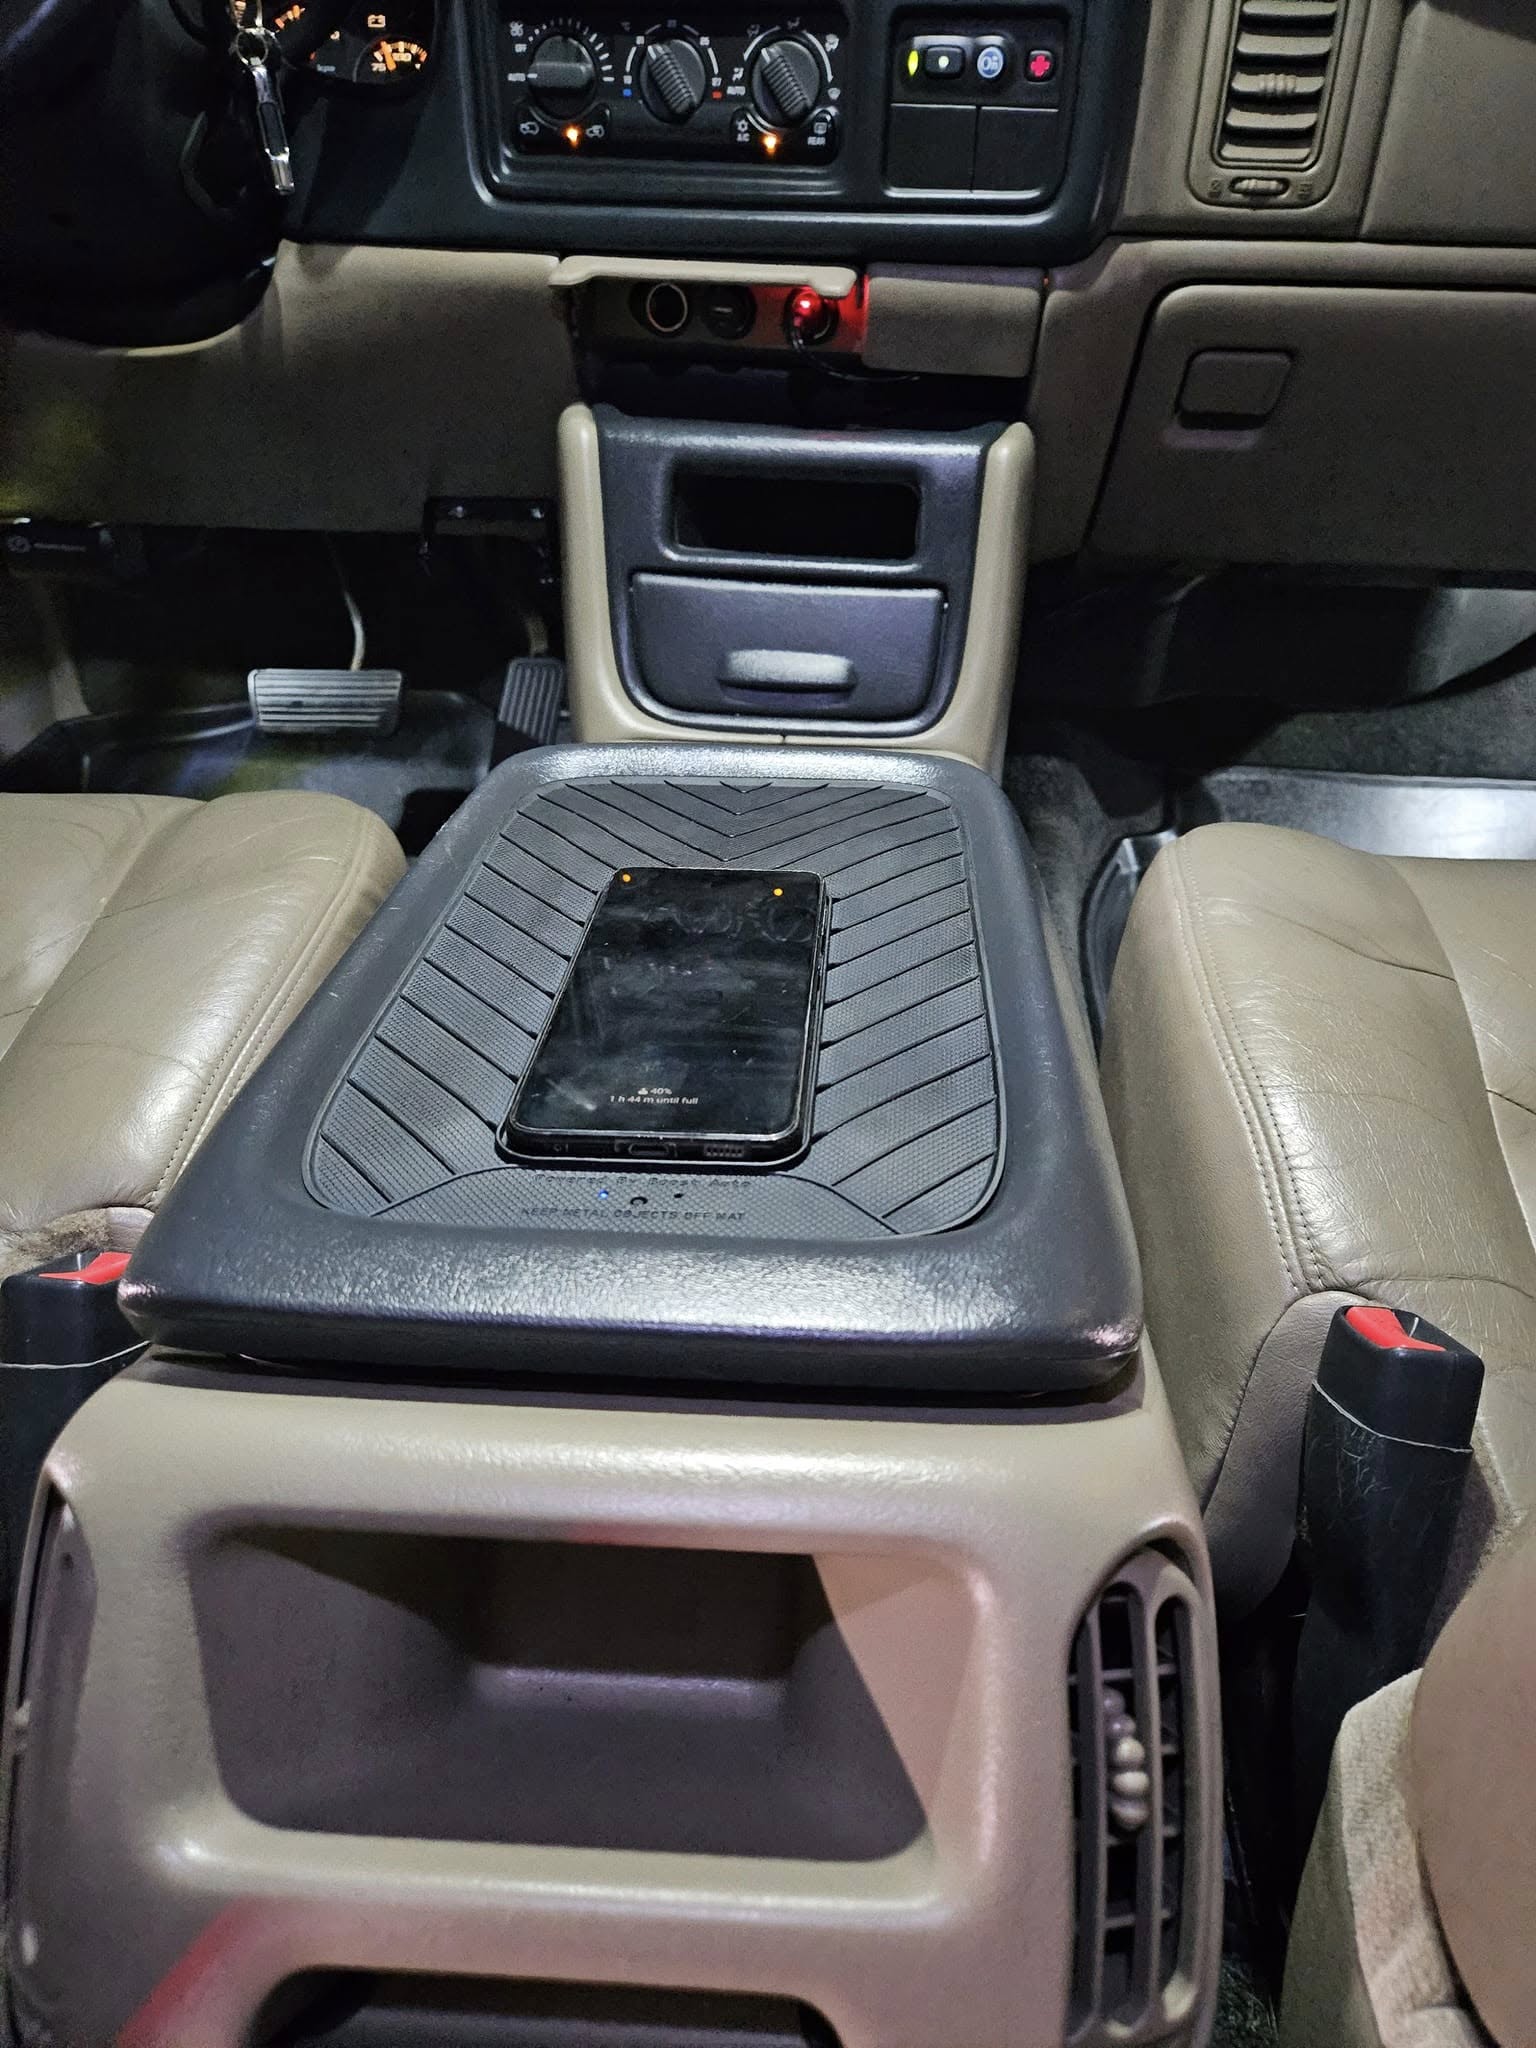
Once it’s connected, push the outlet back into the bezel, reinstall the lower dash trim, and you’ve got a completely factory-looking install — zero visible wiring anywhere.
Charger installed on the factory console lid. Phone sitting on the pad, no cords, looks stock.
OnStar Delete + Storage Pocket
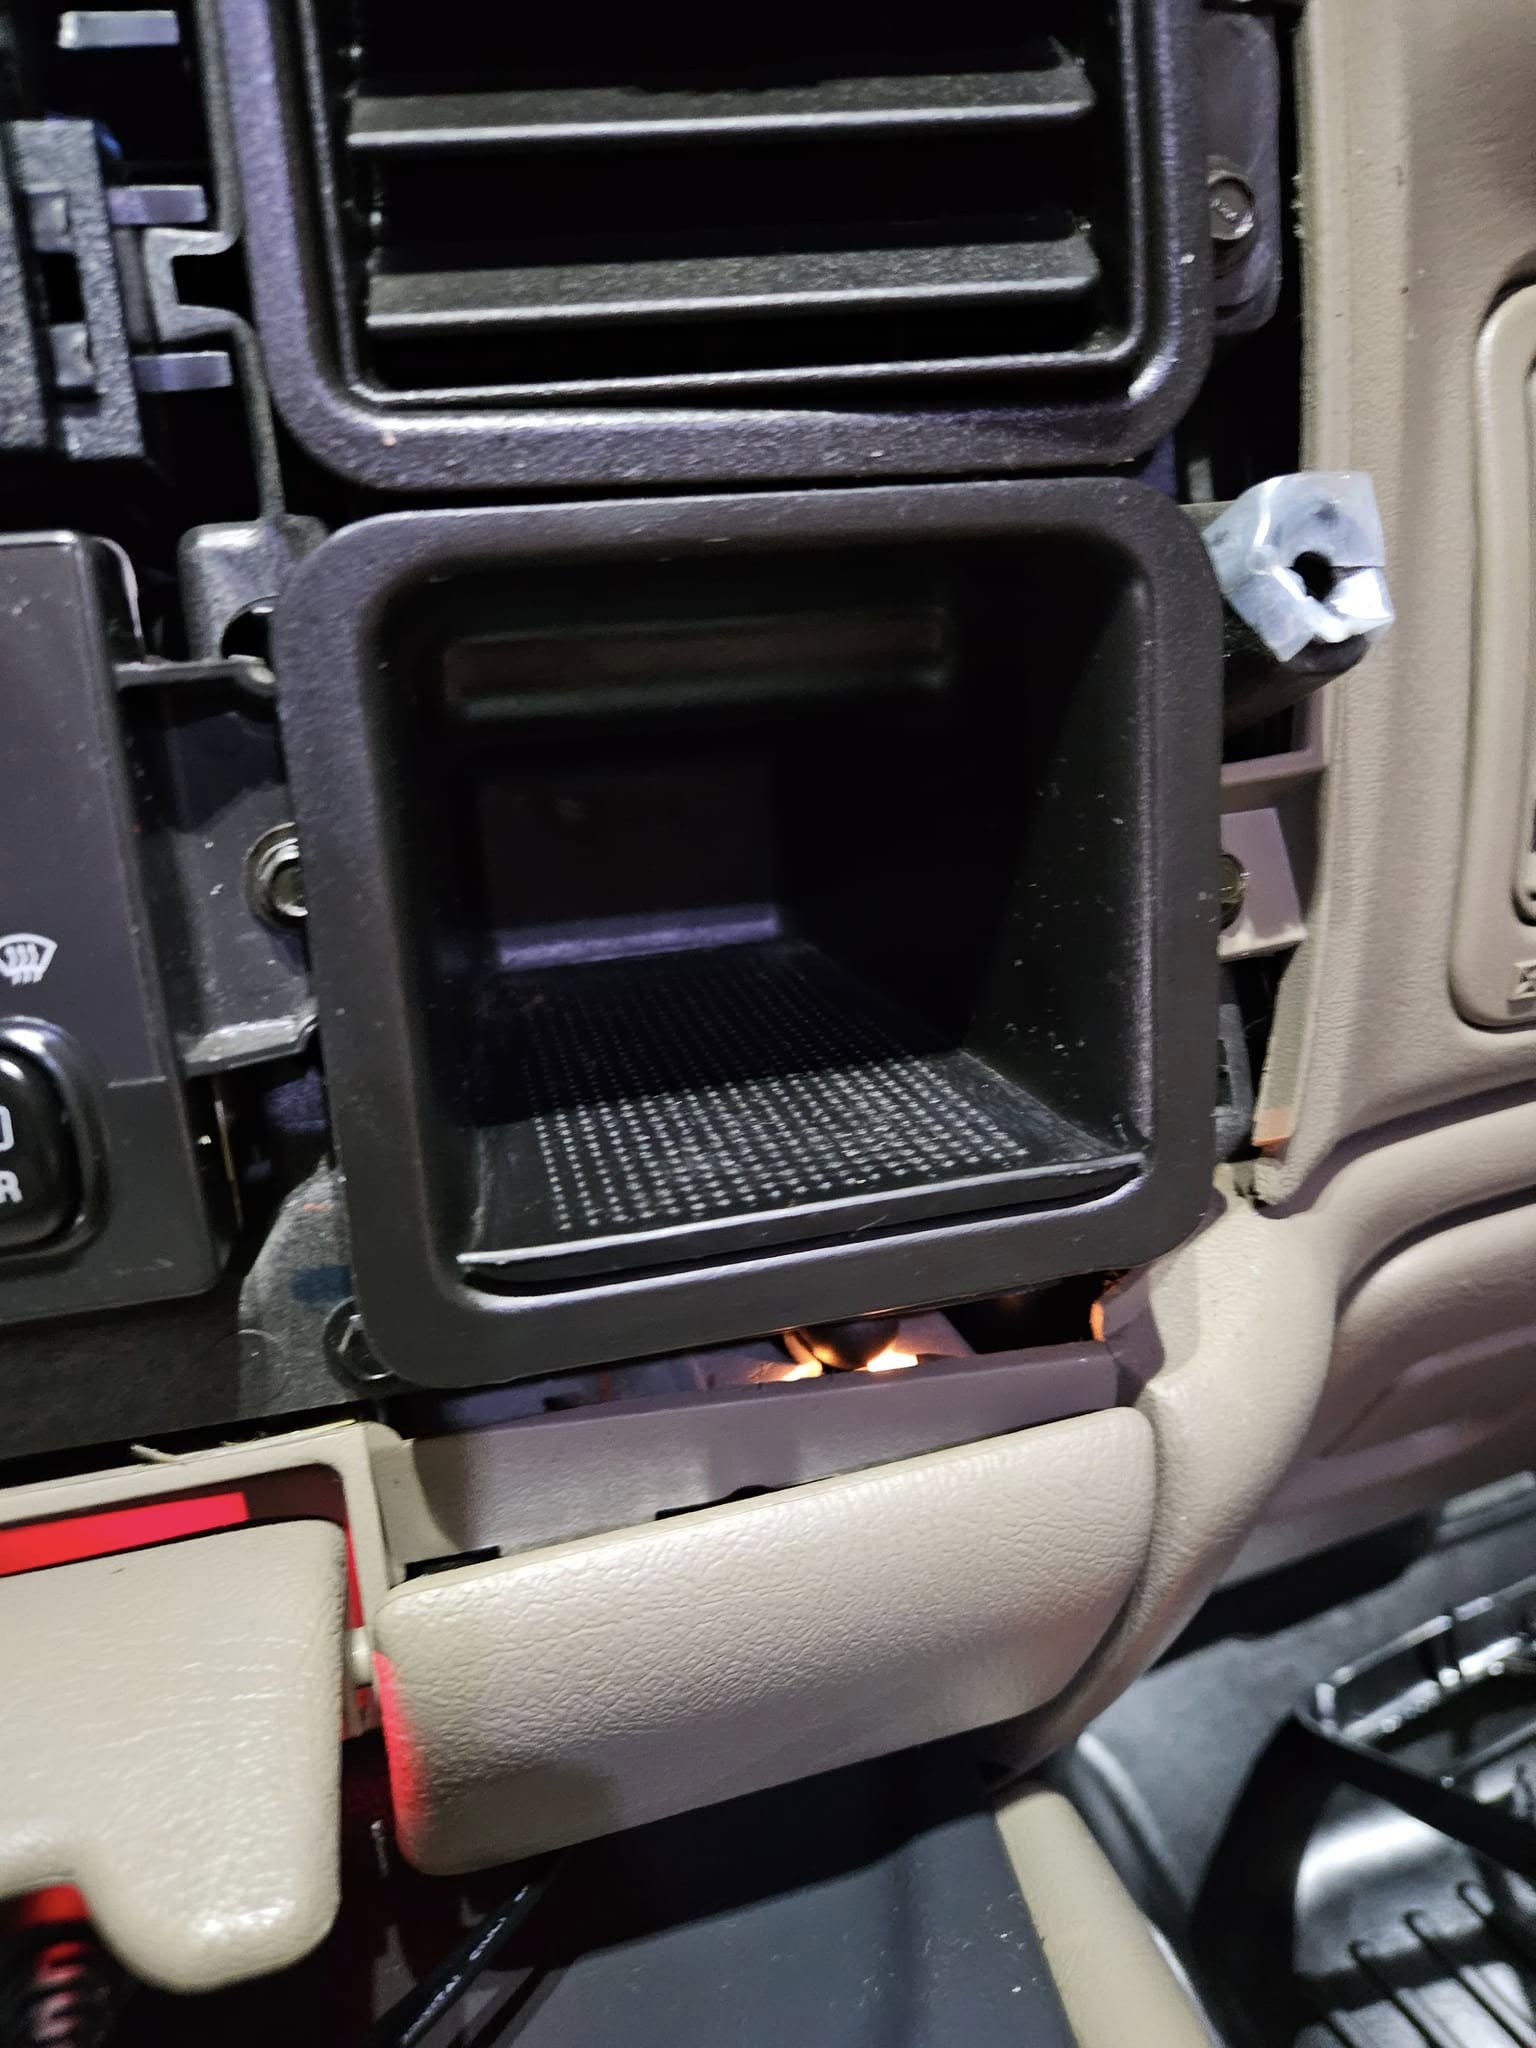
While I had everything apart I went ahead and deleted the OnStar — just taped off the connector. Then dropped a storage compartment in to fill that space. If you’re already in there doing the wiring work, might as well clean that up at the same time.
A Few Notes
- The charger has an indicator LED that stays on when the truck is running. If your rig sits for extended periods, press and hold the button to disable it — no point having it lit up with the truck parked.
- 15W isn’t “fast charger” territory by today’s standards, but you’re plugged in the whole drive, so on any road trip you’re always topped off.
- Grips large phones well — no sliding around even on rough roads.
Overall a clean install and one I’d recommend for any 99–07 owner. The charger mount itself is easy — the wiring is where you’ll spend your time if you don’t have the rear outlet. Pull the outlet instead of fighting it from underneath and you’ll save yourself a headache. Hope this helps someone doing one of these.


