Put a fresh set of aftermarket headlights on your GMT800 and they look great — for a while. Then they start to yellow, fog up, or let moisture in and you’re back to square one.
Most aftermarket housings ship with zero UV protection on the lens and a basic seal on the housing that isn’t always tight. Two extra steps before install can help a lot:
Step 1 — Coat the lens first
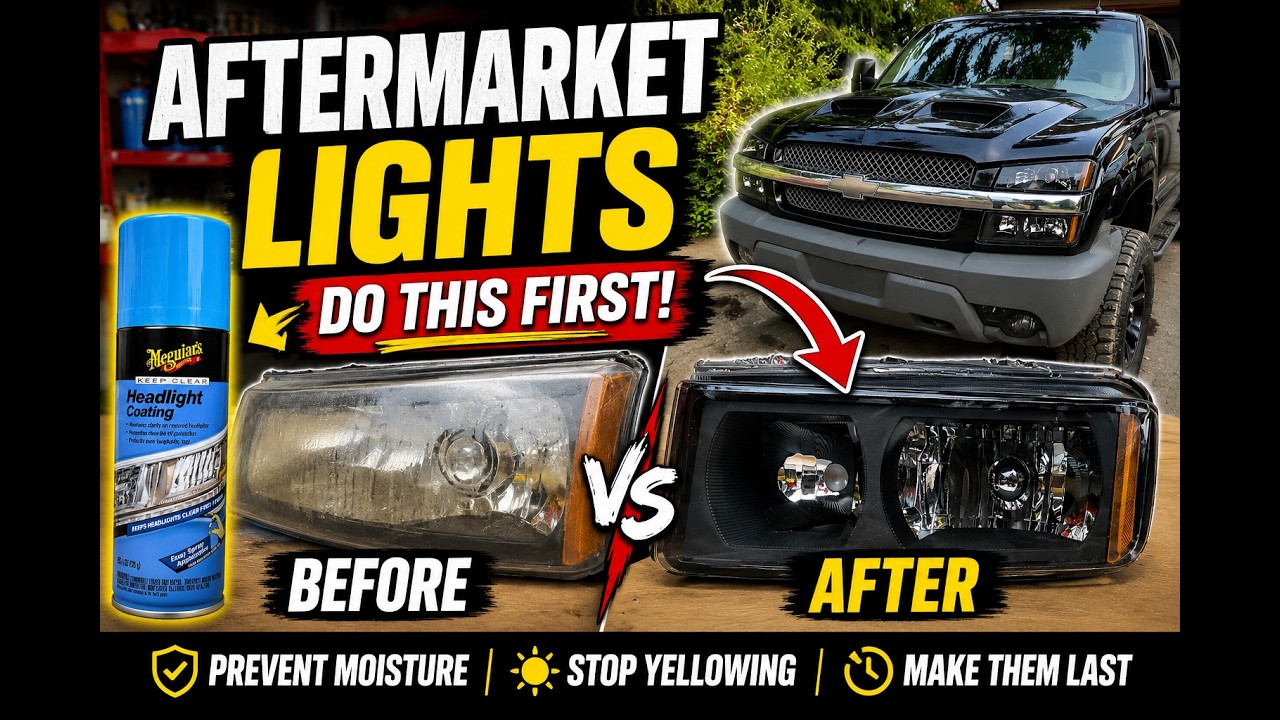
Before the housings go anywhere near the truck, wipe the lens down and apply a UV headlight coating. I use Meguiar’s Keep Clear Headlight Coating.
How to apply:
-
Wipe the lens down with a clean cloth to remove any dust or oils from packaging
-
Apply the Keep Clear coating in thin, even passes overlapping by about 50%
-
Two coats is recommended on the can, with 5 minutes dry time between 1st and 2nd coat.
-
After 5 minutes it is dry to the touch.
-
Let the lights cure 24H fully before installation — don’t rush this step!
→ Meguiar’s Keep Clear Headlight Coating – 4OZ (affiliate link — helps support FSC at no cost to you)
Step 2 — Check and seal the housing
Run your hand around the perimeter seal and check the back cap. If it looks thin or uneven, add a bead of clear exterior silicone before you mount it. Takes roughly 2-3 minutes, and can keep moisture out long-term.
I made a short video walking through both steps on my GMT800:
This applies to 1999–2006 Silverado, Sierra, Avalanche, Tahoe, Yukon, Suburban, and Escalade — anything GMT800 body with aftermarket headlight housings.
Takes maybe 15 minutes total. Worth doing before every install.
Anyone else doing this before installing aftermarket lights, or just running them as-is? Post up what housings you went with and how they’ve held up!