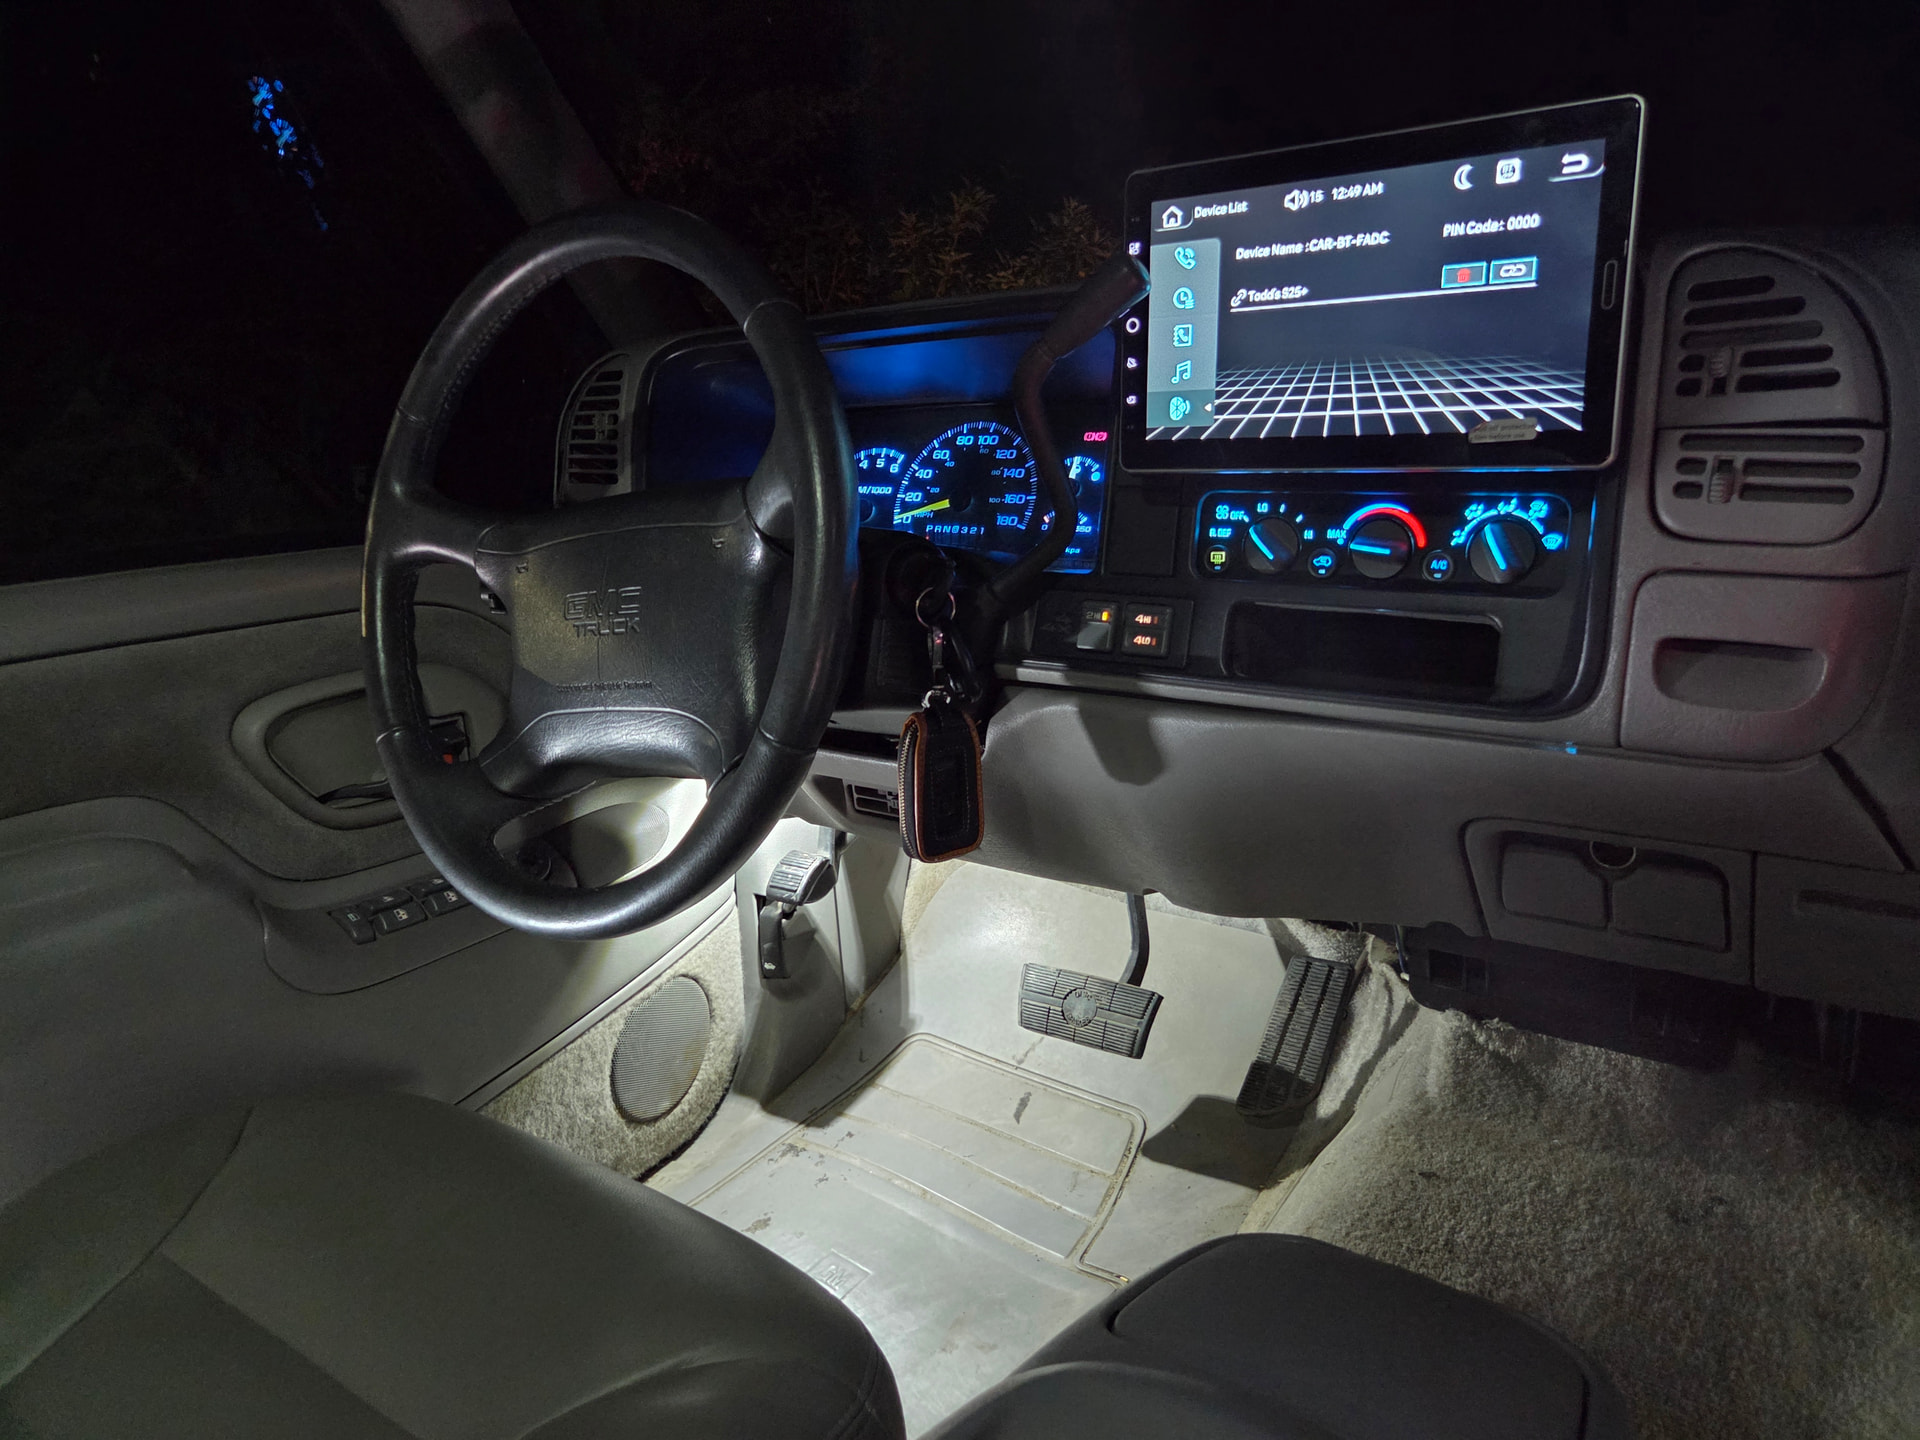
 Interior LED Upgrade — 1995–1998 OBS Chevy (GMT400)
Clean, high-impact and classy interior upgrade. Replaces tired factory bulbs with modern LED lighting across HVAC, switches, cluster, and interior lighting.
FITMENT NOTES:
This LED upgrade was completed on a 1995–1998-style OBS / GMT400 Chevrolet pickup interior. The same general dash, cluster and HVAC lighting upgrade also applies to many GMT400 Chevrolet and GMC full-size trucks and SUVs equipped with the matching interior controls.
Fitment Range:
- 1995–1998 Chevrolet C/K / Silverado OBS pickups
- 1995–1998 GMC Sierra / C/K OBS pickups
- 1995–1999 Chevrolet Tahoe
- 1995–1999 GMC Yukon
- 1995–1999 Chevrolet Suburban
- 1995–1999 GMC Suburban
Additional GMT400 Carryover Models
This upgrade also applies to the following:
- 1999 Chevrolet/GMC OBS carryover or Classic pickups with the GMT400 interior
- 2000 Chevrolet Tahoe Limited
- 2000 Chevrolet Tahoe Z71
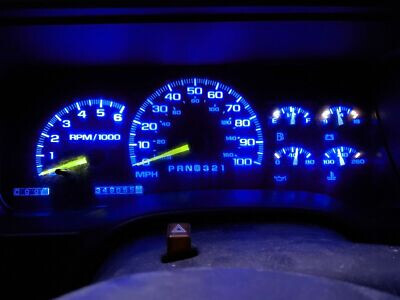
You can really make your interior pop and give it some accent with a complete bulb retrofit. Make sure you order bulbs that are dimmable, and with extra quantities, as it’s always good to have spare bulbs. It’s good to match your existing interior color as well as existing deck, gauges, screens, etc.
Multiple color options exist: Ice Blue, Blue, Green ,Purple, Red , White & Yellow.

My favorite color options to date:
-BLUE LEDS for the Blue interiors.
-Ice Blue LED for grey/beige interiors.
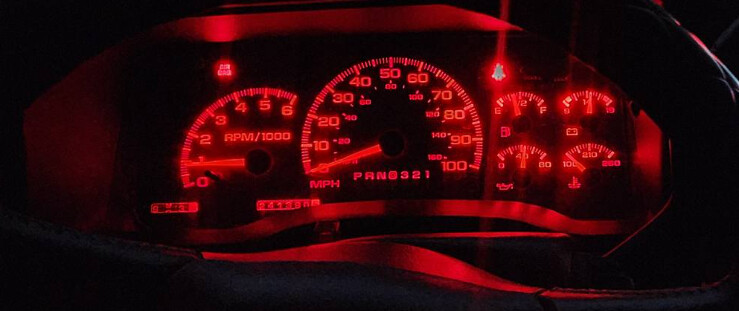
-Red Bulbs look good with red/burgundy interiors (but can be hard on the eyes).
Overview
You can swap the majority of the interior illumination to LED while the dash is apart. You’ll have to pull the bezel off for this. It’s easiest to put the emergency park brake on, and put the truck in 1st with the key on. The bezel comes off pretty easy. After disconnecting and removing the wiring to the switches, you can put the truck back in park and turn the key off. With the bezel off, you can gain access to the HVAC controls, cluster & headlight switch. The remainder dome/ door/ underdash lighting is very easy.
Target areas:
-
HVAC controls
-
Headlight switch
-
Gauge cluster
-
Dome / door / underdash lighting
Color used: Ice Blue
Parts Breakdown
HVAC Controls
-
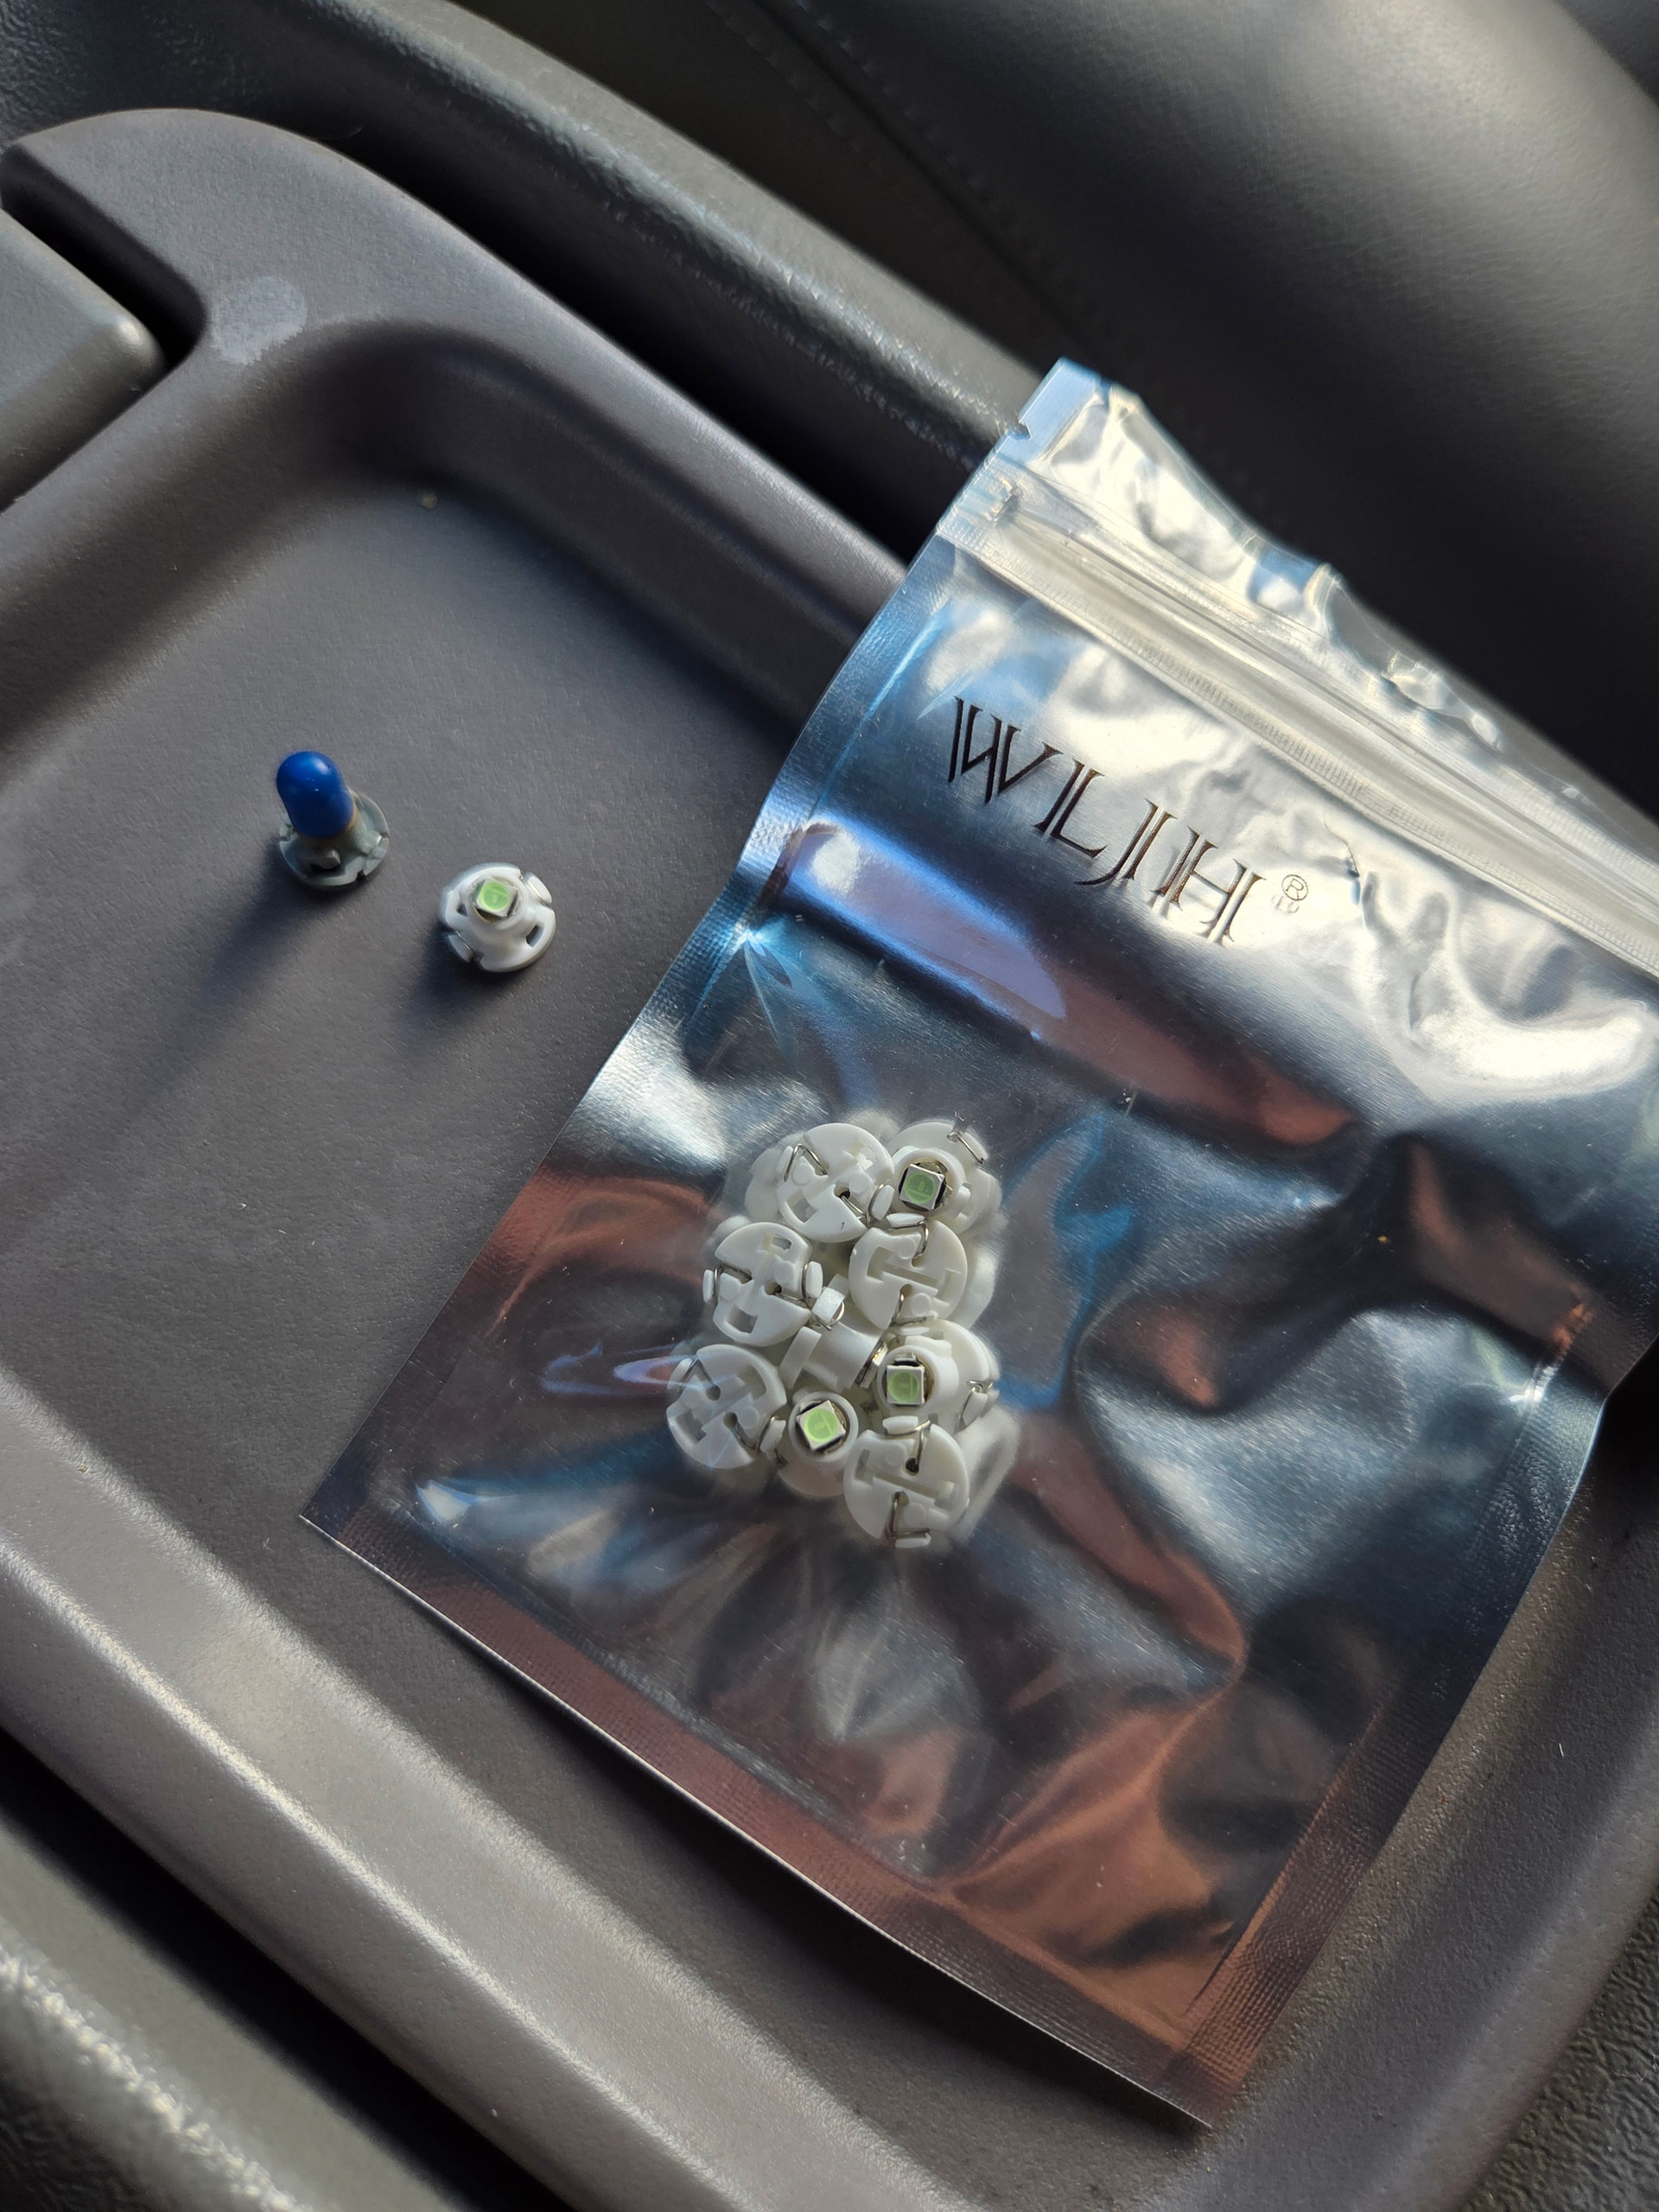
(6) Bulb type: T4.2 (neo-wedge). Link to the bulbs here.
-
Color: Ice Blue
Headlight Switch
-
(1) Bulb type: T3 (neo-wedge). Link to the bulbs here.
-
Color: Ice Blue
Gauge Cluster
-
(8) 194 / T10 — main illumination. Link to the 194/T10 bulbs here
-
(9) 74 / T5 — indicator lights. Link to the 74/T5 bulbs here.
-
Color: Ice Blue
Interior / Dome / Doors
-
(4-6**) 194 / T10.** Link to the 194/T10 bulbs here
-
(1) 211-2 for Cargo Dome. Link to the 211-2 here.
HVAC LED Swap (T4.2)
The HVAC controls slide in and out. There are 6 bulbs at the back that can be changed to LED by simply twisting the sockets out and replacing.
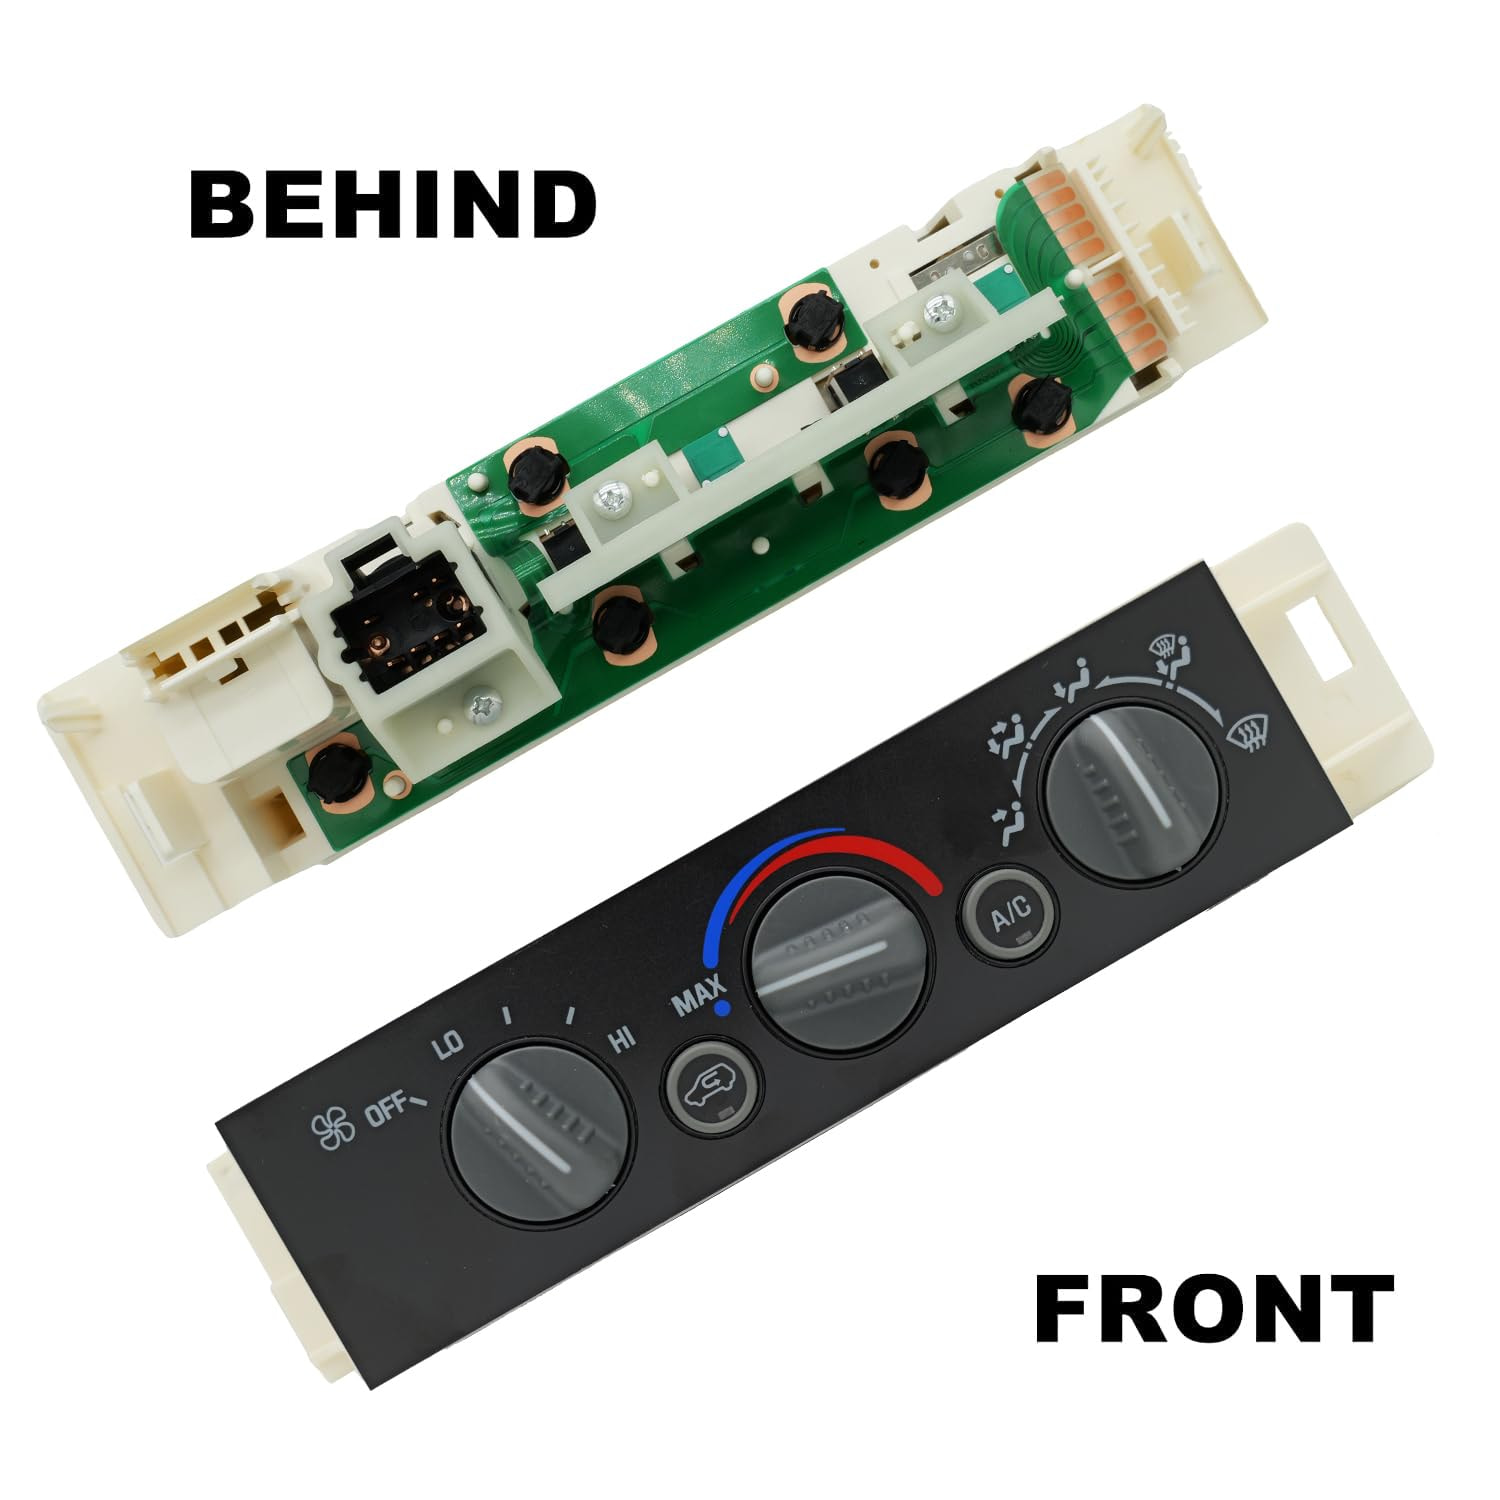
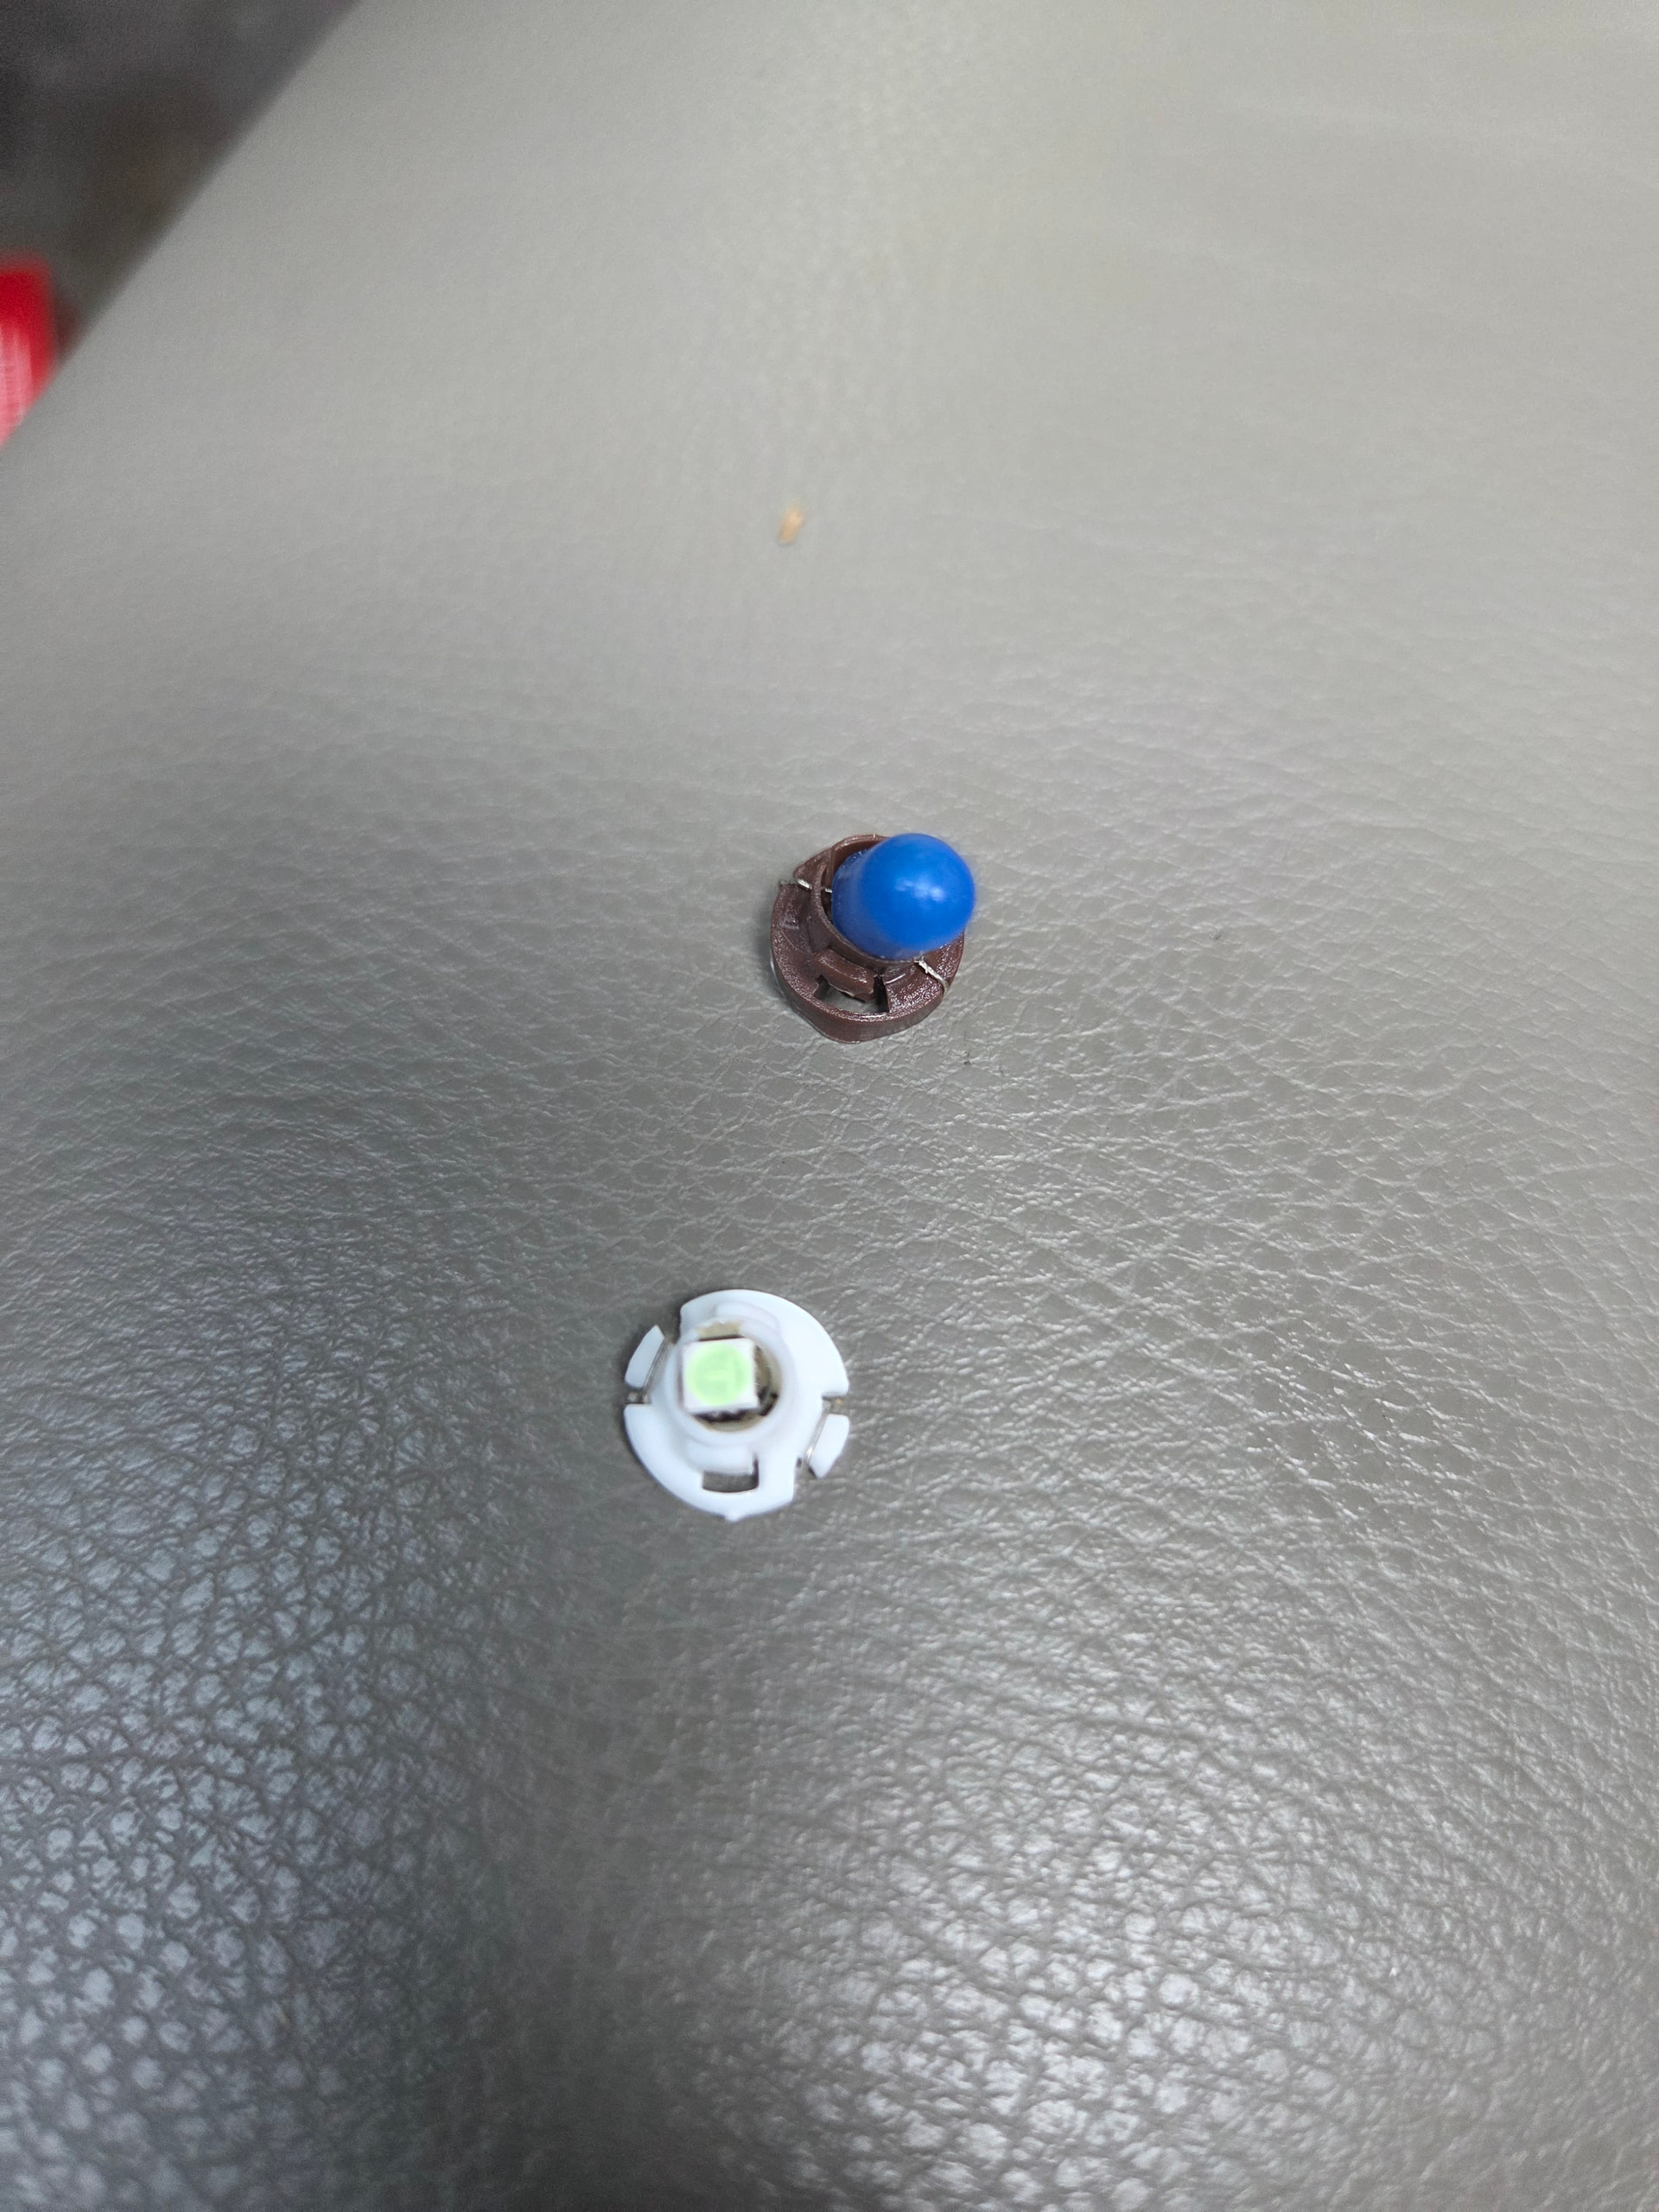
Here is a shot of the old HVAC bulb in comparison to the new bulbs. The bulbs are T4.2’s for the HVAC controls and I went with the Ice Blues. Link to the bulbs here.
I swapped the bulbs and found a pocket for the old CD player while I was at it.
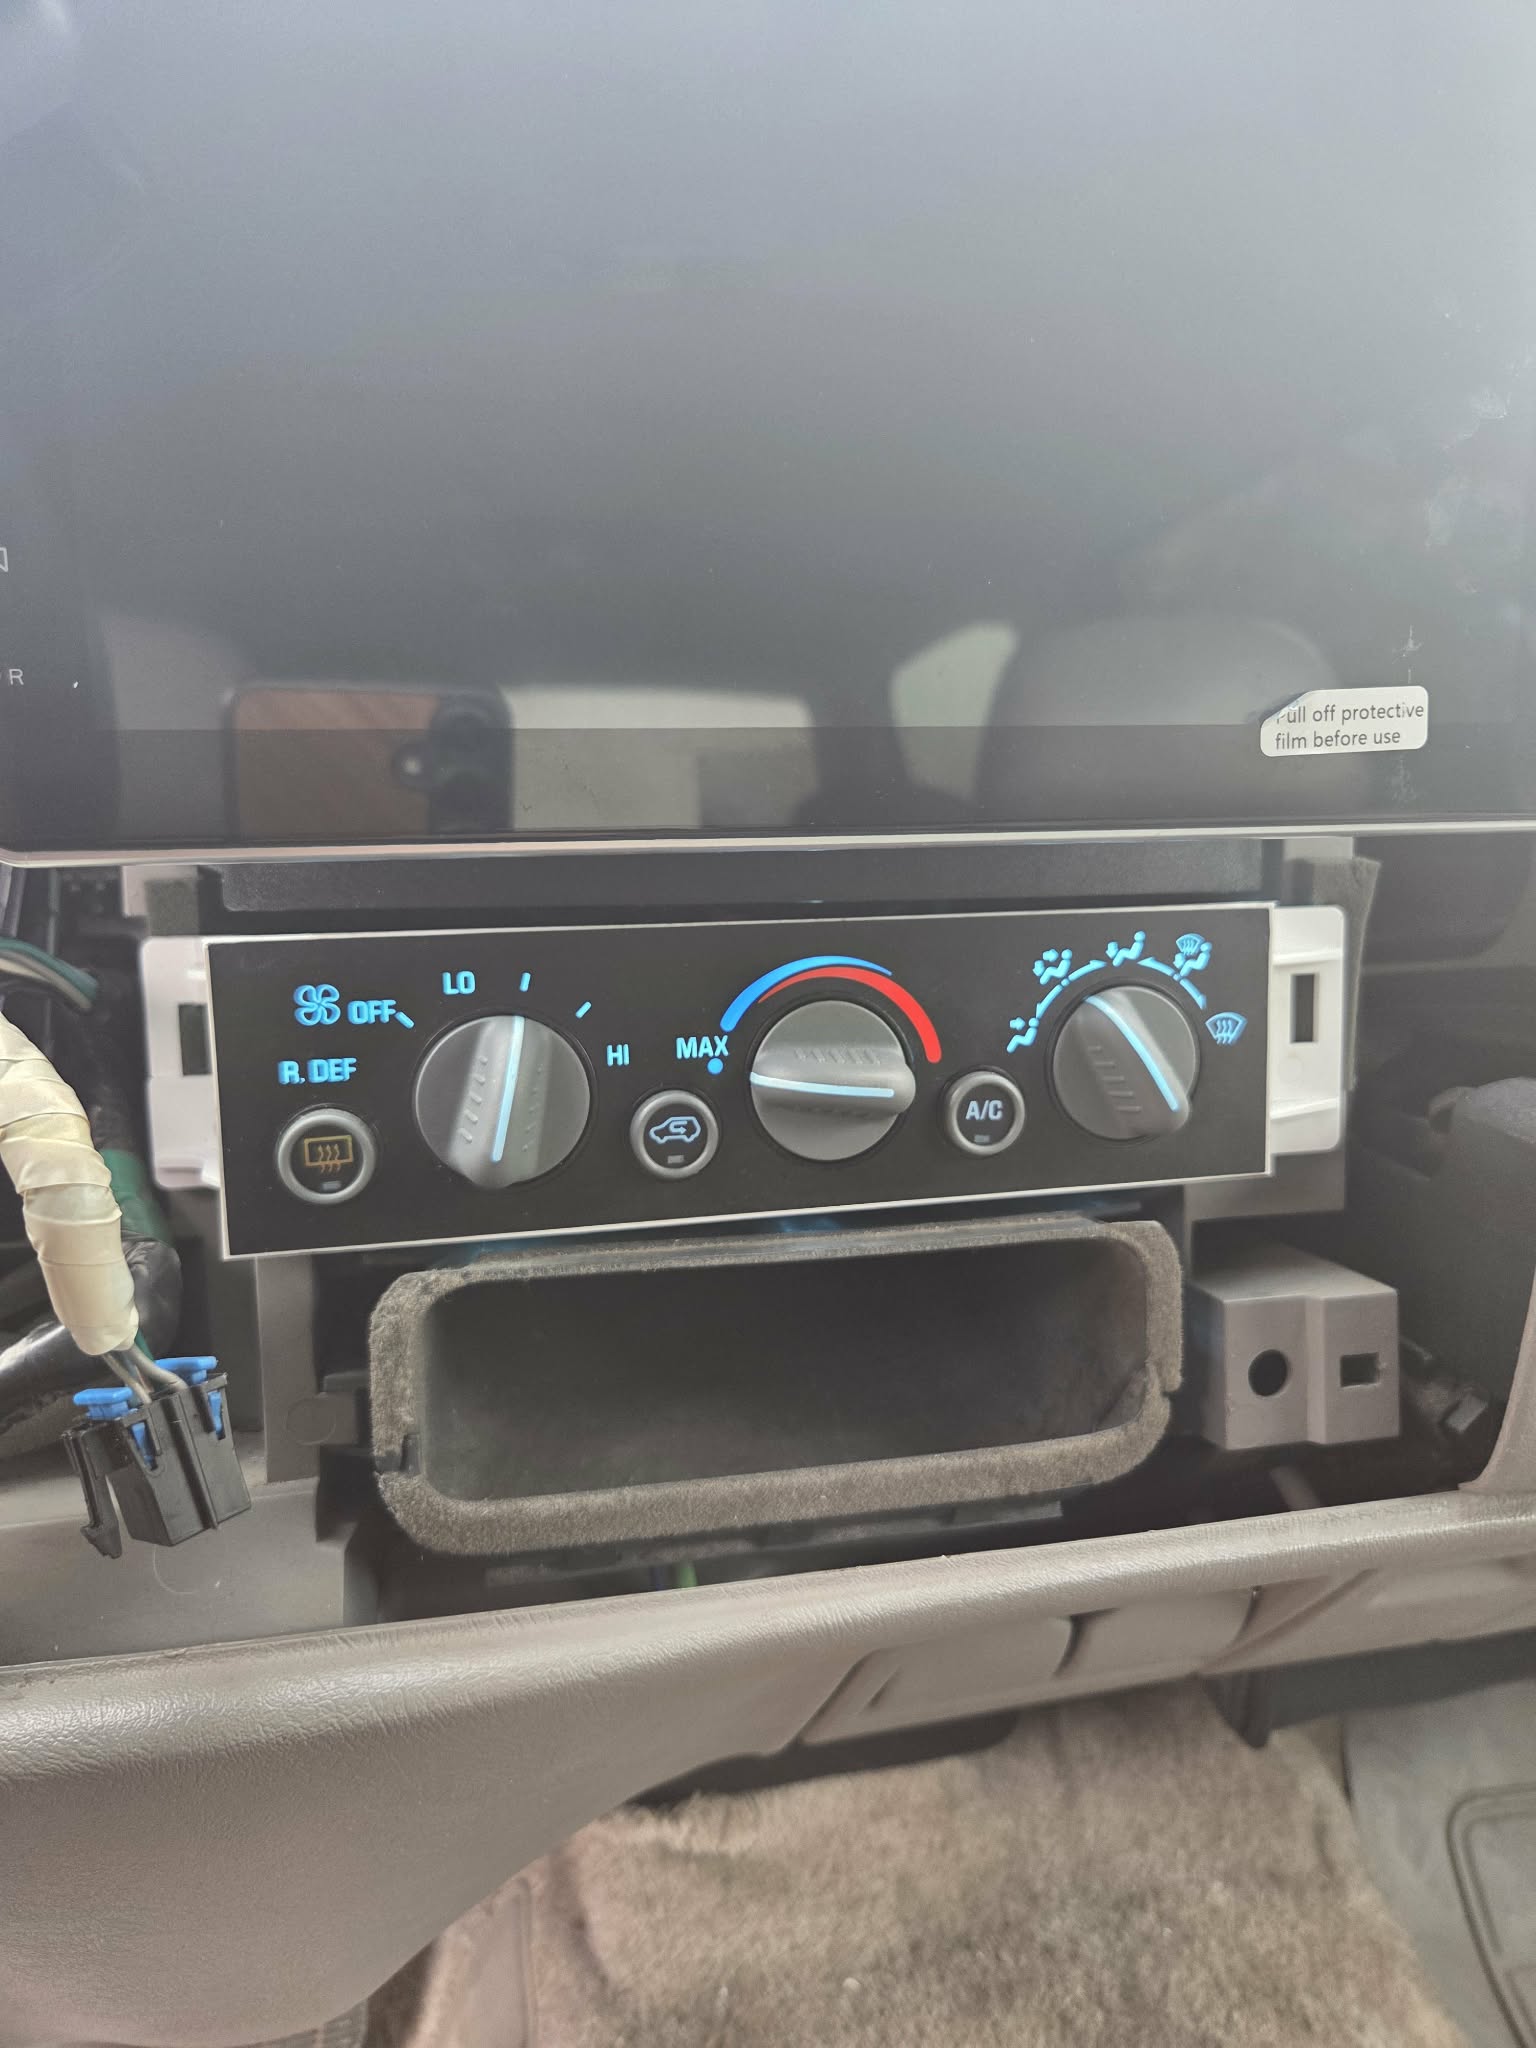
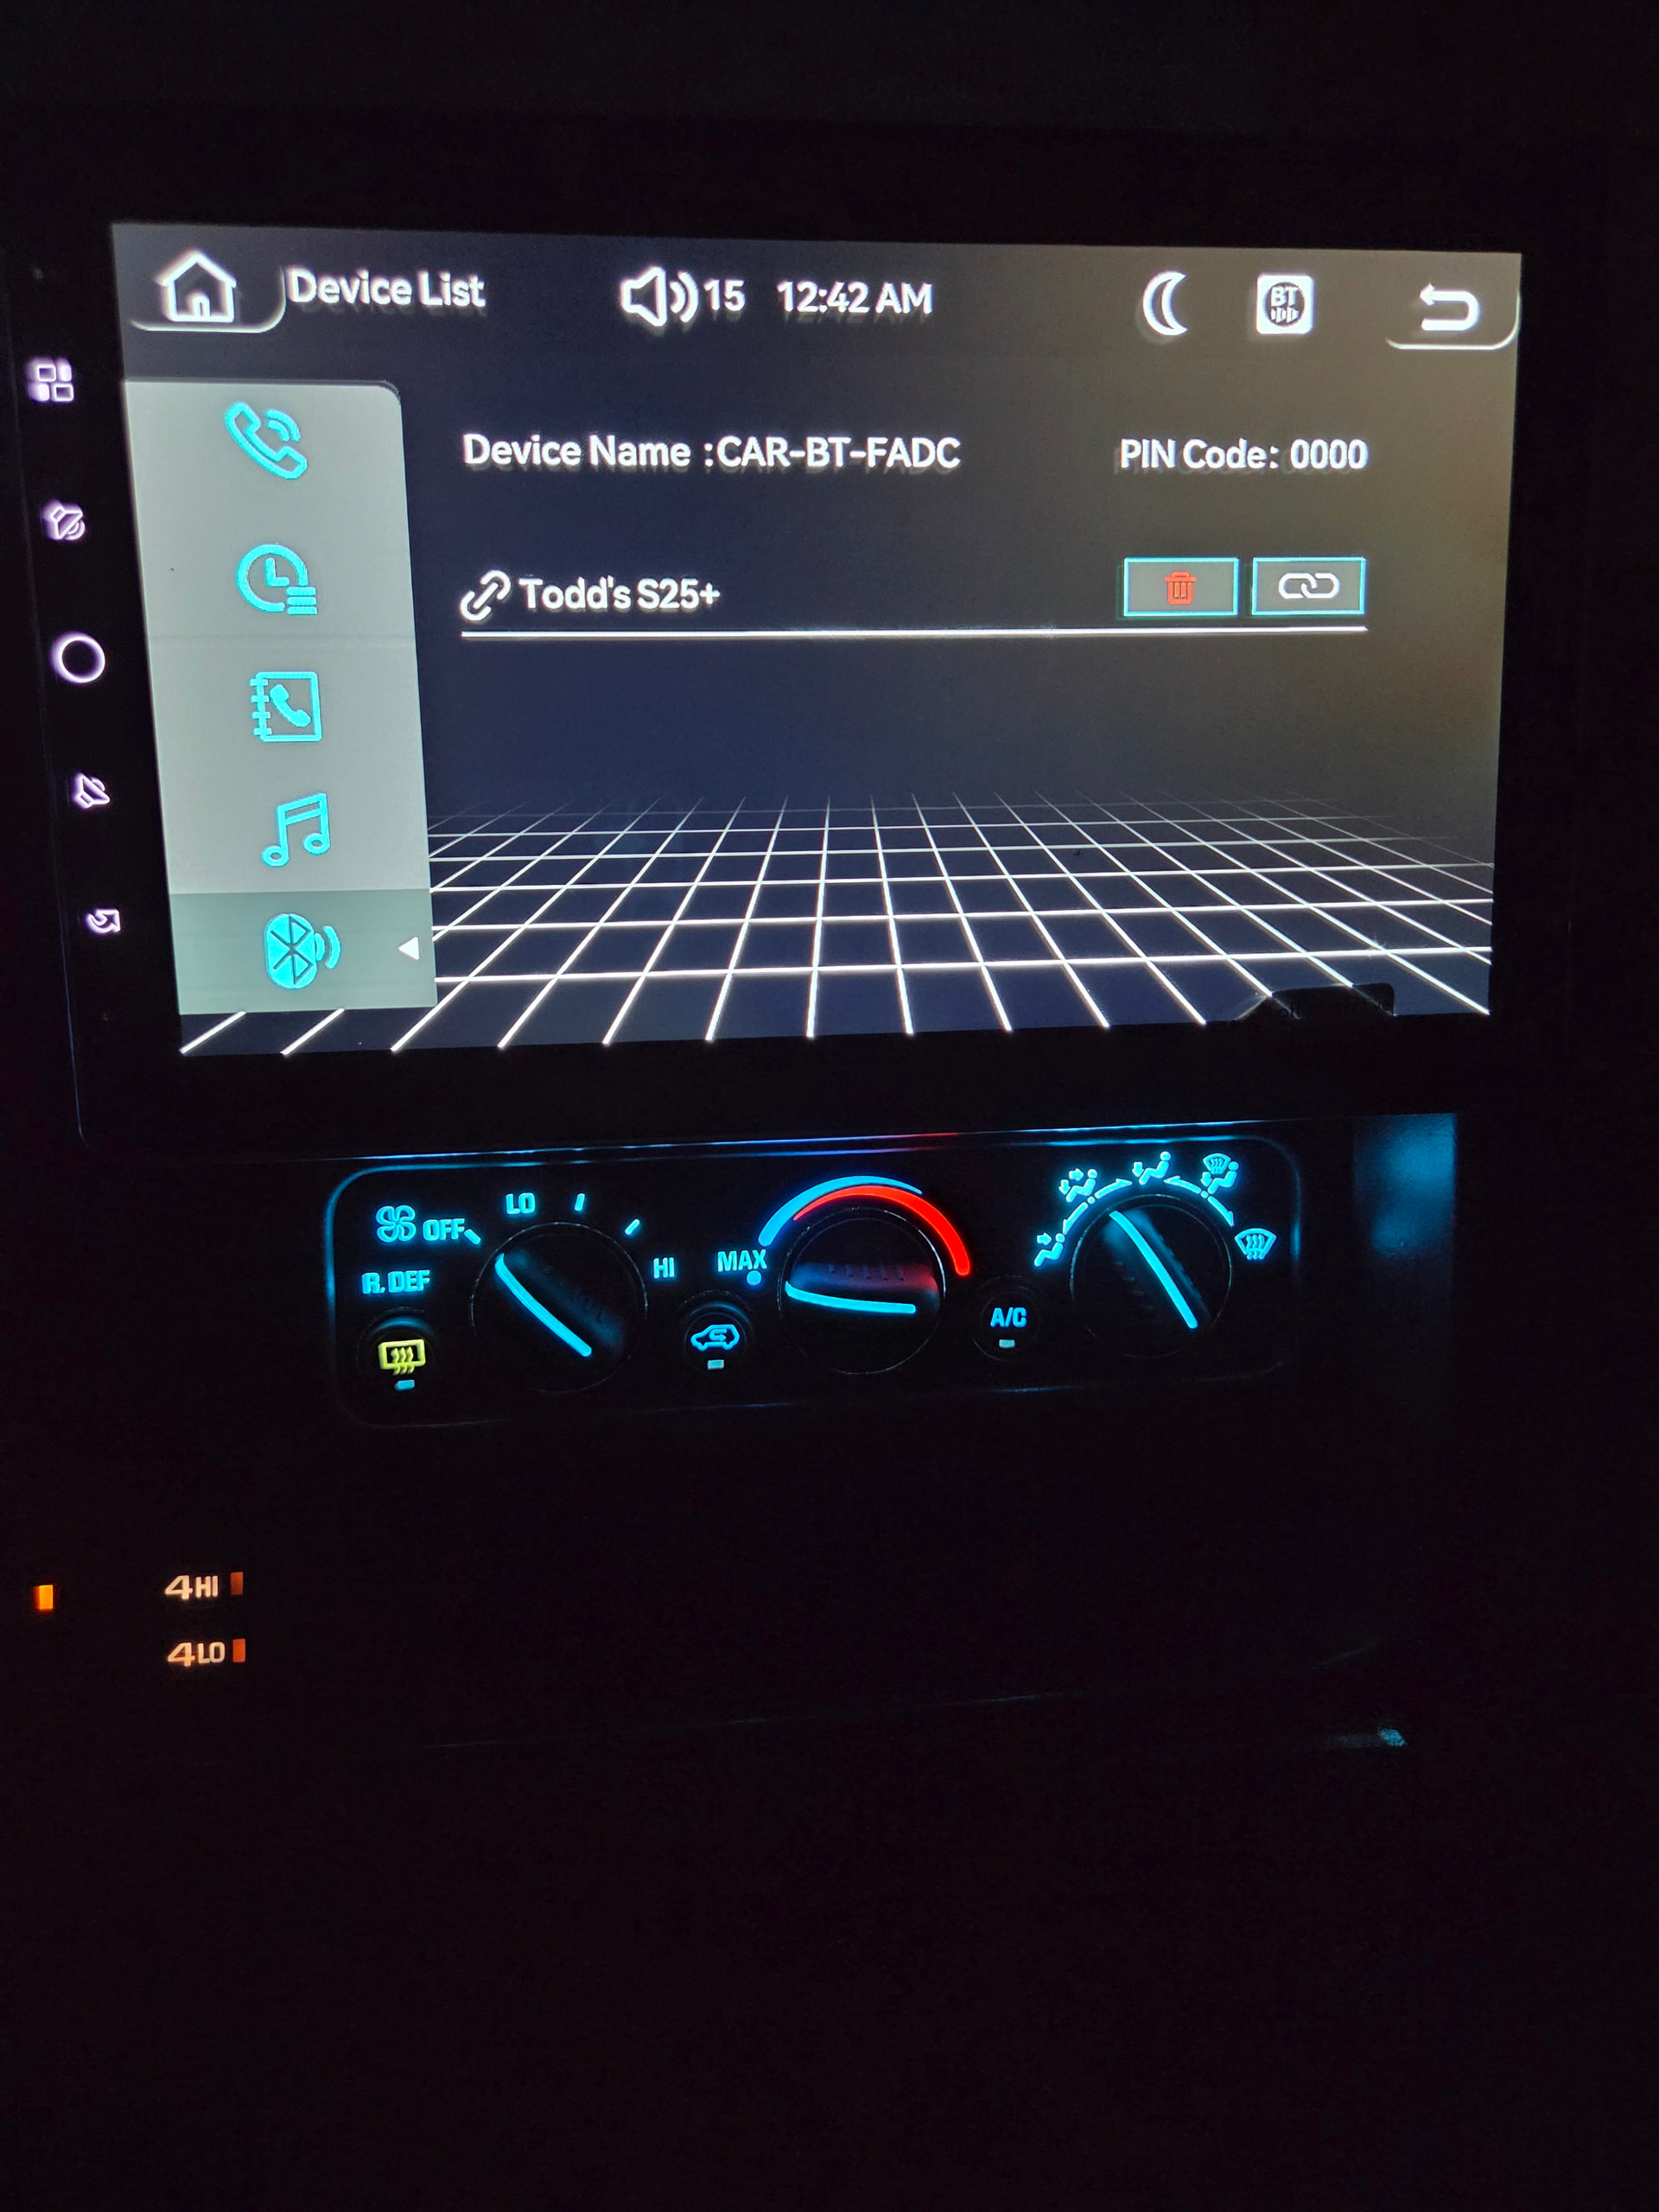
The final look with Ice Blues in the HVAC is great, as it is color-matched to the deck.
NOTE: If your truck/SUV has electronic 4x4; to color match the lights in there would require soldering and taking the switch apart. We will get into that at the end of the article.
For manual transfer case trucks, there should be 194 bulbs underneath of the transfer case cover for illumination (more to come on this later).
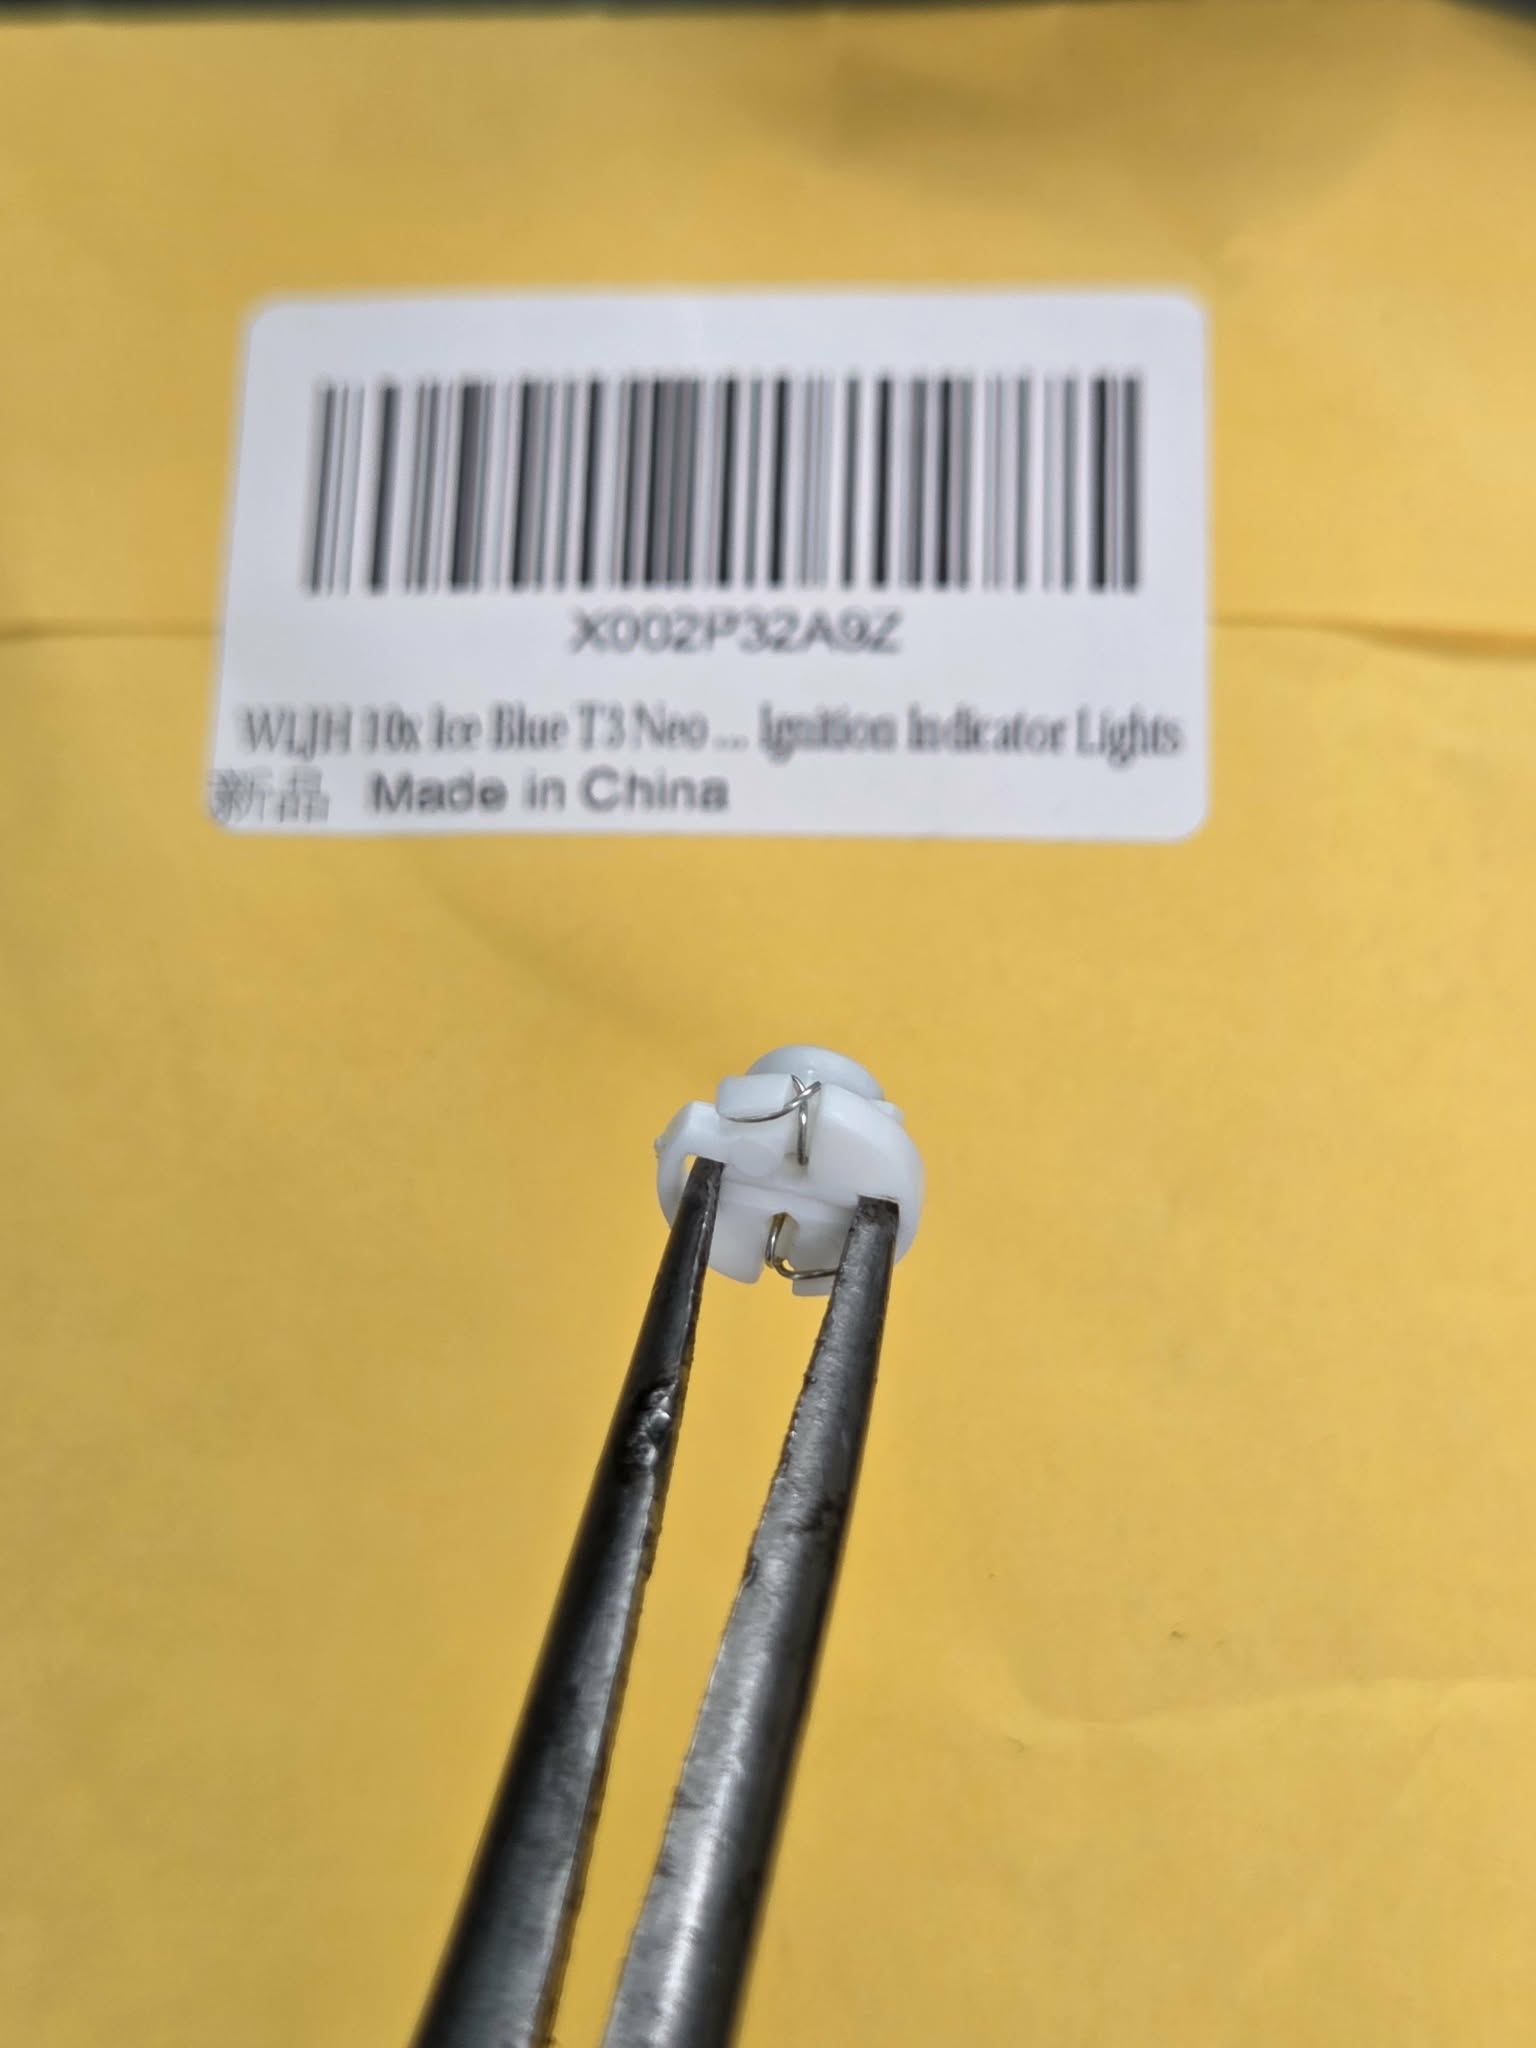
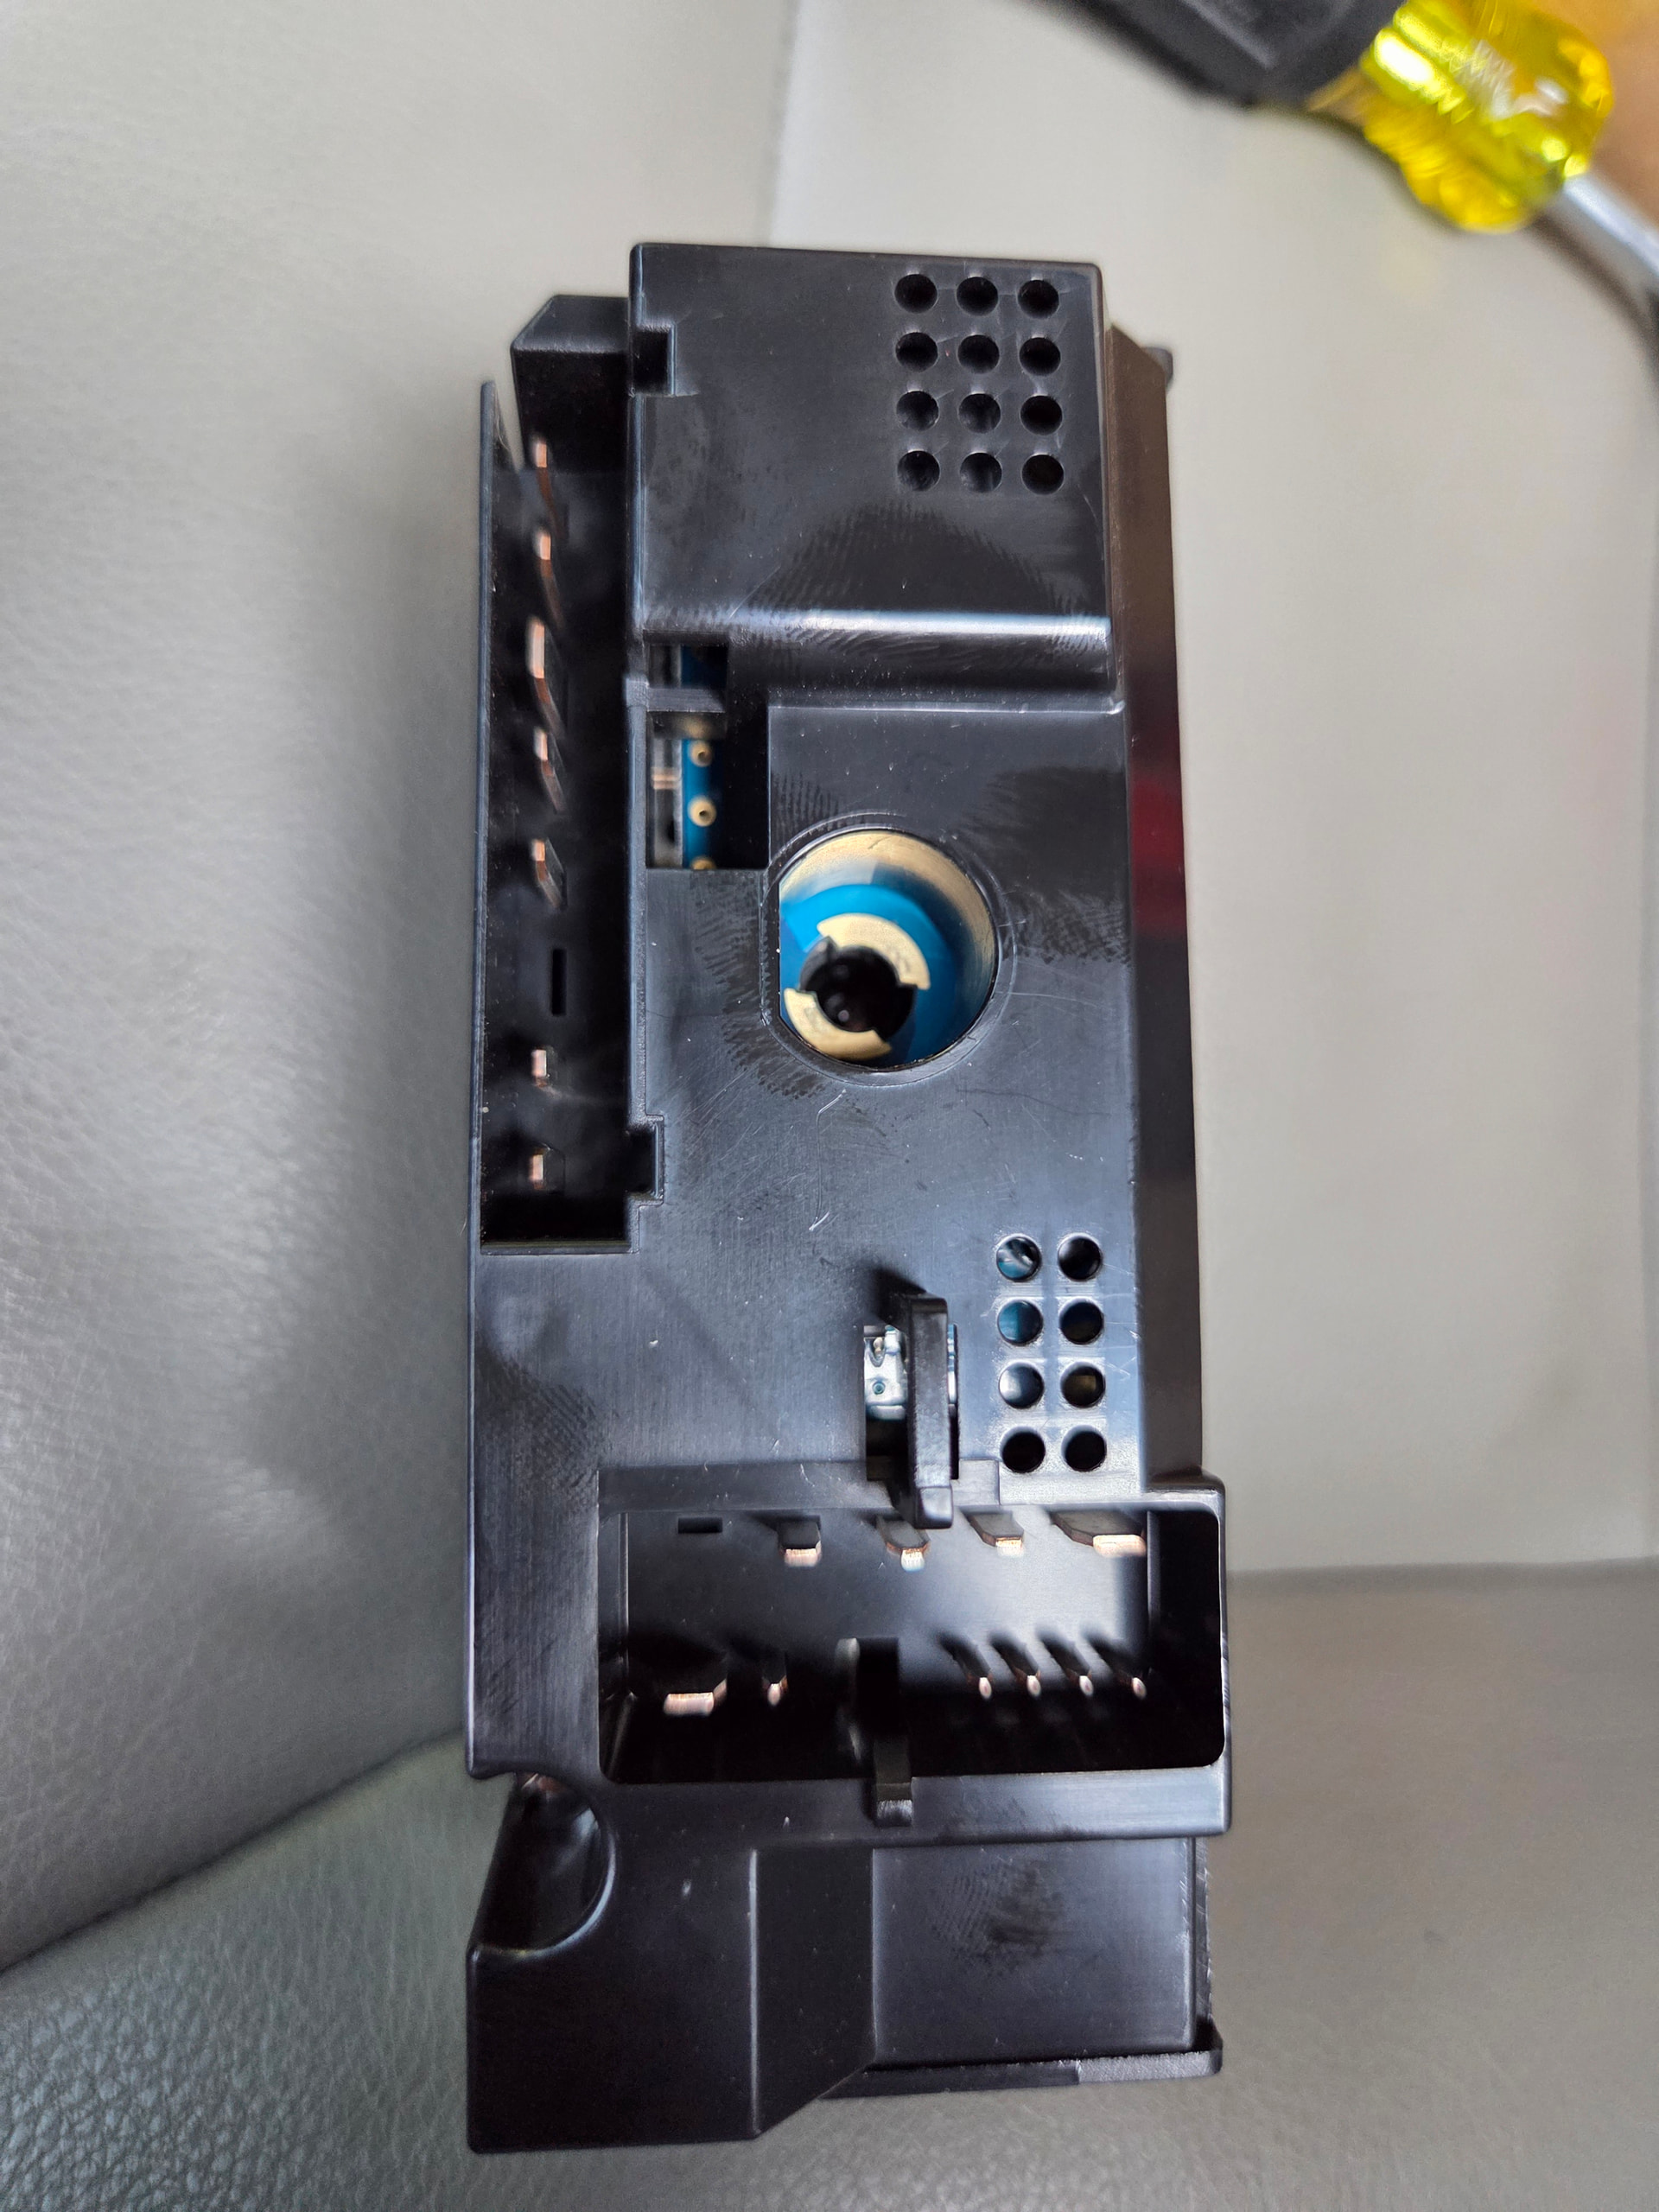
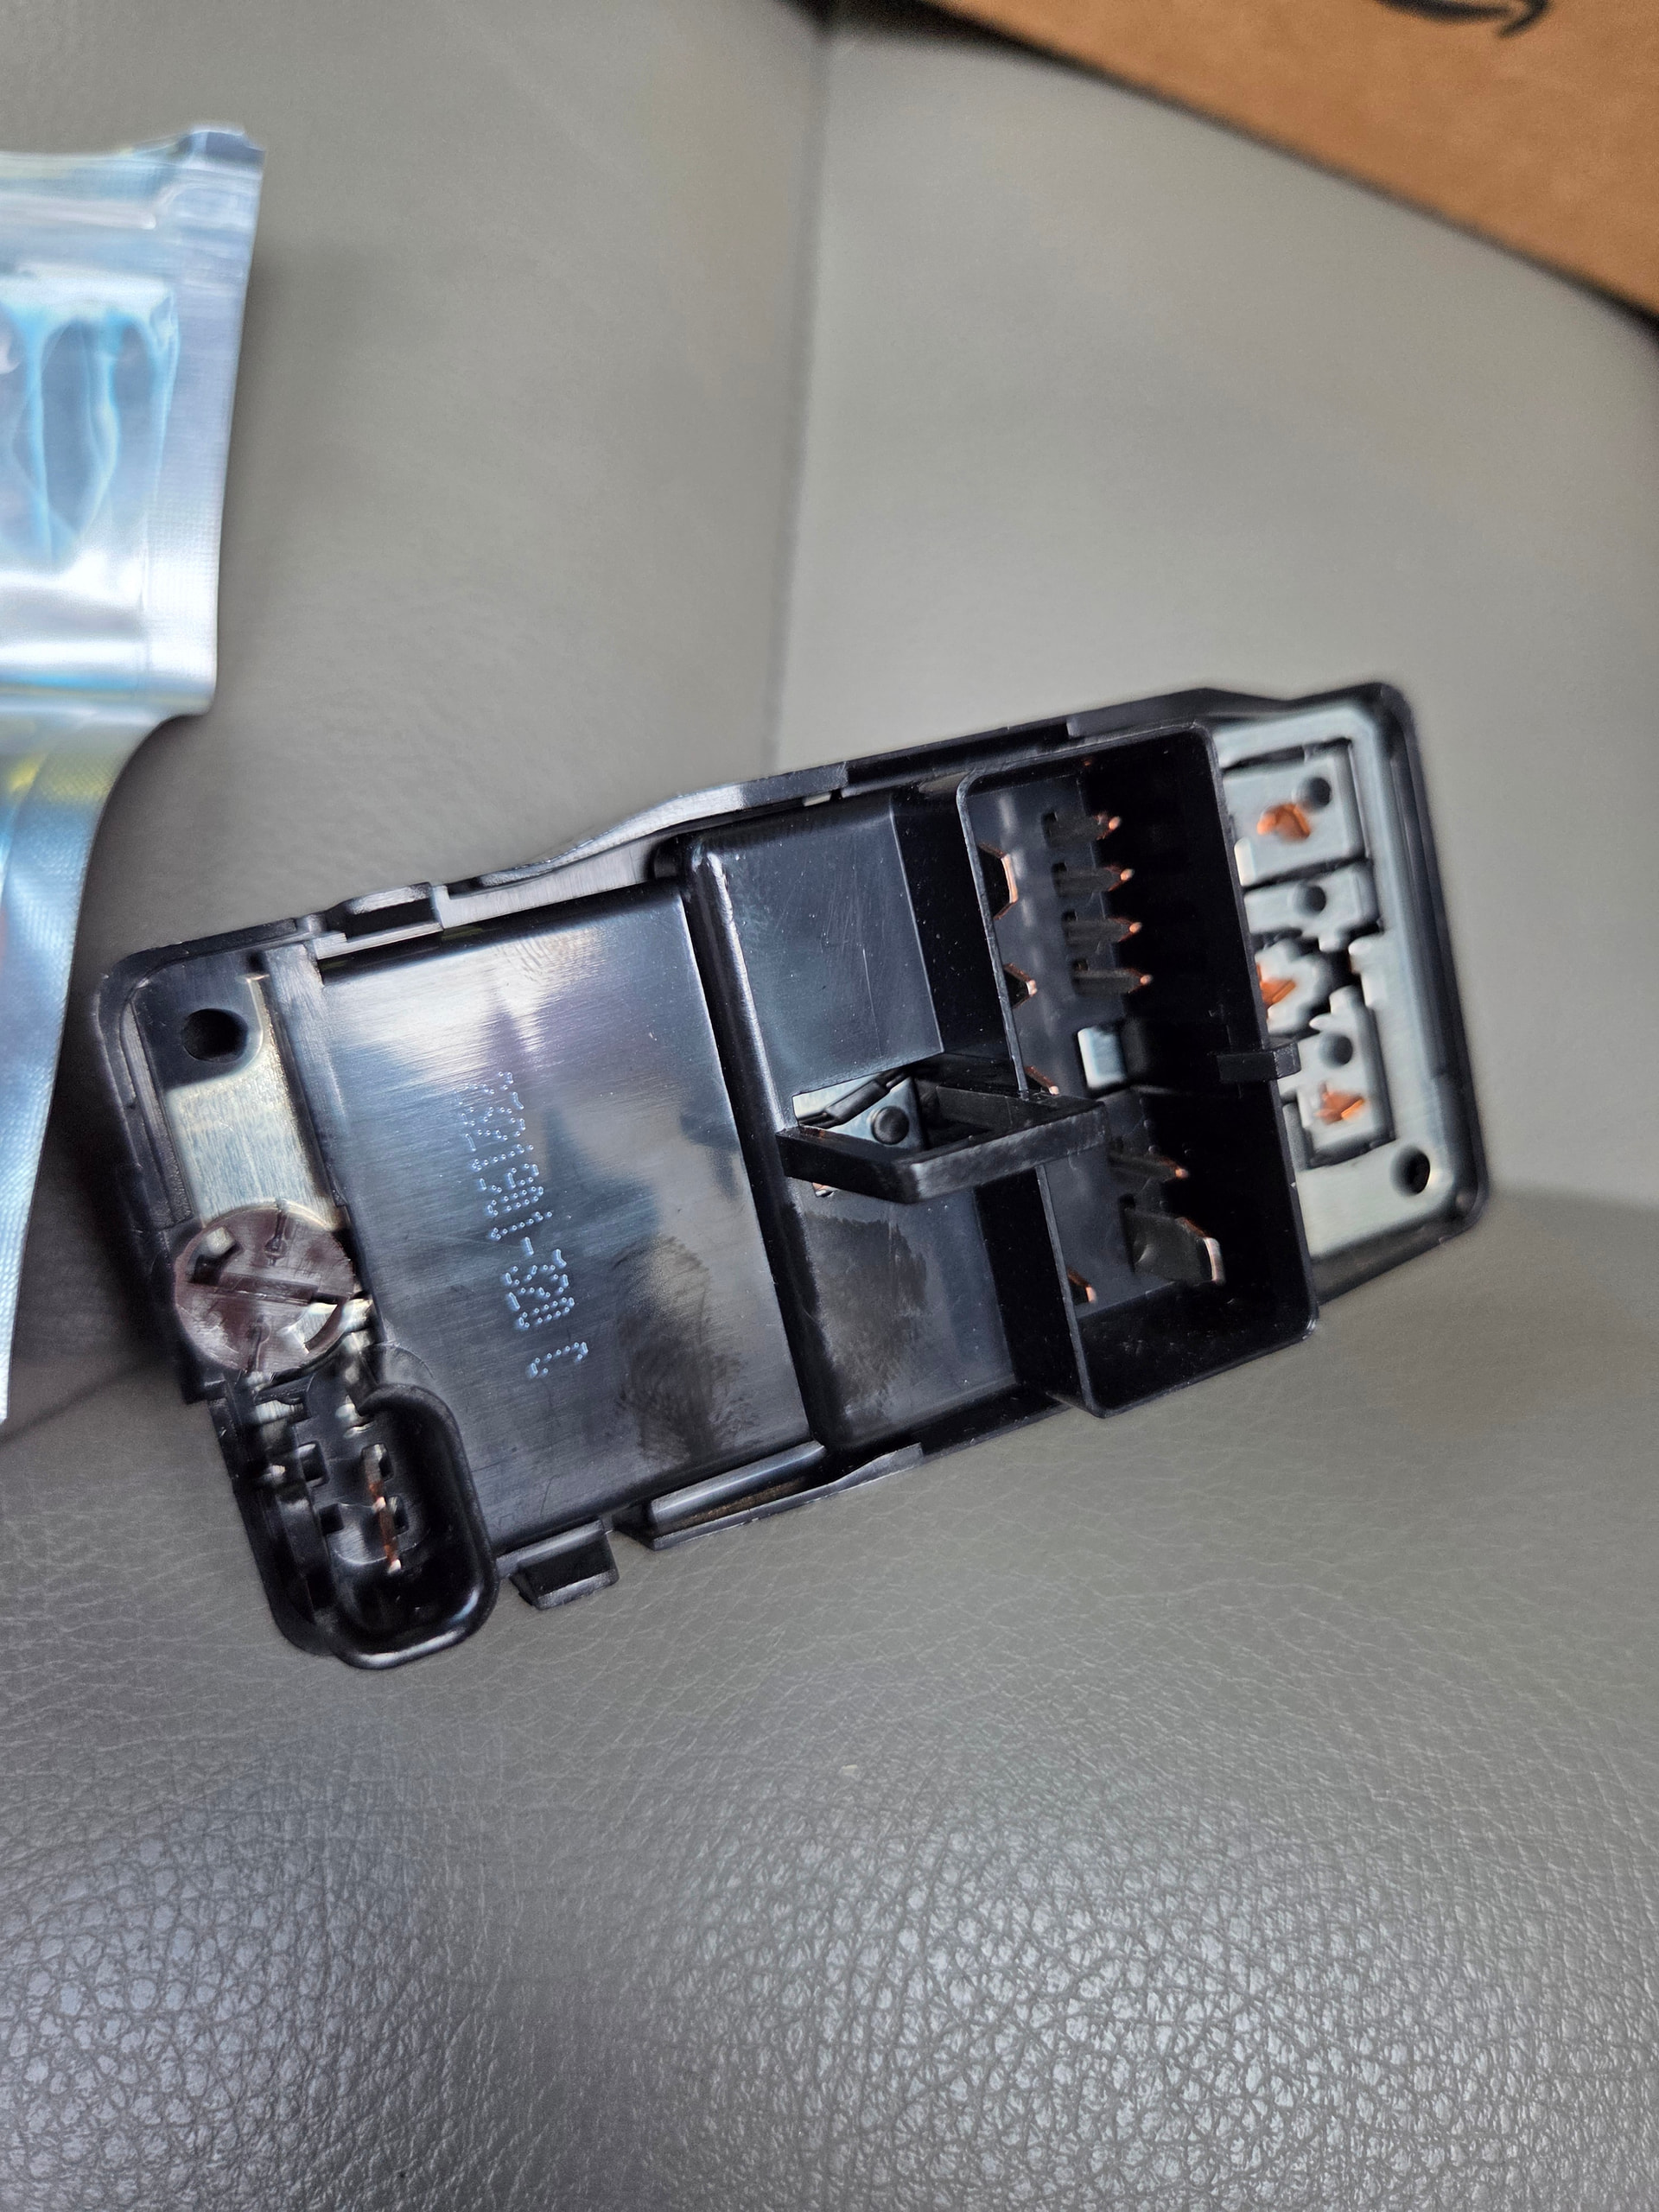
Headlight Switch LED (T3)
The next item on the hitlist was the headlight switch! I found it easiest to simply use needle nose pliers to put the bulb in and twist it out. The bulb is a T3 for the headlight switch and I went with the Ice Blues once again. Link to the bulbs here.
This was how I found it easiest to install the bulb into the headlight switch- with needle nose pliers inserted into the T3 bulb’s opening. This allowed me to insert and twist the bulb into the socket. Always test the bulb works before moving on!
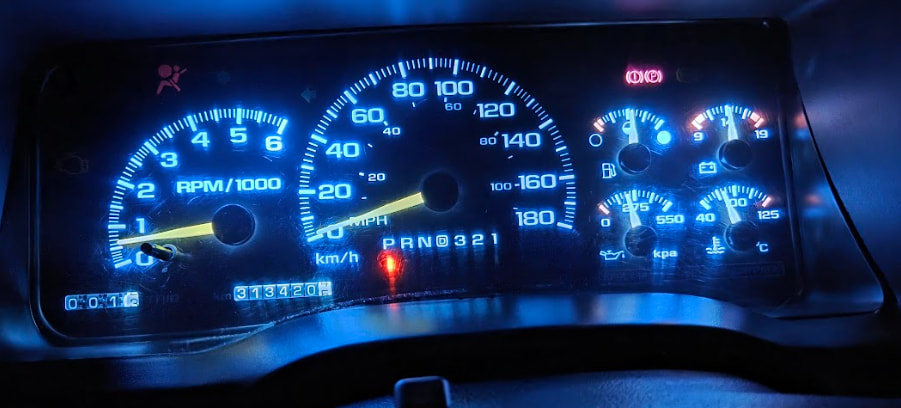
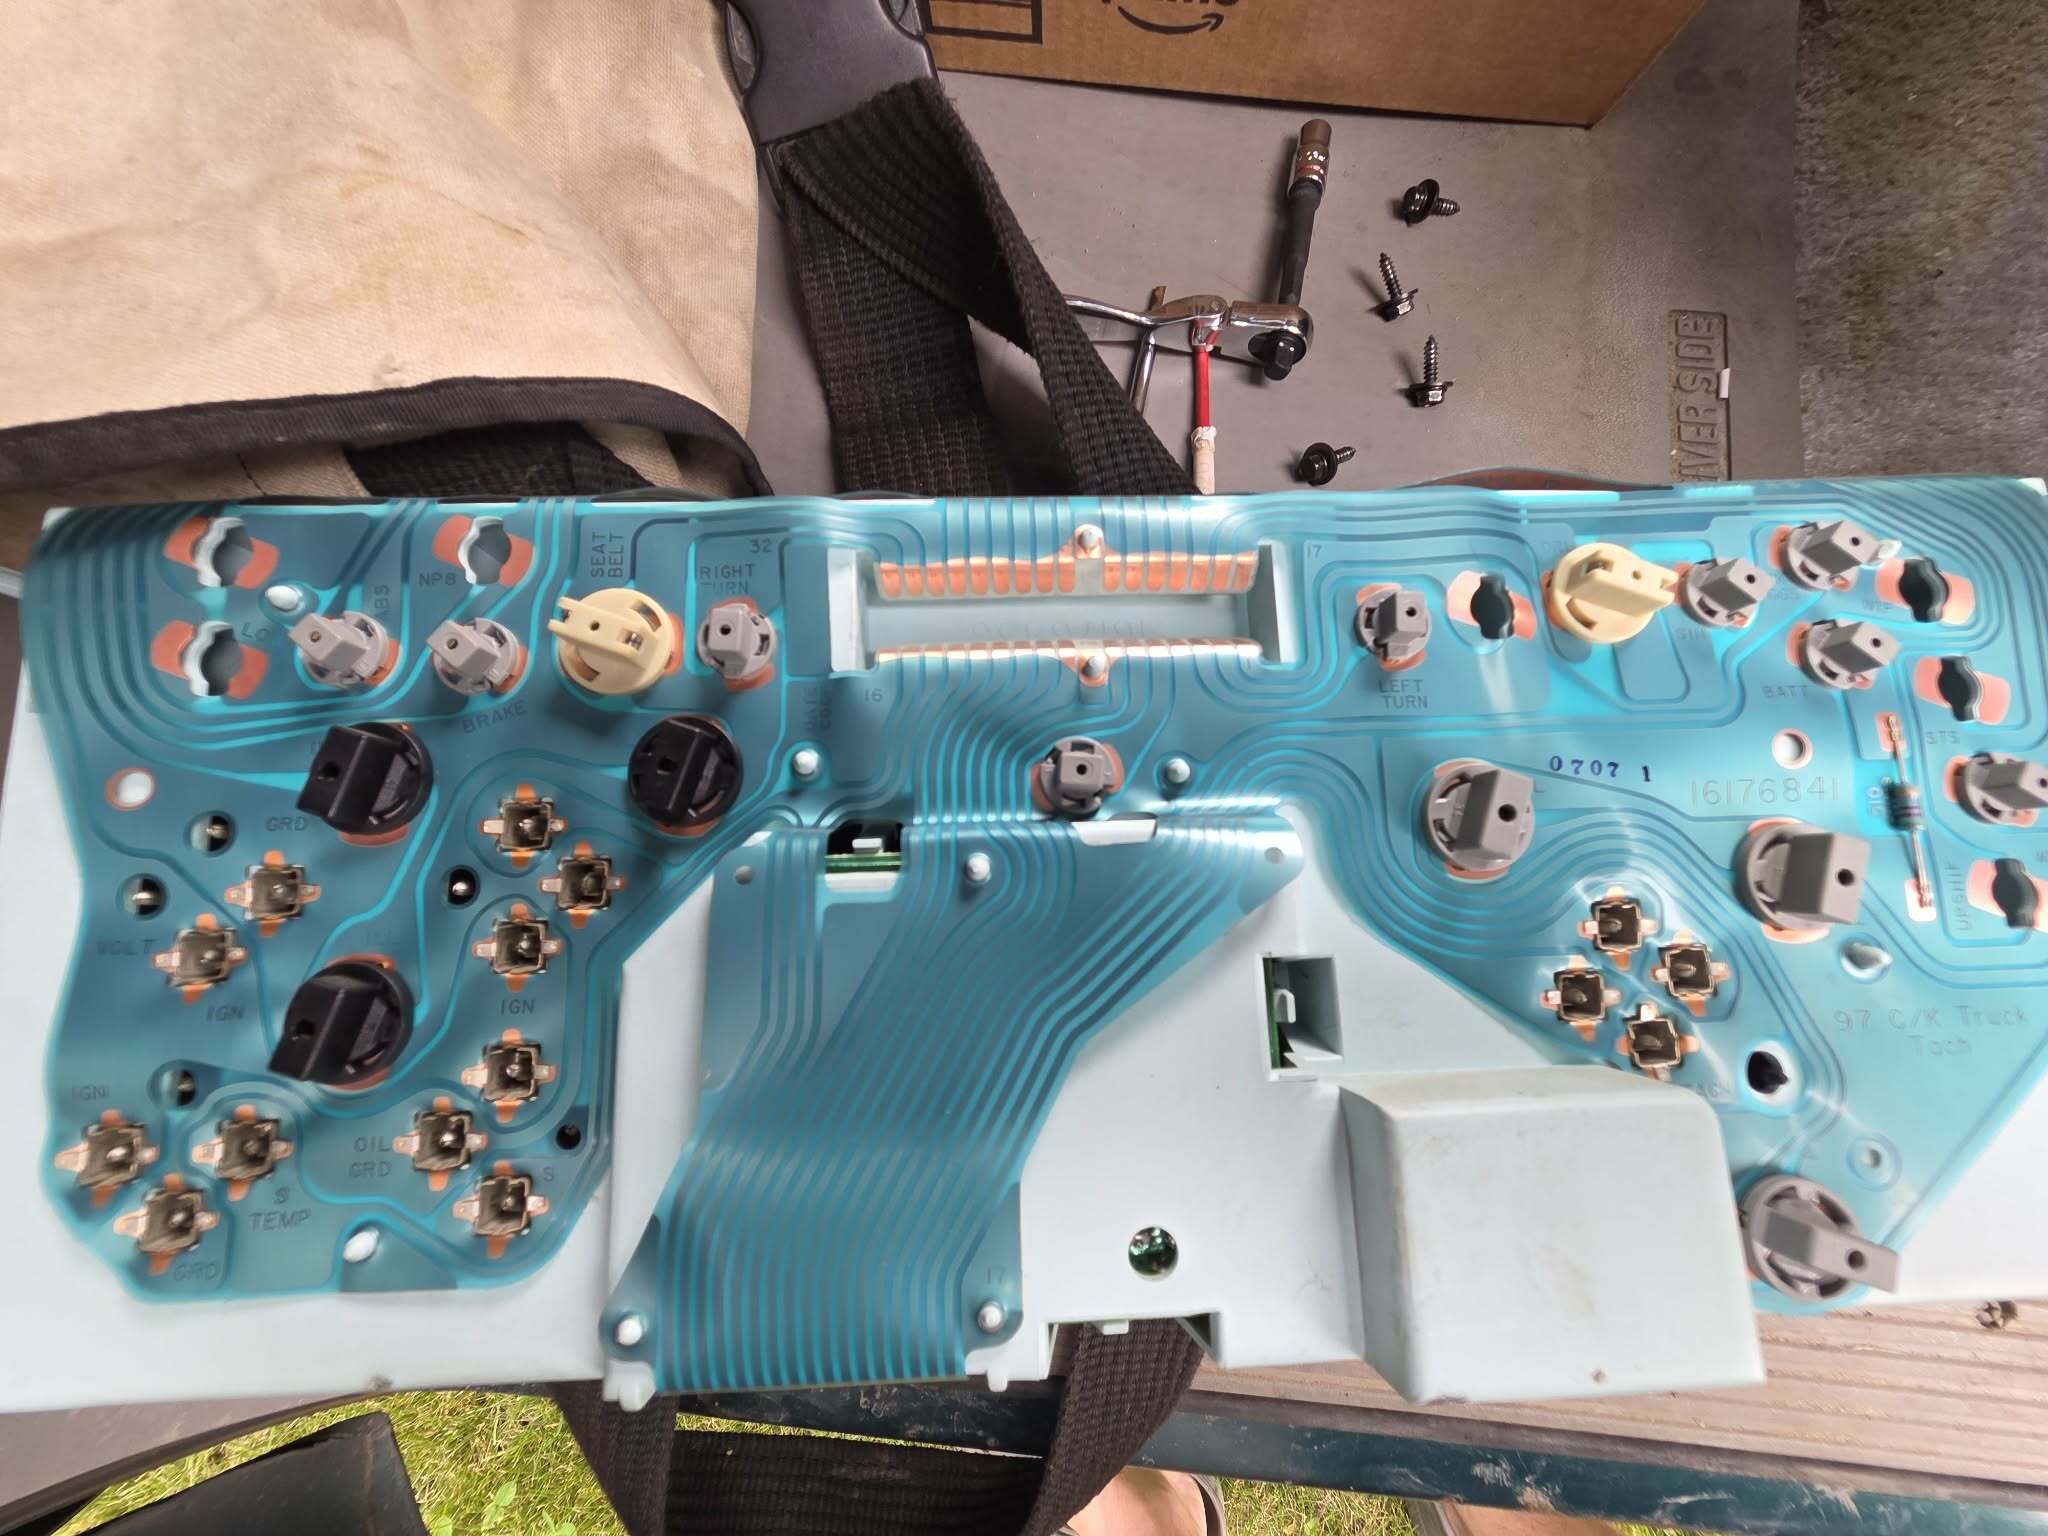
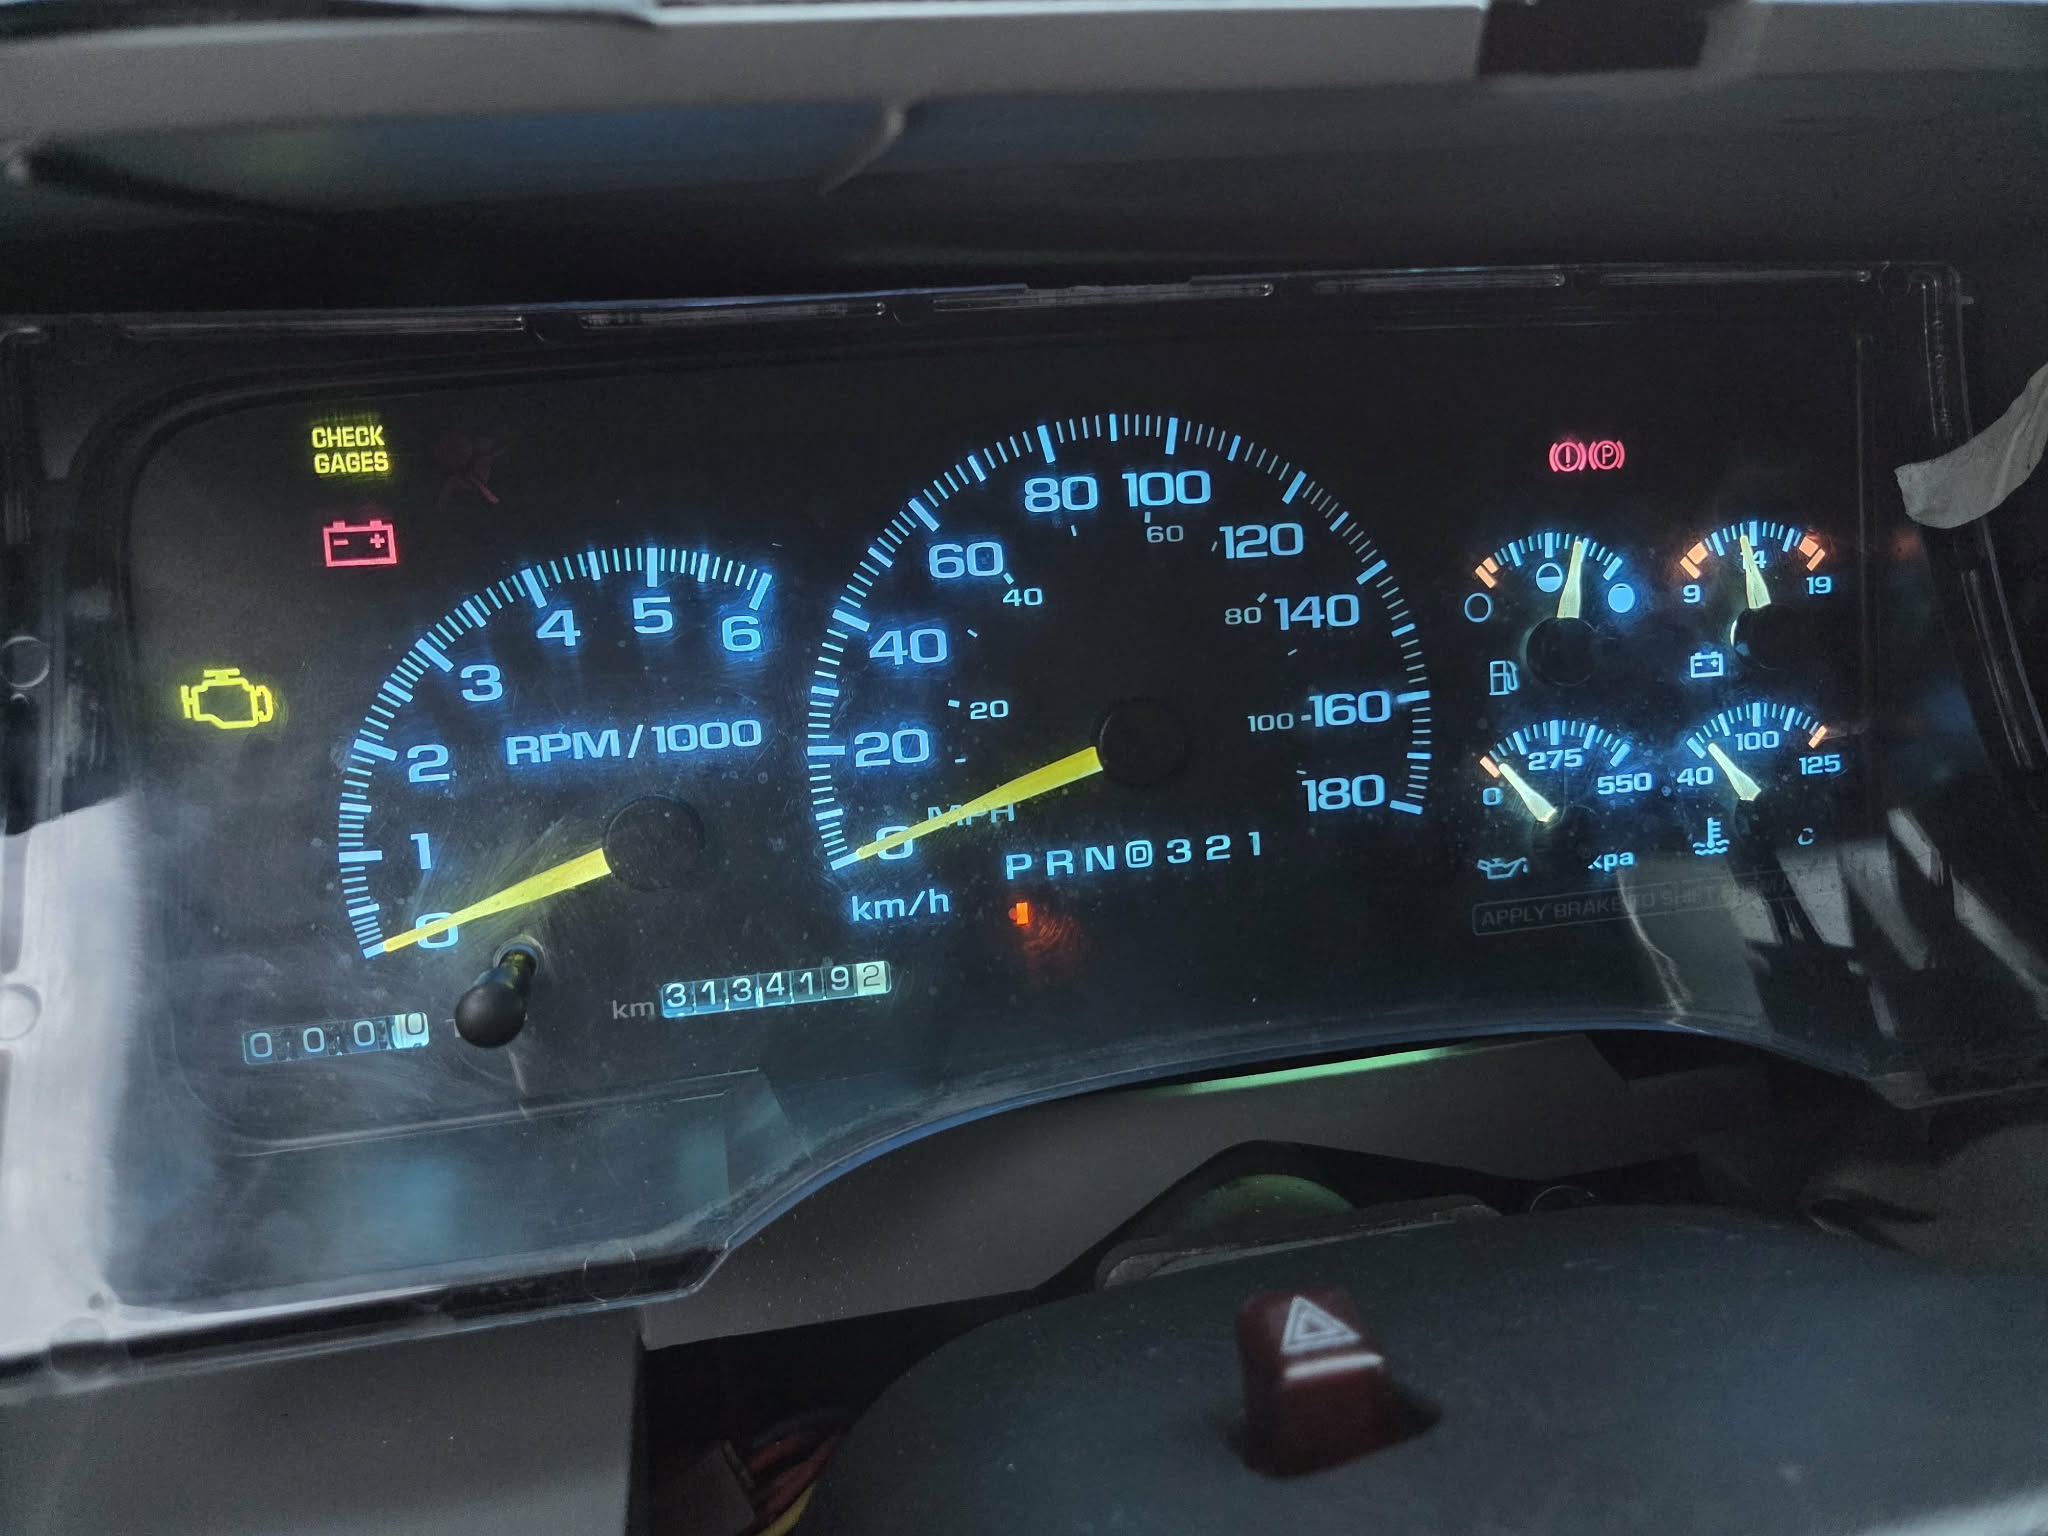
Gauge Cluster Conversion
With the headlight switch and HVAC done I was onto the 28 year old cluster next. It definitely wasn’t bad, but needed a bit of love. The bulbs for the cluster are (8) 194/T10’s for the main illumination and (9) 74/T5’s for indication. Once again, I went with the Ice Blues. Link to the 194/T10 bulbs here and the 74/T5 bulbs are here.
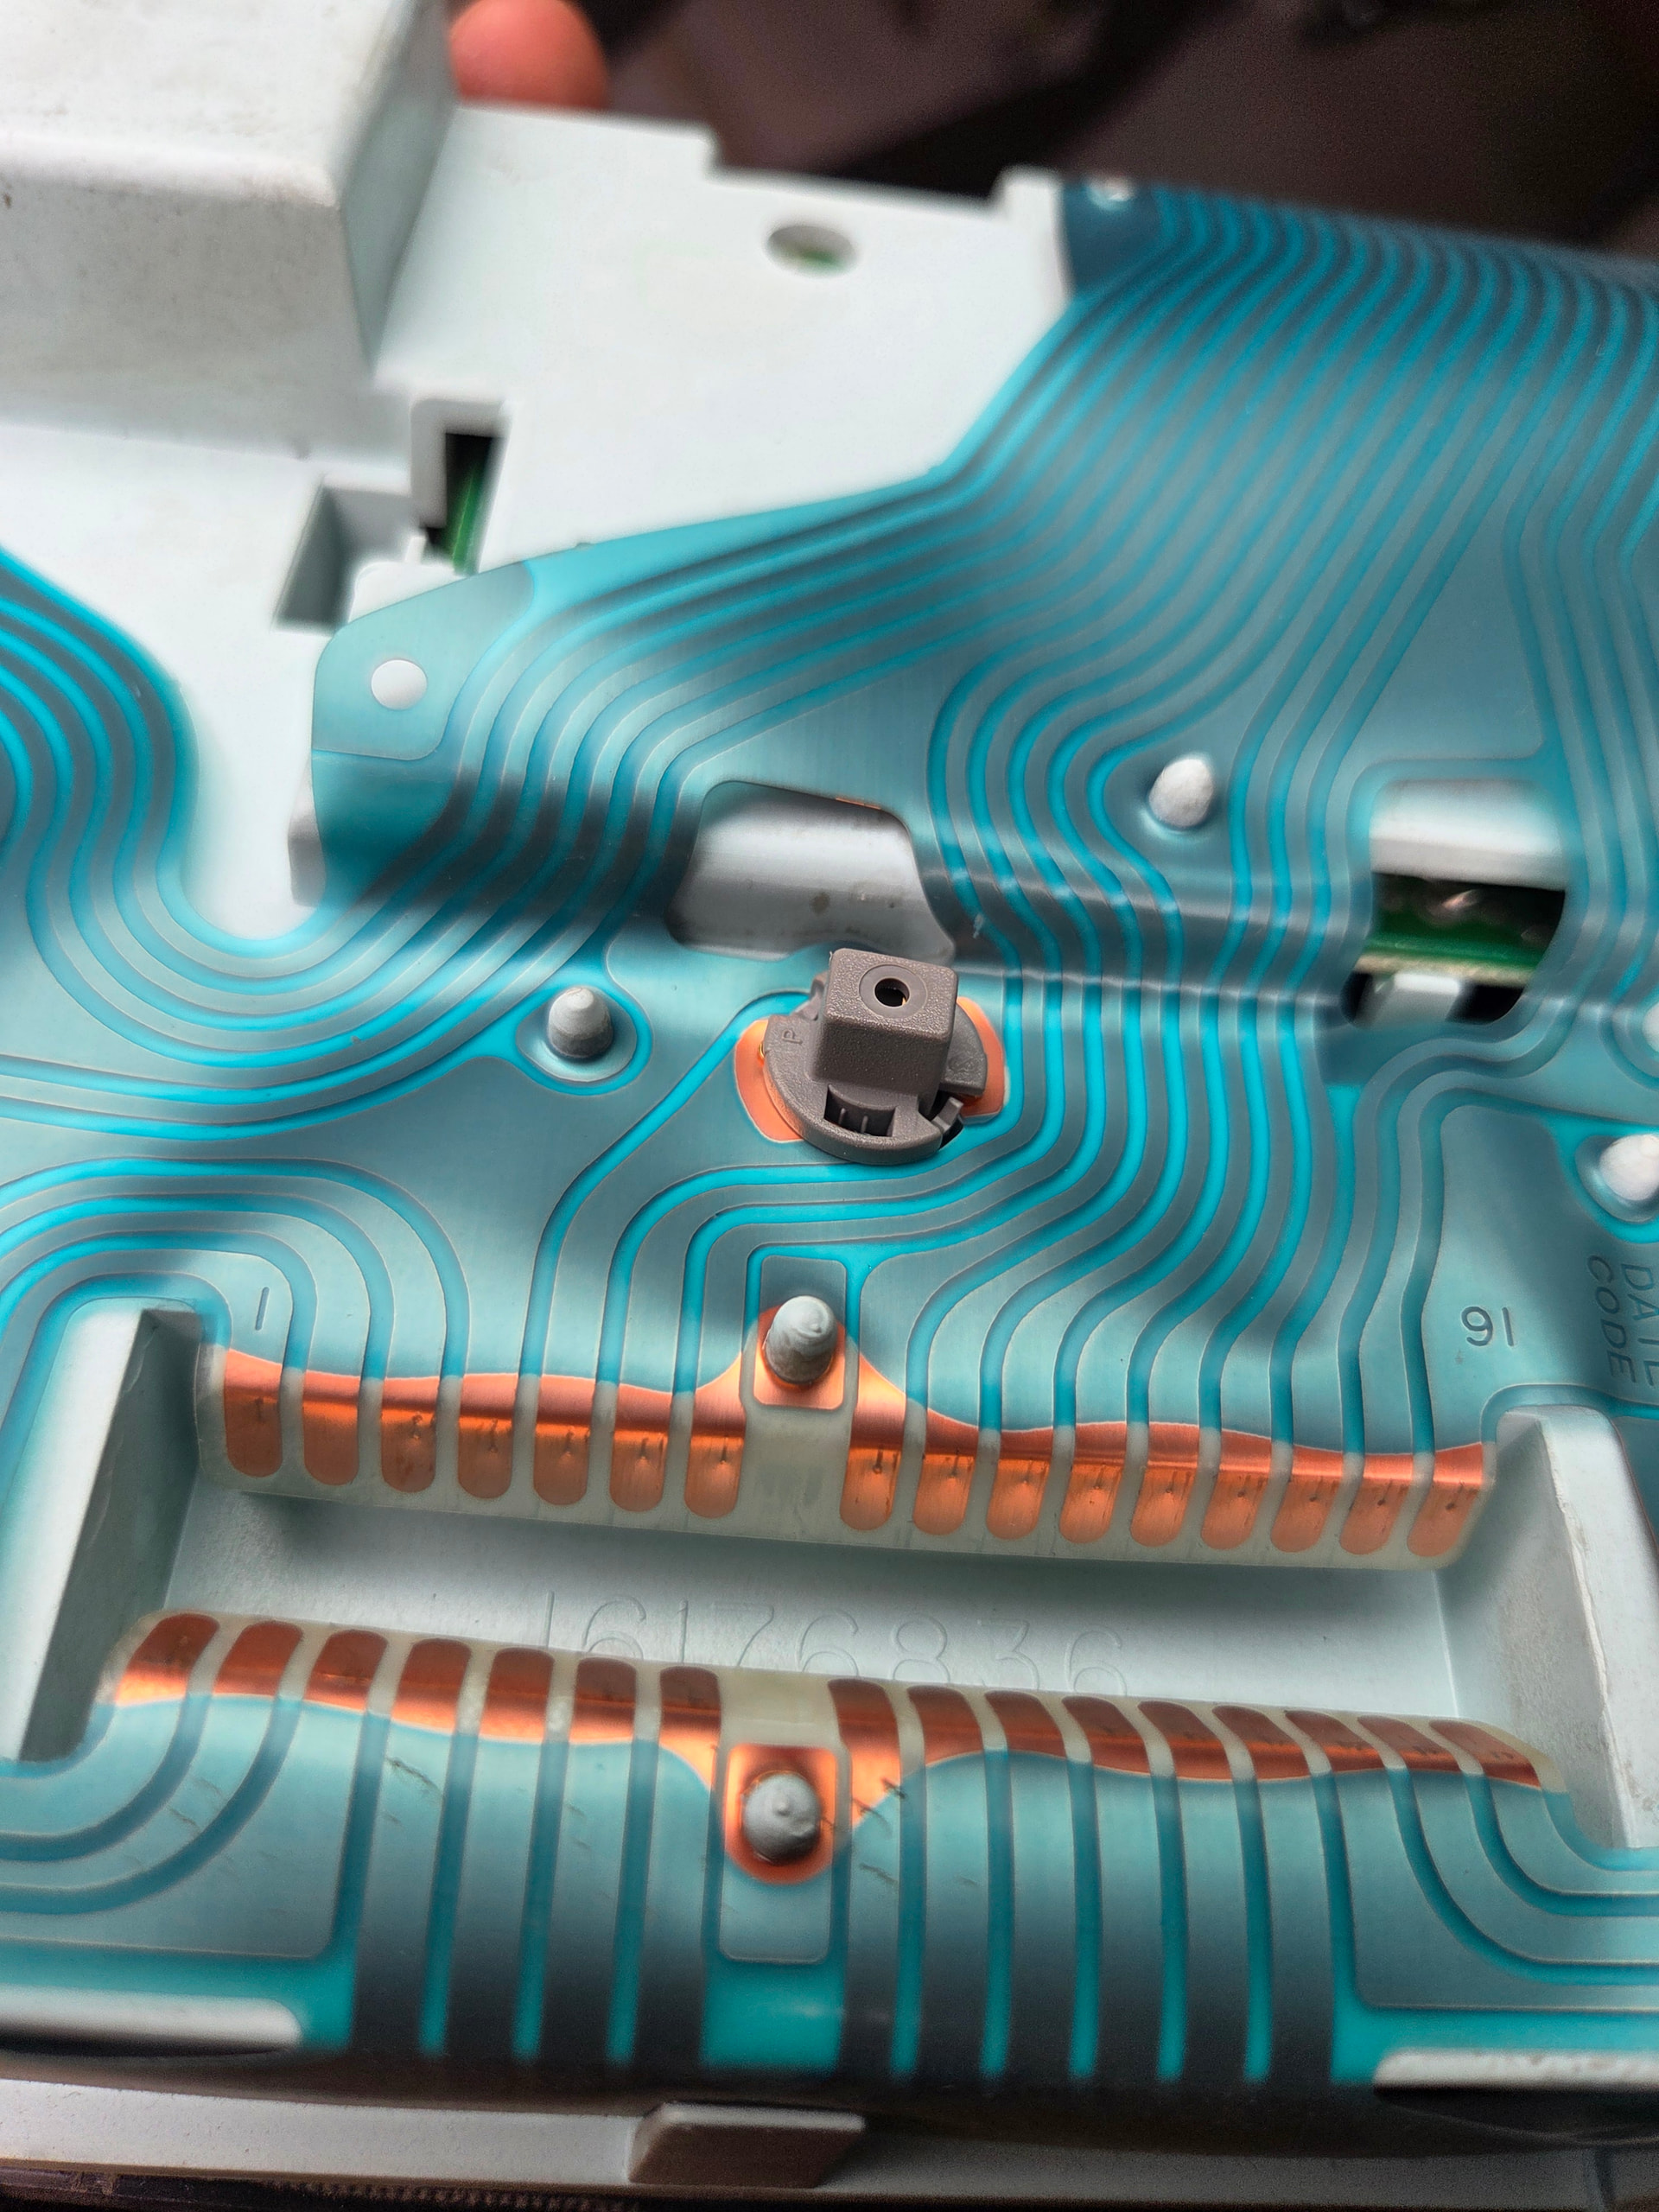
Here is an overview of the back of a cluster for a gas, electronic transfer case pickup. Depending on model/options/engine you may have more or less bulbs on the cluster.
It’s always good to order packs of 10 and have spares as I did break one or two of the new bulbs along the way.
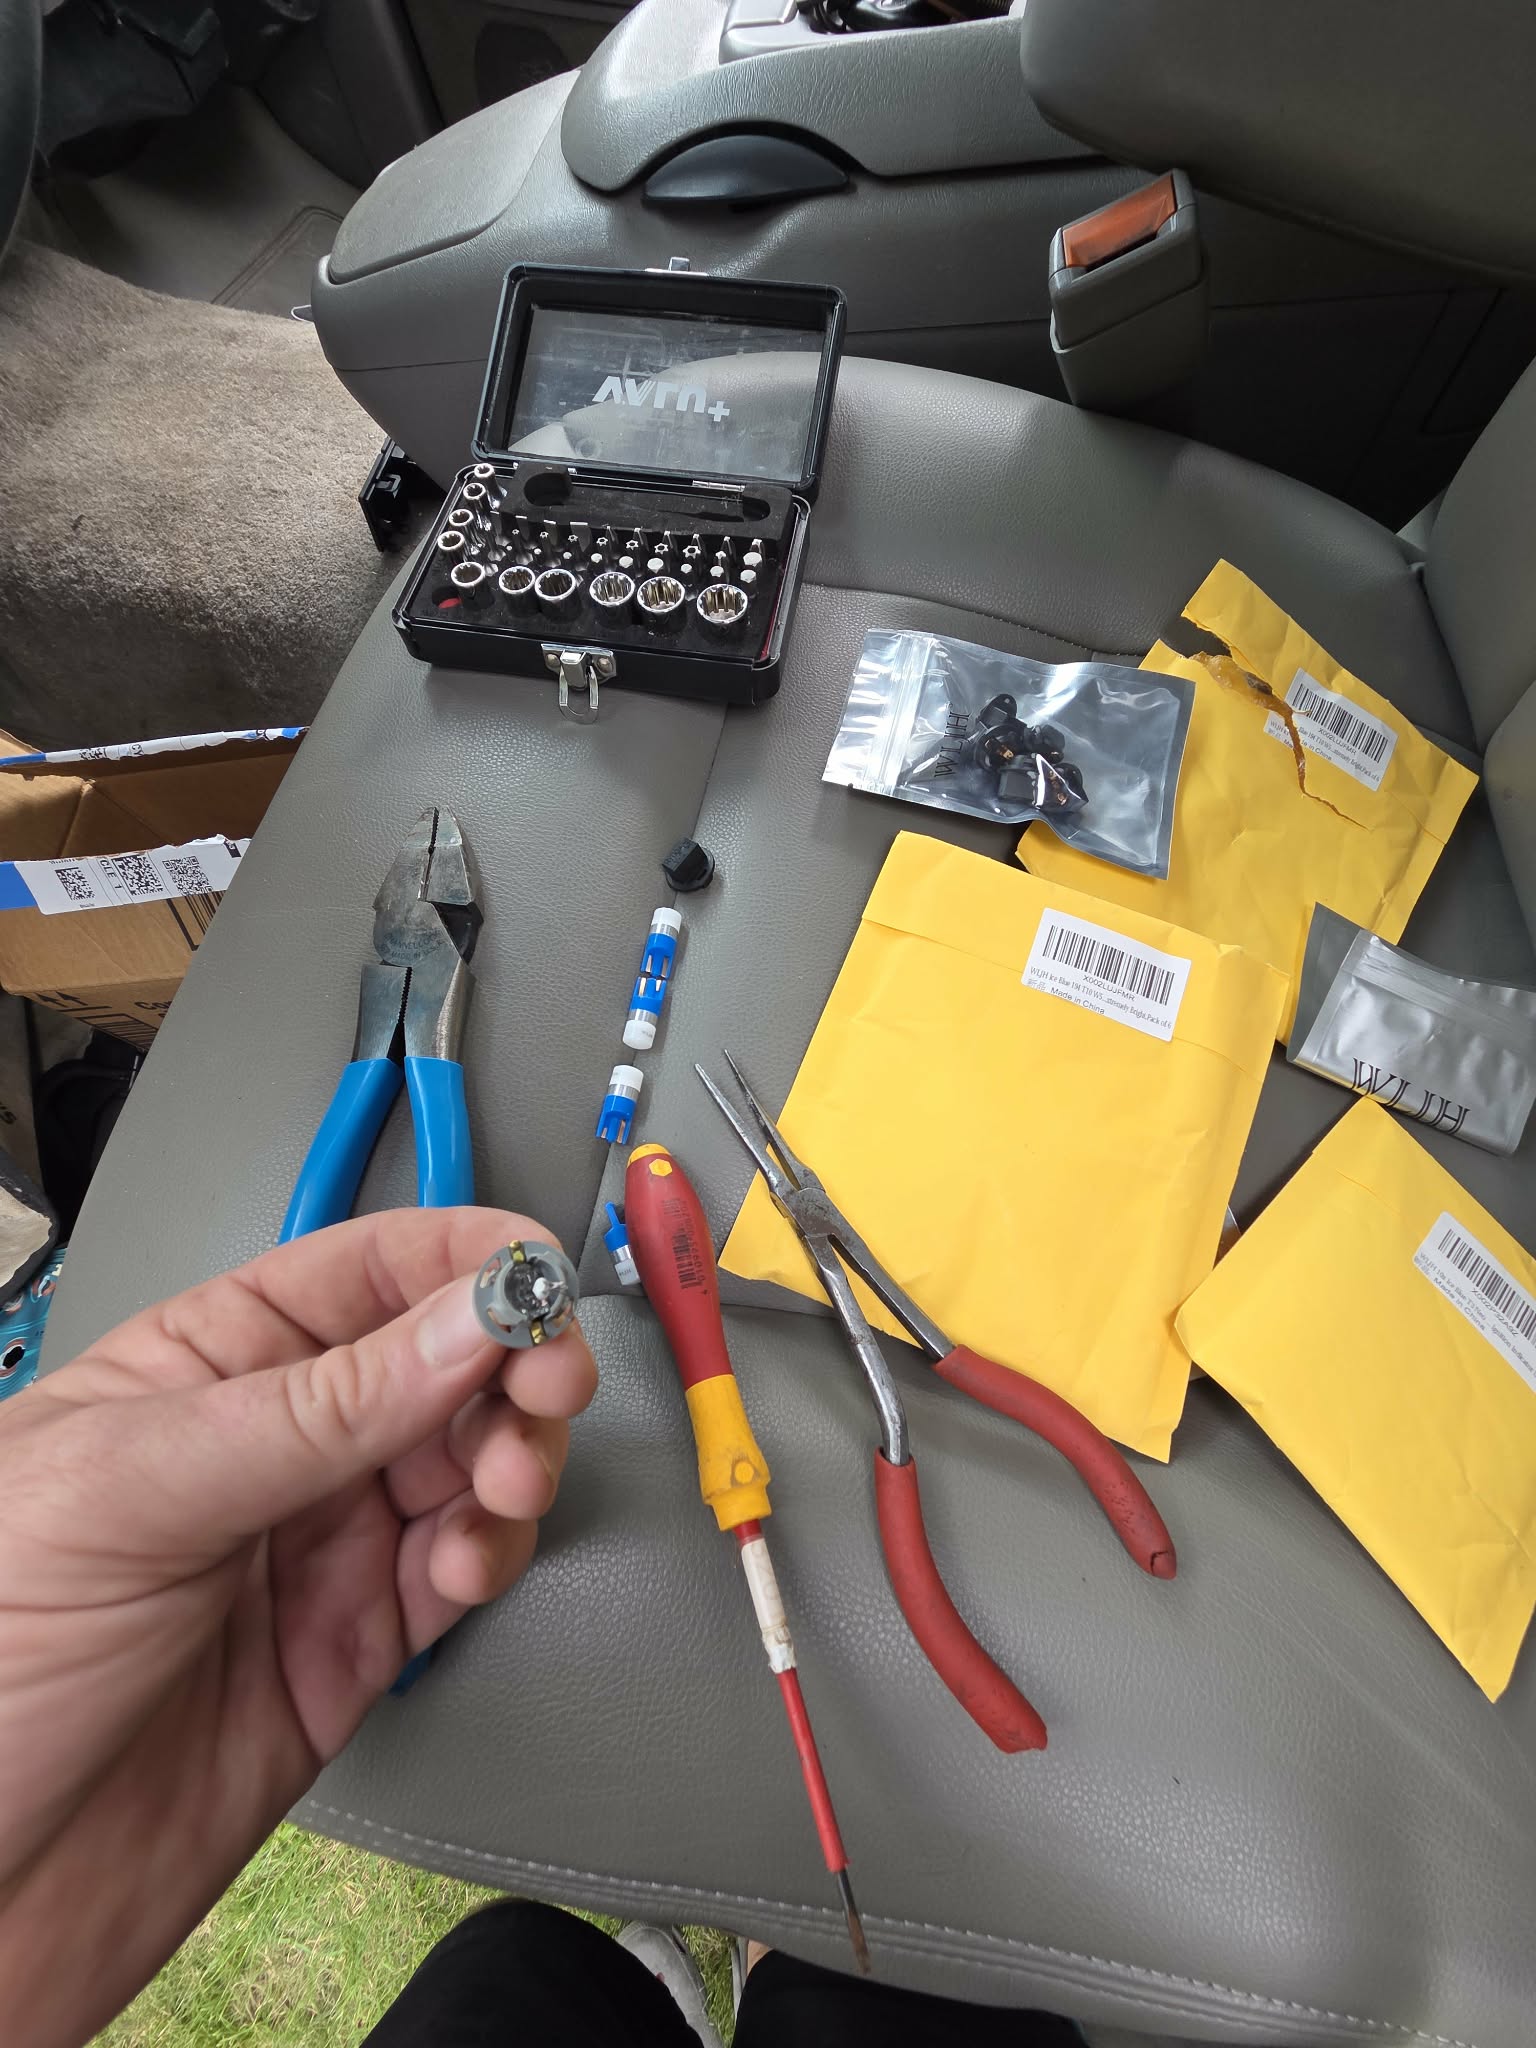
Pliers can help when twisting the sockets out of the cluster and when twisting bulbs out of the sockets.
I also broke one or two of the 28 year old halogen bulbs! I’m sure that the ones that I broke were factory bulbs as they sure were in there. These old incandescent bulbs produce a bit of heat and can be a pain to get out!
I finished the cluster bulbs and had to check it out! Disregard the cluster scratches; we will deal with that shortly.
Interior Lighting (Doors + Underdash)
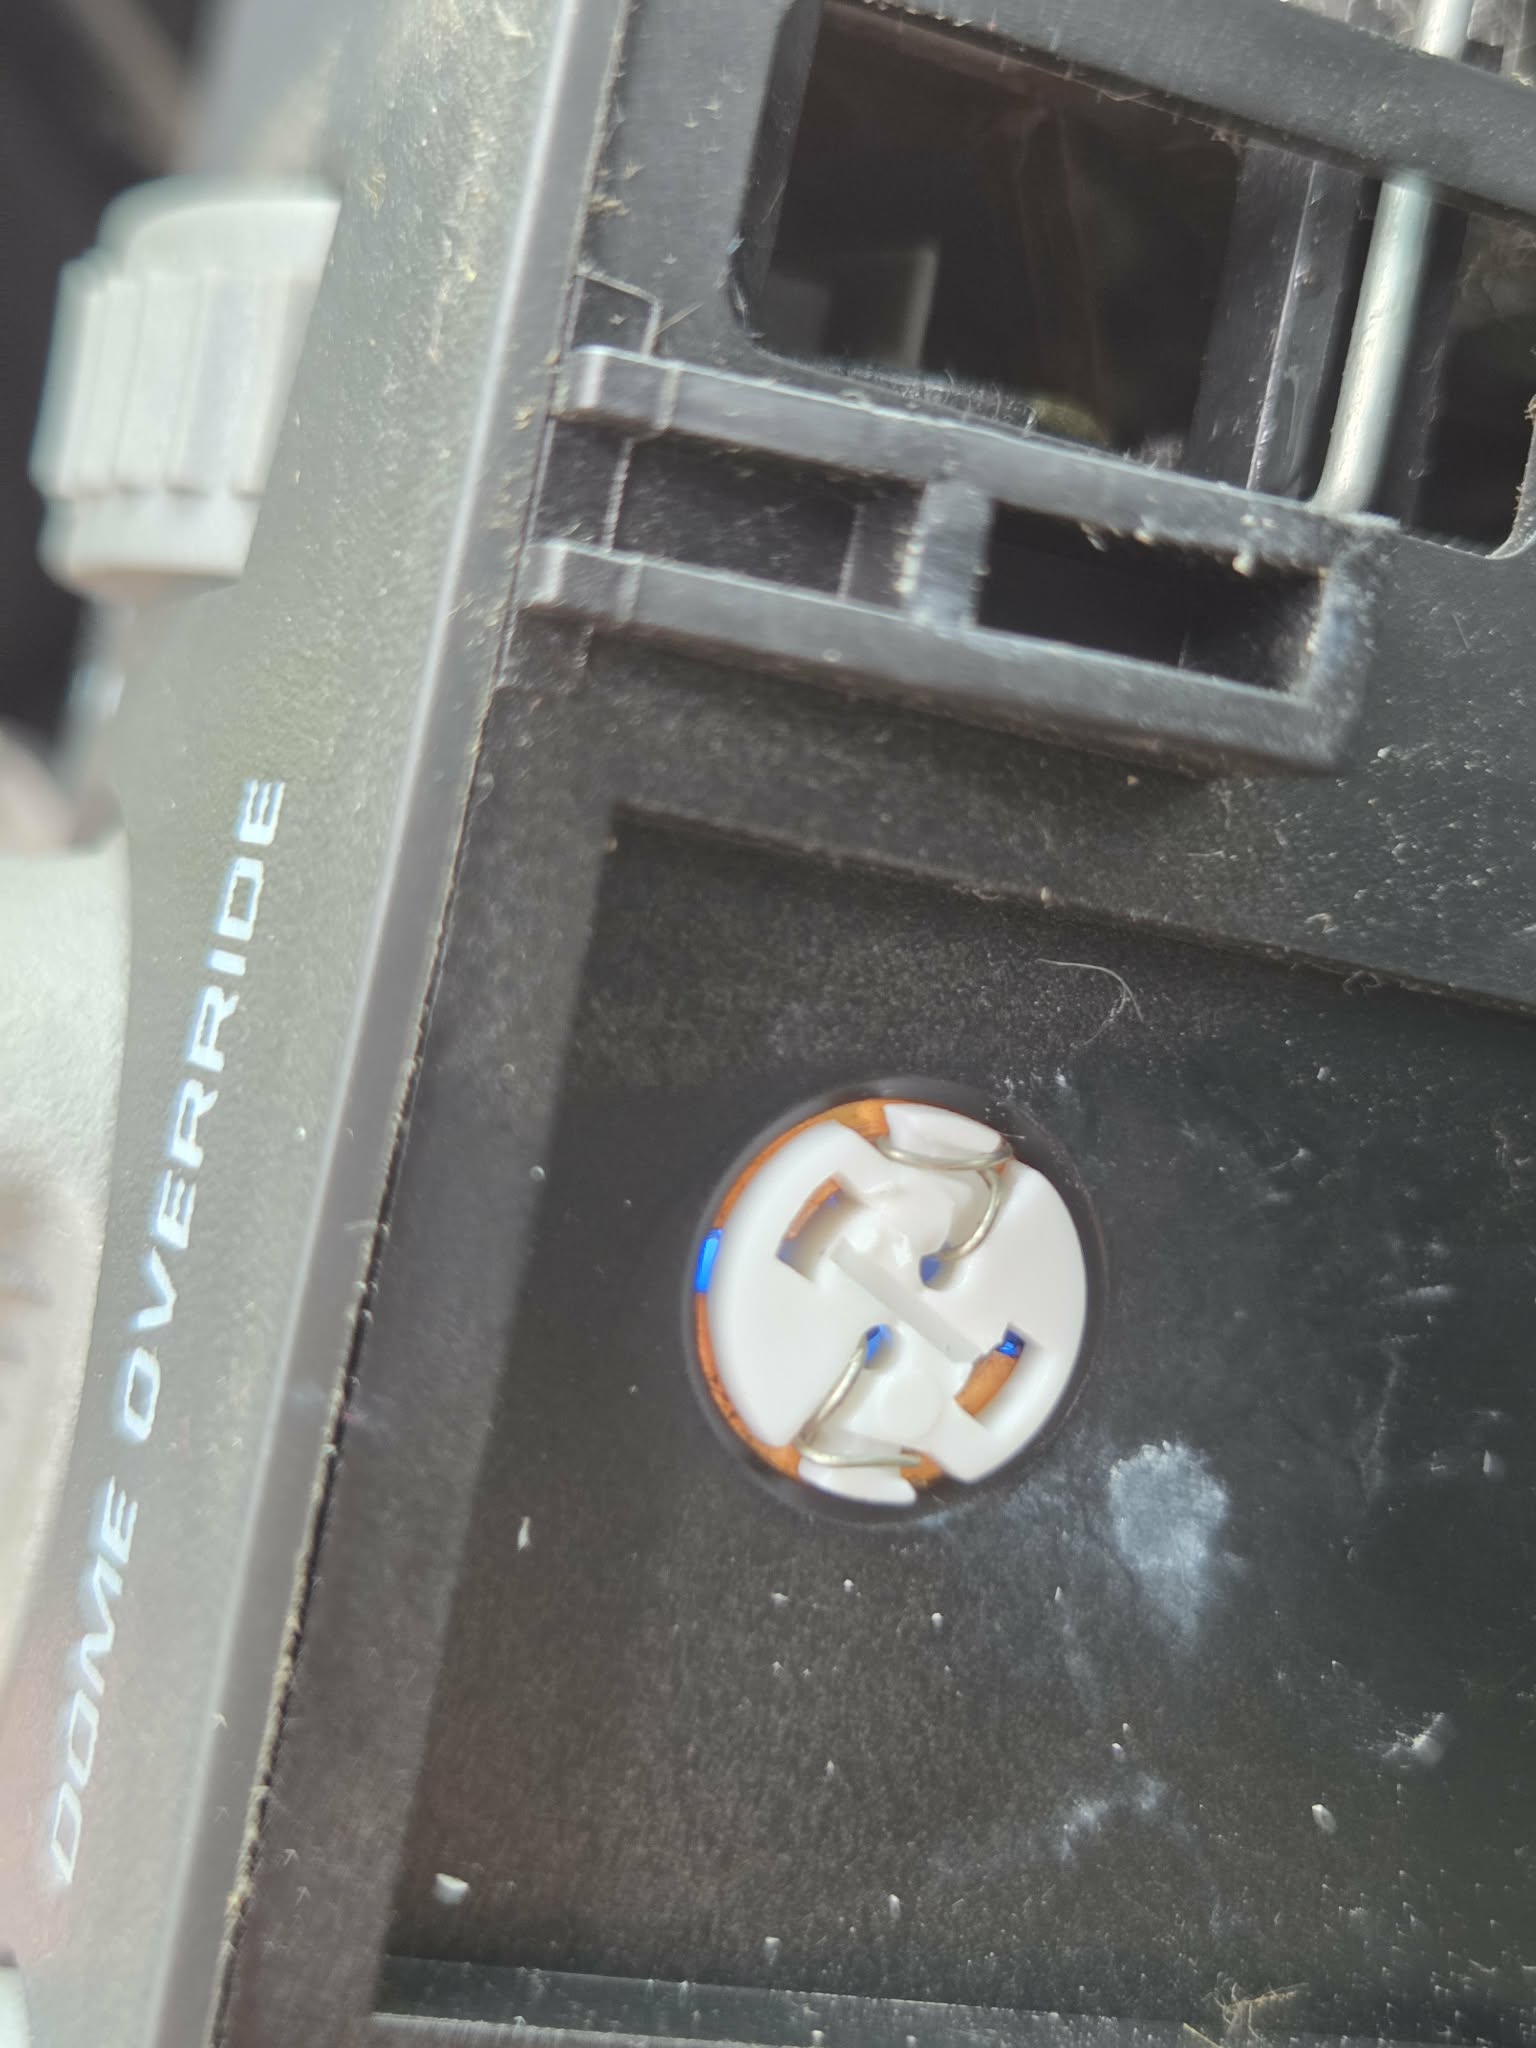
There are (2) under-dash 194 bulbs that provide footwell lighting. They are easy to replace and activate with the dome override switch—one located on the driver side and one on the passenger side.
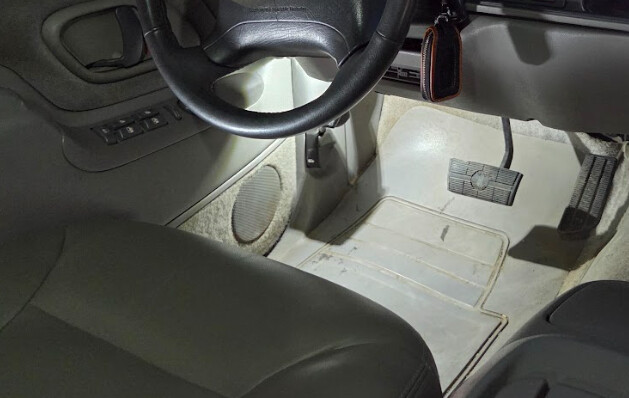
Each door will have (1) 194 bulb per door socket. You’ll have extra 194’s left over from the cluster and can do the doors as well. I find the 194 bulbs in the doors to be perfect, not too bright.
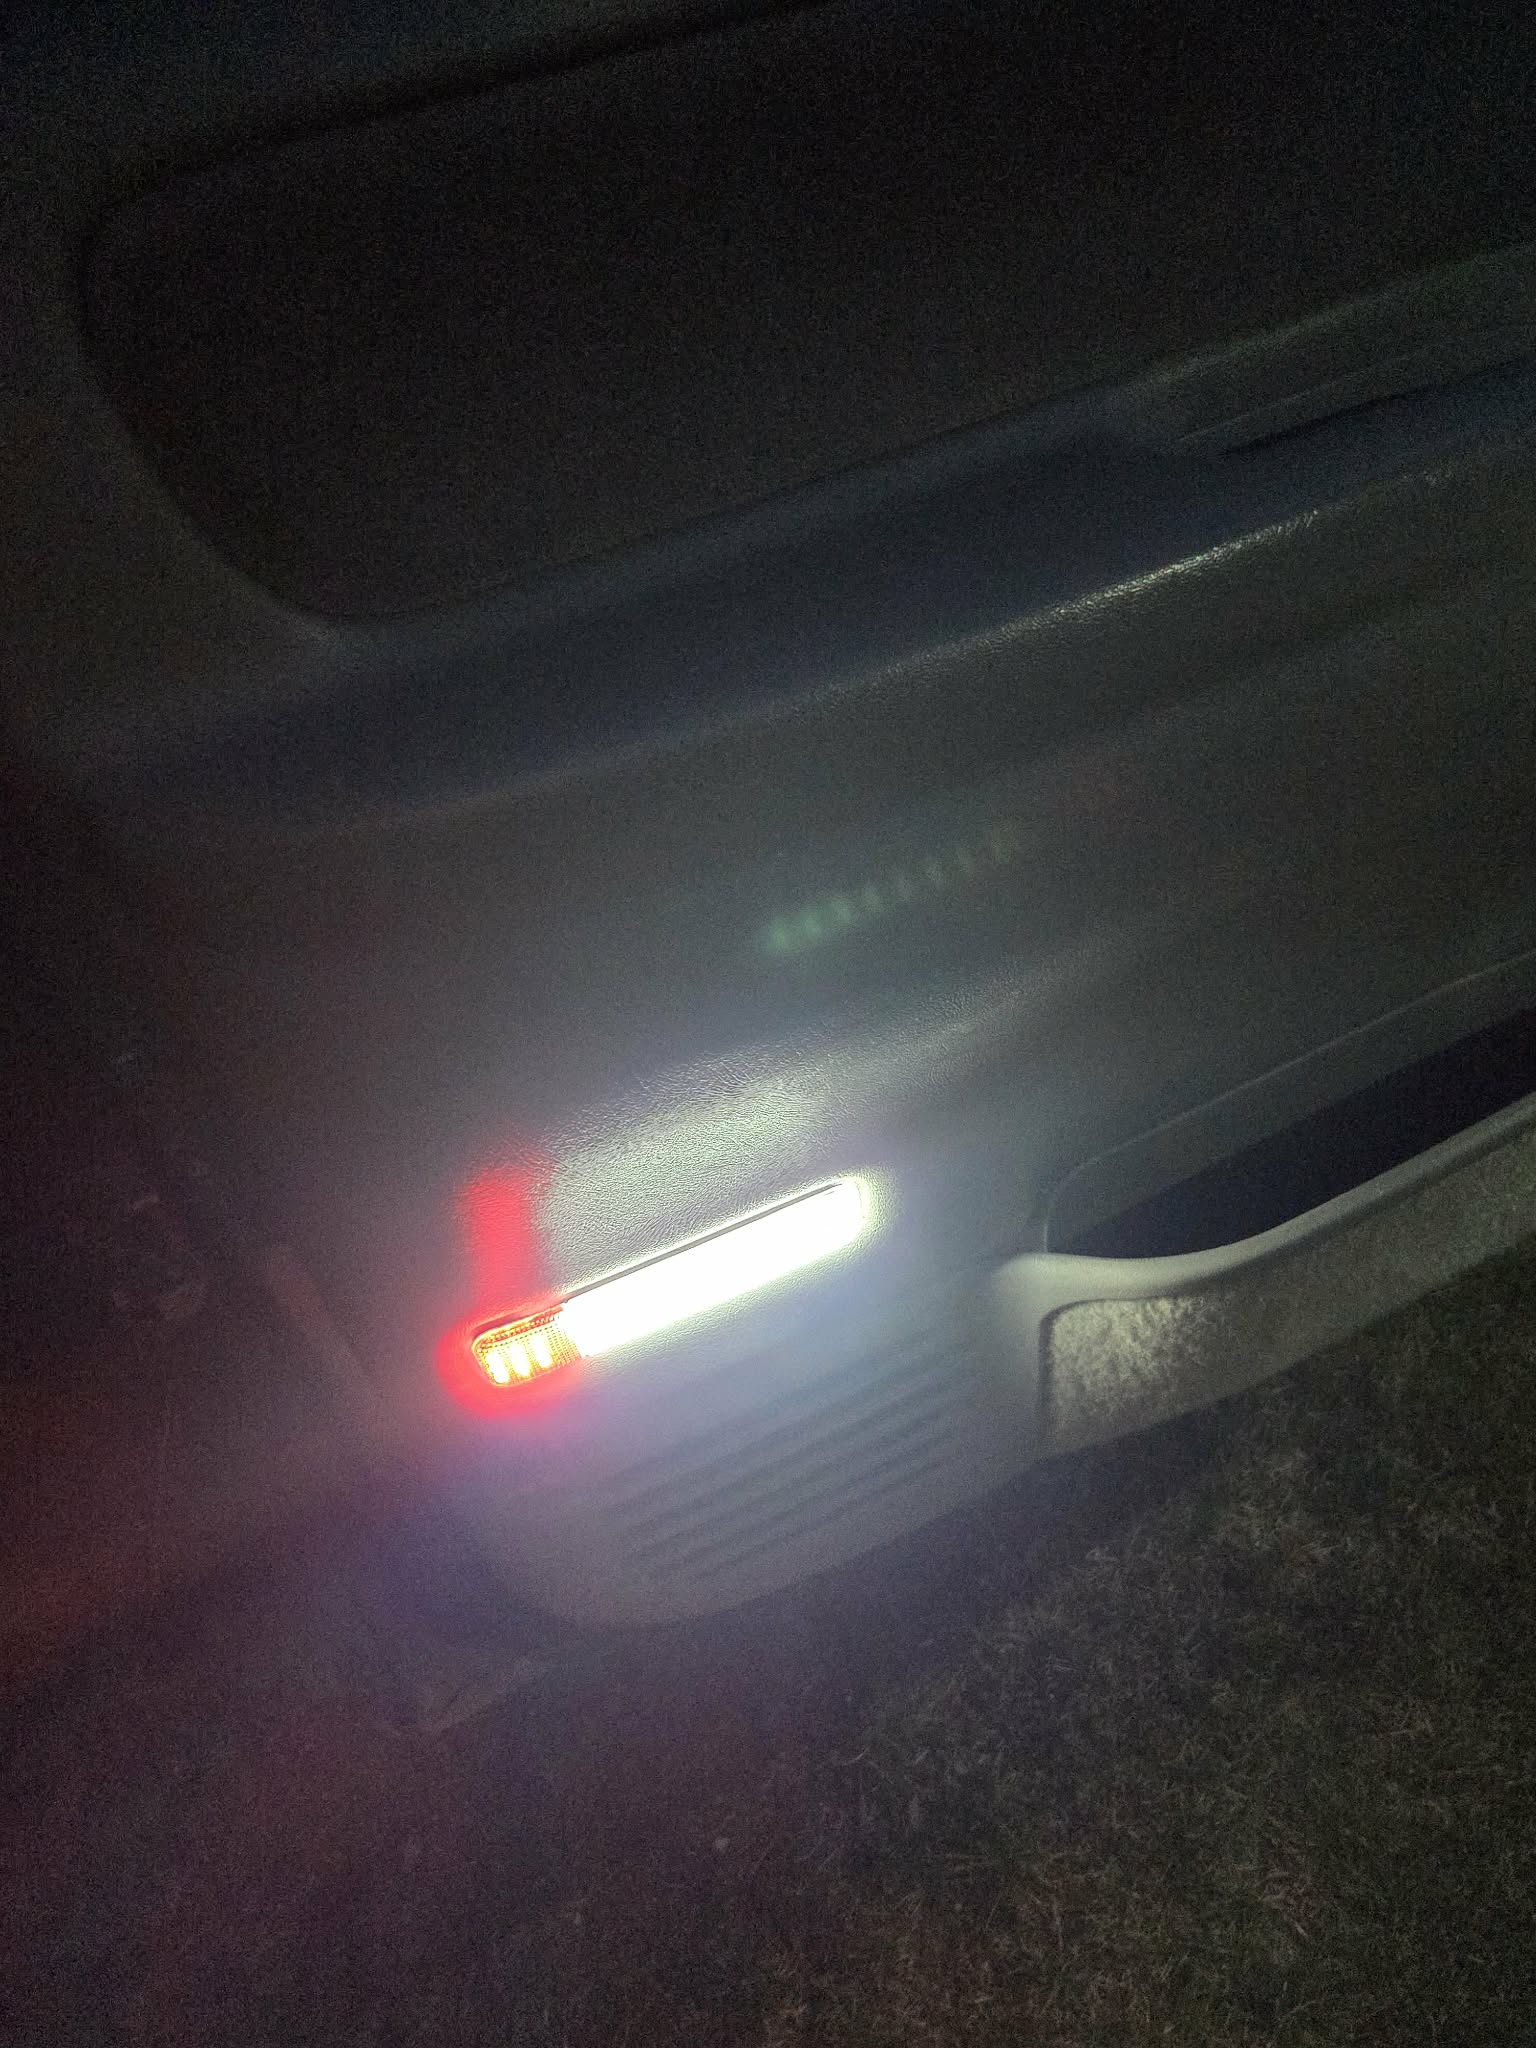
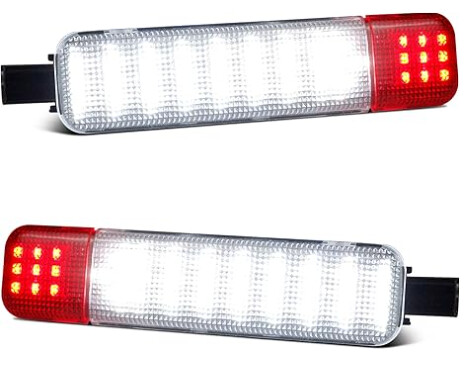
There are also LED assemblies available on Amazon if you want to be extremely bright (and certainly brighter than the 194 bulbs themelves).
Link to the assemblies here.
I’ve tried both options and find that the LED Assemblies are really bright, so I opted to try them out.
The cluster had some swirls and scratches. I’ve had great luck polishing cluster glass out with Meguiar’s PlastX. I gave it a go with the Meguiar’s and a microfiber and took some night time pictures!
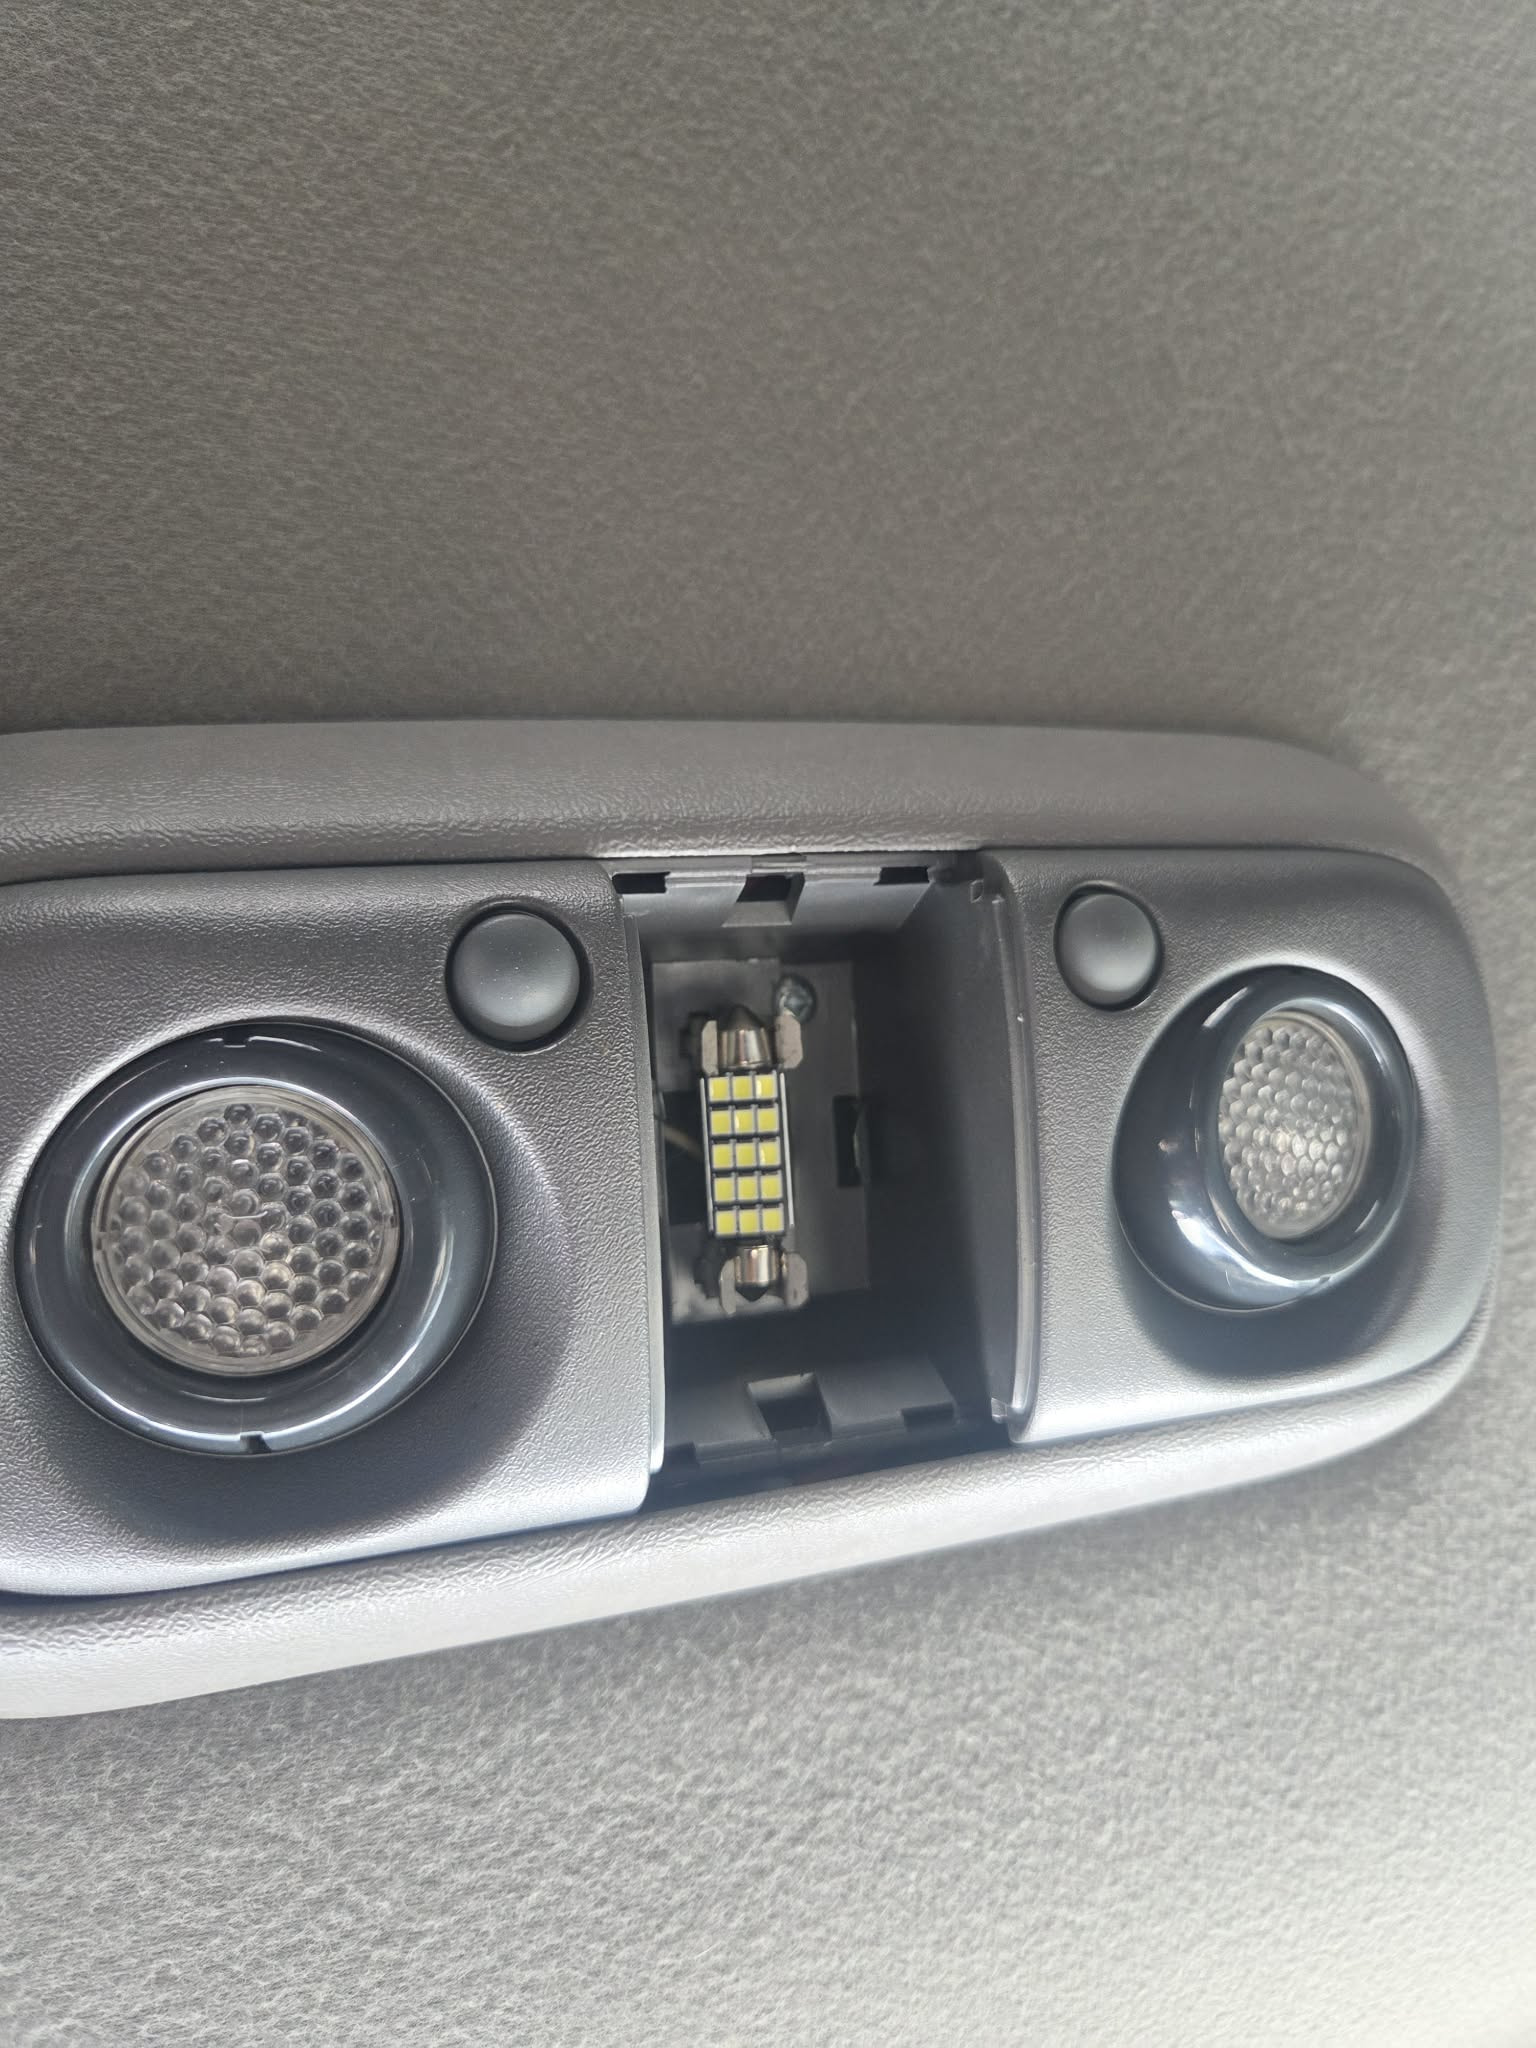
Interior Dome (Overhead)
The last item item on the list is the overhead dome! The bulb is a 211-2 for the overhead dome light and is optional. Link to the bulbs here.
The reason I say it is optional is because with it changed to LED, it becomes very bright inside of the cab. This bulb also turns on with the dome override switch, and sometimes it is just nice to have the underdash and door lights on as you are cruising.
Window/Door Switches
There are bulbs inside of the window/door switches as well. They are T4.2’s and can be accessed by pulling the switch panels out. Link to the bulbs here.
The extras from the HVAC pack normally finish these out.
Switches Requiring Soldering
There are some switches that require soldering to update to LED. If you’ve done this before, feel free to post a writeup here and comment below!
- Cargo lamp switch → requires solder
- 4x4 / electronic transfer case dash switch → requires solder
- Rear wiper / rear hatch / auxiliary dash switches → require solder
- Radio buttons (if backlit) → solder
- Power steering switch → solder
Thanks for reading.
If this helped, drop a reply, share your results, and post your setup!